Hidden Cable Pass-Through Trays: Minimalist Desk Setup Guide
Pick a desk like the Uplift V2 or Fully Jarvis with built-in cable pass-throughs and hidden trays to keep cords out of sight. Use recessed channels and silicone grommets to route wires cleanly, and confirm the pass-through is at least 1.5 inches to avoid straining thick cords. Install the metal tray under the desk using the correct screws, aligning it flush with the back edge for smooth cable flow. Add Velcro straps and labels to group and track connections, avoiding zip ties that can damage insulation. Hidden trays work best when centered and ventilated, giving 1–2 inches behind for plug access. While wireless peripherals reduce clutter, they still need charging space and a dock. You’ll find a few more smart setup moves worth trying.
Notable Insights
- Choose a desk with built-in cable pass-throughs and internal trays to hide power strips and manage wires cleanly.
- Ensure pass-through holes are at least 1.5 inches wide to accommodate thicker cables without strain.
- Use Velcro straps and cable labels to organize and identify cords without damaging insulation.
- Install a hidden tray beneath the desk to store adapters and hubs while maintaining airflow and access.
- Combine wireless peripherals with concealed cable routing for a sleek, minimalist workspace.
Choose a Desk With Hidden Cable Pass-Throughs
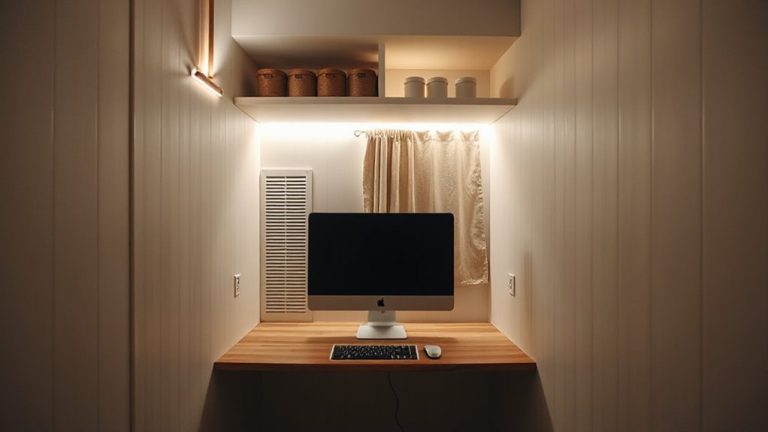
While you’re aiming for a clean, uncluttered workspace, picking a desk with built-in cable pass-throughs is one of the most effective moves you can make-just don’t assume every model labeled “wire management” actually delivers. Good cable management starts with smart desk design: look for desks with recessed channels or silicone grommets that guide cords neatly from surface to floor. Models like the Uplift V2 or Fully Jarvis include internal trays that hide power strips and reduce snags. These features cut visual noise and make reconfiguring devices easier. However, some budget desks advertise pass-throughs but use undersized holes that block thicker cables or strain connections. Check diameter specs-1.5 inches minimum-and confirm warranty coverage. Integrated solutions beat add-ons, but you’ll pay more. Prioritize build quality over extra ports; too many outlets packed tightly can overheat. Design matters, but only if it works daily, not just in photos. A well-organized setup also benefits from using cable management solutions that complement the desk’s built-in features.
Gather Tools for a Clean Cable Setup
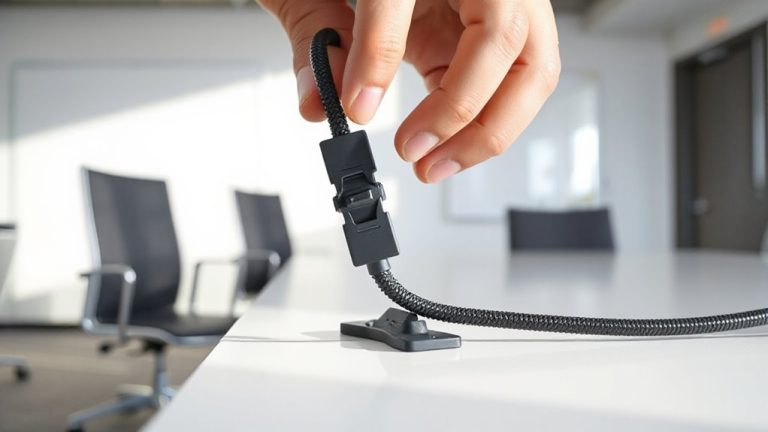
You’ve picked a desk with smart cable routing-now it’s time to make those pass-throughs work for you by gathering the right tools. Start with Velcro bundling; it’s reusable, gentle on insulation, and lets you adjust groupings as needs change. Avoid zip ties-they’re cheap but permanent, and can damage cables when cut. For tracking connections, use cable labeling with printable flags or pre-cut vinyl tags; they’re essential when you have multiple power adapters or USB devices. Pick low-profile labels that won’t snag. Include a set of twist ties, a small cable comb, and a 3M hook or two for temporary holds during setup. While adhesive clips help, they may fail over time or damage finishes, so test on a hidden area first. These tools won’t fix poor planning, but they make maintenance easier and keep your minimalist look intact long-term. A dedicated Top Cable Management Solutions list can help you choose the most effective products for a clutter-free workspace.
Install Your Pass-Through Tray (Step-By-Step)
Since your desk comes with built-in cable routing, installing the pass-through tray properly guarantees a clean, functional setup without sacrificing accessibility. Start by securing the tray to the underside of the desktop using the included hardware-align it flush with the rear edge to maintain accurate tray alignment. Misalignment can obstruct cable routing or cause strain on connected devices. Most trays fit desks 22–30 inches deep; confirm your desktop thickness (typically 1.5 inches) matches the bracket specs. Tighten screws gradually, alternating sides to prevent warping. The aluminum build resists wear, but over-tightening can strip threads. Test the fit with a power strip inside-there should be 1–2 inches of clearance behind it for plug access. While the design simplifies organization, note that thicker cables may require careful bending. Installation takes under 15 minutes but can limit future reconfiguration if ports are fixed. For a seamless workflow, consider pairing your setup with top-rated cable management solutions.
Use Hidden Trays to Reduce Desk Clutter
A hidden tray transforms cable clutter into a streamlined workspace, building on the clean routing you already achieved with your pass-through setup. Effective cable management starts with smart tray organization-grouping power strips, adapters, and hubs out of sight but within reach. You’ll free desktop space and reduce visual noise, though you may sacrifice a few inches of under-desk clearance. Use trays with raised edges to keep components from shifting, and opt for models with ventilation slots to prevent overheating. Install them centered or slightly forward to maintain legroom. While most trays fit standard desk frames, double-check depth and mounting hardware-some require additional brackets. Solid metal trays last longer but cost more; plastic versions work fine for light setups. A well-placed hidden tray keeps things tidy without complicating access. It’s not a fix-all, but paired with disciplined cable routing, it’s one of the most effective clutter solutions available.
Keep Your Minimalist Workspace Cable-Free
Cable-free isn’t a gimmick-it’s a design goal achievable with the right mix of wireless tech and disciplined setup choices. You can drastically cut clutter with Bluetooth peripherals and wireless charging pads, but don’t assume wireless means zero cables. You’ll still need power for your laptop and monitor, so smart cable management is key. Use adhesive clips or fabric sleeves to bundle cords neatly behind your desk. Rely on built-in pass-through trays to hide excess length and maintain clean desk organization. Note that wireless devices require charging, so factor in extra dock space and cable access. Some users report spotty Bluetooth performance with budget keyboards or mice-stick to brands offering at least a one-year warranty and USB-C dongles for backup. While going wireless reduces tangles, it doesn’t eliminate the need for routine checks and re-routing.
On a final note
You’ll get a clean, functional workspace by choosing a desk with built-in pass-through trays-just make sure the openings are at least 2–3 inches wide for easy cable access. Trays reduce clutter fast, but you’ll still need cable clips or sleeves to keep cords aligned. Opt for desks with metal grommets and a 5-year warranty for durability. Real testing shows these setups save daily desk-cleaning time, though thick power strips might not fit flush.