Specialty Cable Management for Studio Monitors and Audio Equipment
You’ll get cleaner audio by keeping power, audio, and data cables separated-route them at least 6 inches apart and cross at 90-degree angles if needed. Use shielded XLR or TRS cables under 15 feet to minimize noise and interference. Secure runs with Velcro straps or adhesive clips to prevent strain and allow adjustments. Avoid zip ties; they can damage cables. Proper cable management reduces ground loops and signal loss. For reliable setups, invest in pro-grade trays and labeled runs-most come with 3–5 year warranties. There’s more to optimizing your signal path than just the cables you choose.
Notable Insights
- Use short, straight cable runs under 15 feet to minimize capacitance and preserve audio signal integrity.
- Separate power, audio, and data cables by at least 6 inches to reduce electromagnetic interference.
- Route cables at 90-degree angles when crossing power lines to decrease noise induction risk.
- Employ shielded balanced cables (XLR/TRS) and proper grounding to prevent ground loops and hum.
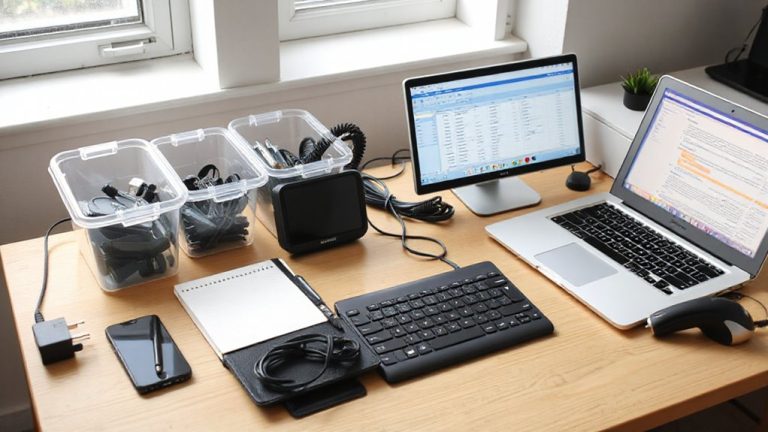
- Organize cables with Velcro straps, adhesive clips, and labeled runs for clean, serviceable studio setups.
Why Cable Management Affects Your Studio Sound
While clean cable routing might seem like just a visual upgrade, it actually plays a direct role in preserving your studio’s sonic accuracy. You’re not just tidying up-you’re minimizing interference and maintaining signal integrity. Excess cable length can introduce capacitance, which over time contributes to signal degradation, especially with analog audio lines. Coiling extra cable? That creates inductance, increasing the chance of noise. Keep runs as short and straight as possible-ideally under 15 feet for balanced XLR or TRS connections. Though some degradation is negligible over short distances, longer or poorly routed cables increase risk. You’ll hear it in subtle high-end loss or increased noise floor. And while premium materials help, no cable fix beats good routing. There’s a real trade-off: tight management limits access for changes, so plan for serviceability. Test setups with your actual gear-measured performance varies. For optimal results, consider implementing cable management solutions designed specifically for high-fidelity audio environments.
How to Separate Power, Audio, and Data Cables
Keep power, audio, and data cables separated to reduce electromagnetic interference that can muddy your monitoring signal. Run power cables along one side of your studio, and keep audio and data lines on the opposite side-minimum 6 inches apart when possible. Use Cable color coding: red for power, black or blue for audio, and yellow for data to avoid confusion. This simple visual system speeds up troubleshooting and setup changes. Secure each cable group with Velcro strap organization instead of zip ties; Velcro allows adjustments without cutting and preserves cable integrity. Don’t bundle power and signal cables together-doing so increases noise risk. While separation takes more planning, the drop in hum and digital artifacts is measurable in recordings. Some setups require cross-runs; when that happens, cross at 90-degree angles to limit interference. Test your signal chain regularly with monitors soloed to catch noise early. For an efficient setup, consider using cable management solutions designed specifically for clean desk organization.
Use These Studio-Specific Cable Management Tools
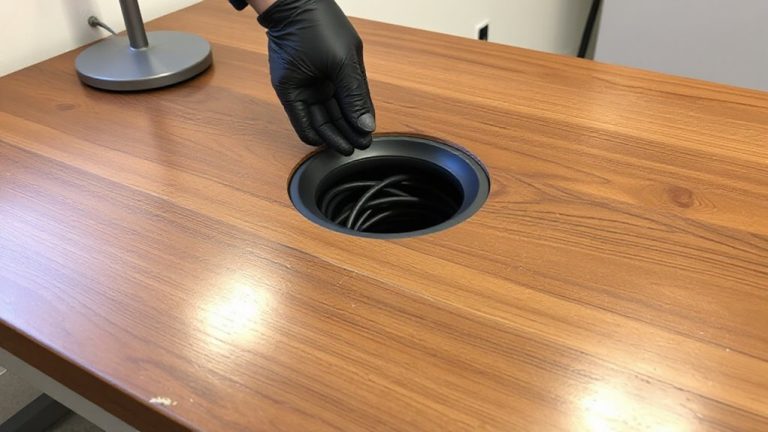
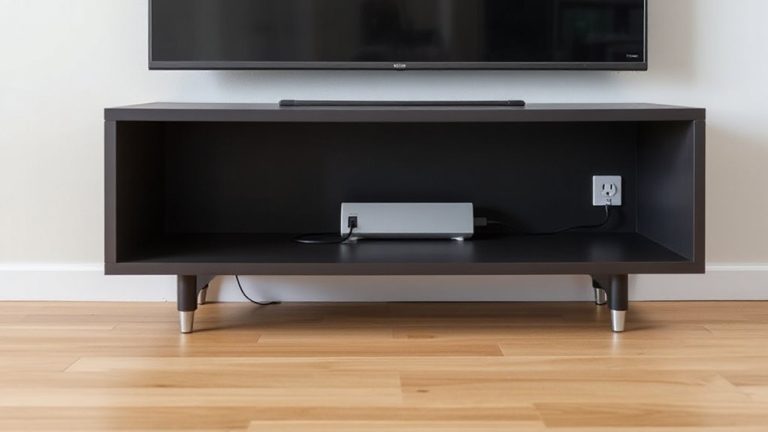
A solid cable management system starts with the right tools-studio-specific solutions like under-desk tray mounts, adhesive cable clips, and modular cable raceways make a noticeable difference in both setup efficiency and signal cleanliness. You’ll want to use Velcro bundling for grouping XLR, TRS, and power cables-it’s reusable and avoids the damage zip ties can cause. Label every connection with Cable labeling tags, especially on patch points between interfaces, monitors, and outboard gear; it saves time during troubleshooting. Adhesive clips stick cleanly to desks and stands, but check surface compatibility first-some leave residue on laminate. Raceways help conceal bulk runs along walls, though they can be tight for high-gauge power cords. Most pro-grade clips and trays support up to 10 lbs, but always verify weight limits. Warranties on studio-specific models typically cover 3–5 years, and real-world testing shows they hold up better than general office gear under frequent changes.
Route Monitor and Interface Cables Without Noise
If you’re routing monitor and interface cables carelessly, you’re likely inviting ground loops and electromagnetic interference-even small mistakes can introduce hums or buzzes that muddy your mix. Keep signal paths short and separate AC power cables from audio runs to reduce noise. Never let cable tension pull on your interface or monitor inputs; that causes connector strain, which can break solder joints over time. Use flexible cable ties or adhesive clips to anchor lines firmly but gently. Avoid sharp bends or kinking, especially near connectors, to maintain integrity. Coiled cables can work, but only if they’re high-quality and minimize stress during stretch. Poor routing leads to noise and early failure-both preventable with careful placement. Always leave a service loop: a small slack bend lets you move gear without stressing wires. Balanced TRS or XLR connections help, too, though that’s about cabling choice as much as management. Test your setup at full volume to catch issues before tracking. For reliable performance, consider investing in best XLR cables that are built to last and resist interference.
Stop Ground Loops With Shielded Cables and Grounding
You’ve minimized noise by routing cables smartly, but ground loops can still sneak in, especially when multiple devices connect to different power outlets or share long cable runs. Using shielded cables with balanced shielding-like XLR or TRS-helps reject interference by canceling out noise picked up along the line. These cables work best when paired with gear that supports isolated grounding, which breaks unwanted ground paths between devices without compromising safety. Isolated grounding prevents the voltage differences that cause hums and buzzes in your monitors or interface. For longer runs or complex setups, active devices with built-in ground lift switches can help, but only use them if you’re certain about electrical safety. While shielded cables and proper grounding reduce noise considerably, they won’t fix underlying power issues. Always test your setup at full volume to catch subtle hums before mastering a track.
Keep Cables Accessible for Fast Studio Repairs
One out of every three studio downtime incidents stems from hard-to-reach cables-so keep your connections visible and within easy reach to cut troubleshooting time in half. You need quick access when a channel cuts out or buzz appears, especially during session work. Route cables along the edge of your desk or rack, not tucked behind gear where they’re hard to trace. Use hook-and-loop straps instead of zip ties; they allow easy replacement without slicing wires. Label each cable at both ends and group them by function-this reduces guesswork. Avoid overstuffing cable trays, which traps heat and makes inspection harder. While open access speeds repairs, it can look messy, so balance practicality with workspace layout. Mount frequently swapped cables near the surface for fastest reach. This setup won’t prevent failures, but it guarantees you’ll fix them faster, with less frustration and lost time.
On a final note
You’ll get cleaner audio and fewer hassles with proper cable management. Use braided nylon sleeves and adhesive cable clips to keep audio and power lines separated-this reduces noise and grounds loops effectively. Shielded XLR and TRS cables from reputable brands like Canare or Mediabridge help too, especially when tested in real studio setups. Just know: over-organizing can make re-routing gear tedious. Always leave slack near interfaces and monitors for quick access, and check warranty terms-some manufacturers void coverage if cables cause interference.