Installing In-Desk Grommets for Seamless Cable Pass-Through Access
Place your desk grommet 2 to 3 inches behind your monitor, centered for symmetry and clear of legs or drawers. Drill a clean 2-inch hole using a hole saw and backing board to prevent splintering. Match the grommet to your hole size-too loose wobbles, too tight cracks the desk. Secure it from below with the included nut, then route 3–5 cables through without sharp bends. Use straps or clips to keep connections neat and strain-free. Get the details right, and you’ll see exactly how this upgrade transforms your workspace clutter for good.
Notable Insights
- Position the grommet 2 to 3 inches from the desk’s back edge, centered behind the monitor for optimal cable access.
- Measure and mark the drill point carefully, ensuring alignment with mounting points and clear space underneath.
- Use a hole saw bit matching the grommet size and drill slowly with backing support to prevent damage.
- Choose a grommet that fits snugly in a standard 2-inch hole and suits your desk material and aesthetics.
- Install by inserting through the desk, securing underneath, and routing 3–5 cables neatly to prevent strain and clutter.
Pick the Best Spot for Your Desk Grommet
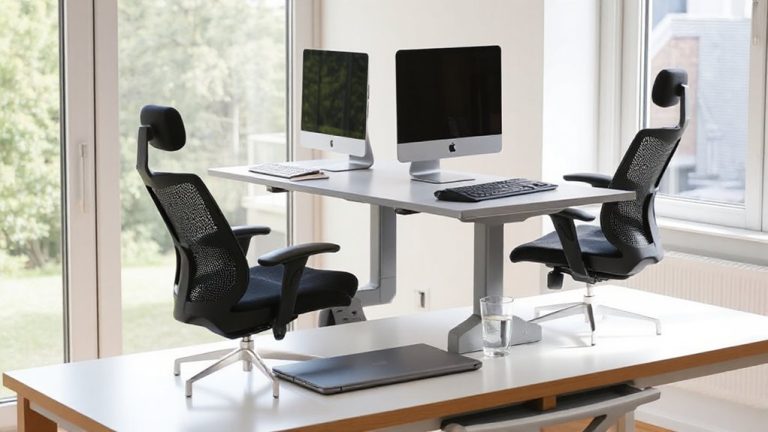
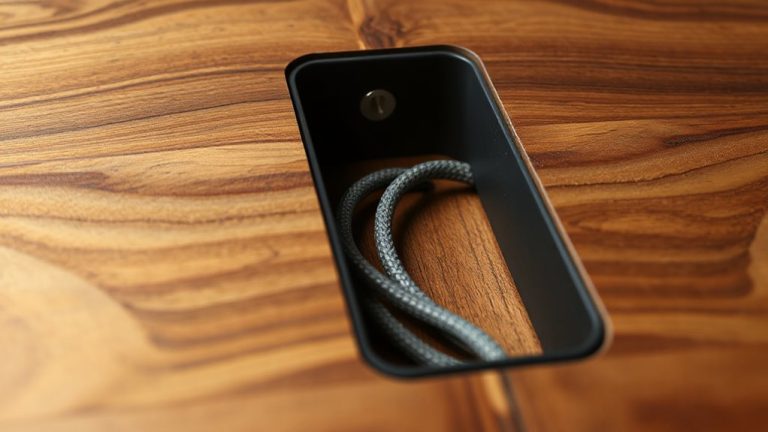
Where should you actually put your desk grommet? Right behind your monitor or laptop, just a few inches from the back edge-this spot optimizes both cable management and workspace aesthetics. You’ll reduce clutter by funneling power, USB, and ethernet cords neatly through the grommet instead of over the desk surface. Most grommets fit standard 2- to 3-inch openings, so check your desk specs first. Centering it improves symmetry, especially if you dual-task with peripherals. But don’t place it too close to desk legs or drawers-it could interfere with cable routing or hardware operation. If you use a monitor arm, shift the grommet slightly forward to align with its base. While a rear-center position looks clean, it may not suit all setups. Always consider how your devices connect and where cords naturally run. Poor placement leads to tangled cables and awkward reaches, undermining the grommet’s benefit. Measure twice, drill once. A well-placed grommet enhances overall cable management solutions by keeping cords organized and out of sight.
Measure and Mark the Drill Point
Once you’ve settled on the ideal spot for your grommet, it’s time to get precise-measure the distance from the back edge of your desk to secure the center of your drill hole sits 2 to 3 inches forward, giving enough clearance for cable bundles without risking structural edges. Use a measuring tape and mark the spot clearly with a pencil or fine-tip marker. This accuracy minimizes cable interference and maintains surface stability, especially on laminated or veneer-covered desks where misplaced holes weaken the build. Double-check your measurements, aligning with any pre-drilled mounting points if your grommet kit includes them. Avoid edges and internal supports-uneven drilling can compromise both function and finish. Take a moment to confirm the underside is clear of obstructions. A well-placed mark secures clean feed-through access and long-term desk integrity, even with frequent plugging and unplugging.
Drill a Clean Hole for the Grommet
You’re ready to drill now that your mark is confirmed and clear of obstructions. Use a hole saw bit matching your grommet’s specs-this guarantees clean edges and proper hole alignment. Clamp a scrap wood backing under your desk surface to reduce tearout and spinning. Drill slowly to maintain control and avoid splintering. Good hole alignment prevents cable strain later, especially with frequent plugging and unplugging. Keep the drill perpendicular to the surface for a smooth pass-through. Effective cable management starts with thoughtful cable management solutions to maintain a clutter-free workspace.
Choose the Right Desk Grommet Size
How do you guarantee your desk grommet fits securely and functions as intended? You match the grommet size precisely to your drilled hole-most standard holes are 2 inches, so choose a grommet designed for that diameter. If the fit’s too loose, it wobbles; too tight, and you risk cracking the desk or damaging the grommet material, like rubber or ABS plastic. Check the manufacturer’s specs: some grommets accept slight variance, but high-quality ones offer a snug snap-in fit. Also, consider finish compatibility-brushed metal grommets won’t match laminate edges, and plastic ones might look cheap next to solid wood. Choose a finish that blends with your desk’s aesthetic without drawing undue attention. While metal grommets last longer, plastic ones reduce cable noise. Measure twice, buy from brands with clear sizing guides and warranties, and avoid generic kits with poor tolerances.
Install the Grommet in 3 Steps
A properly sized grommet sets the foundation for a clean, functional desk setup, but actual performance depends on correct installation. Start by marking and drilling a precise hole-use a hole saw that matches the grommet’s outer diameter, as proper tool selection prevents splintering and guarantees a snug fit. Next, insert the grommet through the top of the desk and secure it from beneath using the included nut or mounting plate; hand-tighten only to avoid cracking. Finally, double-check alignment so the finish sits flush. Good cable management begins here-misalignment or rushed installation causes long-term issues. Avoid overtightening metal grommets, and remember: plastic models may warp under pressure. Always follow manufacturer specs for hole depth and clamping range. While most kits include basic tools, investing in high-quality bits improves precision. This step isn’t reversible without repair, so measure twice and proceed deliberately. For optimal results, pair your grommet with a clean desk aesthetics strategy that includes cable sleeves and under-desk trays.
Route Cables Through the Grommet
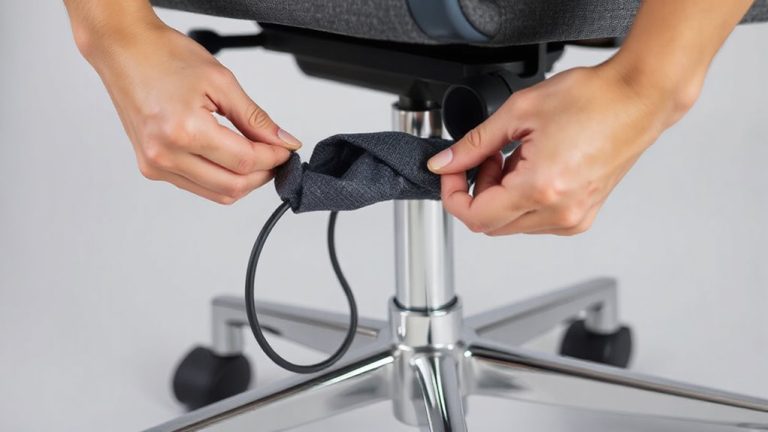
With the grommet securely in place, routing cables through it becomes the next critical step in achieving a tidy, efficient workspace. You’ll want to guarantee proper grommet alignment so cables feed through smoothly without snagging on sharp edges. Start by threading each cable one at a time, guiding them straight down to avoid bending beyond their minimum bend radius. Pay close attention to cable strain relief where the cord meets connectors-tugging or pinching here can damage internal wiring over time. Avoid overstuffing the grommet, as this compromises airflow and makes future swaps harder. While most grommets accommodate 3–5 standard cables, exceeding that strains both the fit and function. You’ll gain a cleaner look, but only if routing stays deliberate. Misaligned or crowded cables lead to frustration during reconfigurations and reduce long-term reliability.
Secure and Organize the Connection
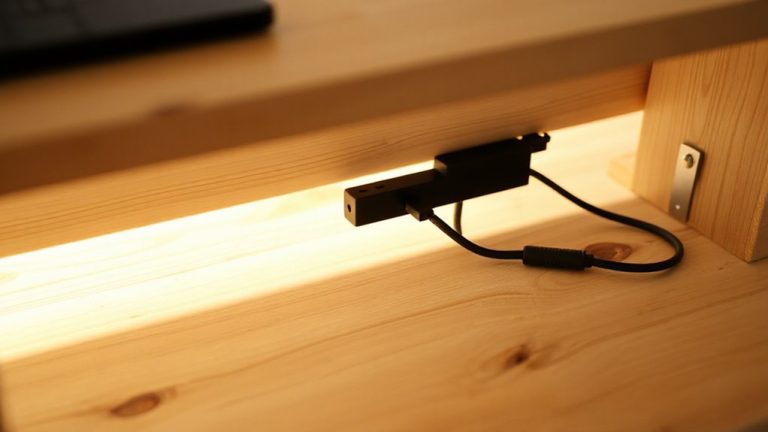
Why settle for a tangle of cords under your desk when a few extra minutes can guarantee everything stays put and works reliably? Securing cables properly guarantees connection stability and extends device lifespan. Use clips or adhesive mounts to anchor cords near the grommet exit-this adds cable strain relief and reduces accidental tugs. Below are key methods and their trade-offs:
| Method | Benefit vs. Limitation |
|---|---|
| Velcro straps | Reusable, adjustable; less rigid support |
| Cable clips | Strong hold; requires precise placement |
| Strain relief boots | Boosts connection stability; works only with compatible plugs |
| Zip ties | Secure bundling; not reusable |
Don’t overtighten ties-this can damage insulation. Test each connection under light tension to confirm. While most setups last years, inspect annually for wear. Simple organization pays off in fewer disruptions and cleaner performance.
On a final note
You should install in-desk grommets-they clean up cable clutter and protect wires from sharp desk edges. Use a 1.25-inch hole saw for standard grommets, and confirm fit with your desk material thickness (usually 0.5–1 inch). Metal grommets last longer than plastic but cost more. Make sure cables aren’t over-tightened through the ring, or strain could build over time. It’s a small upgrade, but only helpful if your devices stay in fixed positions.