Optimizing Camera Placement to Capture Facial Details Without Violating Neighbor Privacy Laws
Mount your camera 5–6 feet high at entry points, aimed straight down the approach path to catch clear facial details. Angle it 15–30 degrees downward if mounted higher to avoid neighbors’ windows. Use a 2.8mm–4mm lens for a 70–90° field of view-sharp enough for faces, narrow enough for privacy. Test at dusk and dawn with real motion to guarantee clarity. Proper LED lighting at 5000K reduces shadows. There’s more to fine-tuning than placement alone.
Notable Insights
- Mount cameras at 5–6 feet eye level to capture clear facial details without excessive height.
- Angle lenses downward 15–30 degrees to focus on faces and avoid neighboring properties.
- Use a 70–90° field of view to balance facial clarity with minimal privacy intrusion.
- Position cameras to face entry paths directly, aligning with door width for optimal framing.
- Test installations at different times to ensure lighting and angles don’t capture private areas.
Position Cameras at Entry Points for Clear Facial Detail
A well-placed camera at entry points particularly increases the chances of capturing clear facial details, especially when installed at eye level-roughly 5 to 6 feet above the ground. You’ll get sharper images when positioning the camera to face directly at the approach path, aligning it with the door width so no blind spots hide visitors’ faces. Entry timing matters too-cameras with motion detection and quick wake-up speeds (under 0.5 seconds) catch people as they arrive, reducing missed frames. Opt for models with wide dynamic range to handle backlighting from open doors. While narrow fields of view may suit tight entrances, wider doors need at least a 110-degree lens. Just don’t aim so wide that facial details blur. Test your setup during peak daylight and dusk. Remember, even the best camera can’t fix poor placement-accuracy depends on alignment with foot traffic and lighting.
Mount Cameras High to Capture Faces Without Intrusion
While mounting cameras high-around 8 to 10 feet-can reduce obtrusiveness and deter tampering, you’ll risk capturing distorted or low-resolution facial angles if the tilt and lens aren’t adjusted properly. Your ideal camera height strikes a balance: high enough to avoid interference but low enough to maintain facial clarity. A well-chosen mounting position, like above a doorframe or entryway, helps limit sightlines into neighboring properties, supporting privacy compliance. Most 1080p to 4K outdoor cameras perform best when the lens angles down 15–30 degrees from this elevated position. Just remember-increasing camera height without adjusting field of view may cut off faces or blur key details. Test the live feed after installation to confirm the camera captures chin-to-forehead features clearly. Proper mounting position isn’t just about security; it’s about respecting boundaries while getting usable footage.
Angle Lenses to Focus on Faces, Not Neighbor’s Property
Getting the angle right means you’re not just capturing faces-you’re avoiding unnecessary footage of your neighbor’s backyard or bedroom windows, which keeps privacy concerns in check. Tilt your camera downward slightly to emphasize facial framing while minimizing background intrusion. A 15–30 degree angle often works best, reducing lens distortion that can stretch or warp facial features near the edges. Position the lens so it focuses on walkways or entry points, not adjacent properties. Most fixed-lens security cameras perform poorly at extreme angles, so test your setup during different lighting conditions. Remember, overly steep angles increase distortion and reduce recognition accuracy. Use temporary mounts to experiment before permanent installation. While fisheye lenses offer wide coverage, they exaggerate lens distortion, making facial framing less reliable. Stick to standard focal lengths between 2.8mm and 4mm for balanced results. Always verify local laws-some areas restrict downward angles that still capture private areas, even unintentionally.
Pick a Field of View That Balances Clarity and Privacy
You’ll want a field of view that captures enough of the scene to be useful but stays tight enough to protect privacy and preserve facial detail. A narrow field reduces lens distortion and limits what’s recorded, minimizing intrusion. Wider angles increase motion blur and make facial features harder to discern, especially near edges. Choose a camera with a 70–90° horizontal field for best balance.
| Field of View | Facial Detail | Privacy Risk |
|---|---|---|
| 60° | High | Low |
| 80° | Good | Moderate |
| 110° | Low (edges) | High |
| 140°+ | Poor (distortion, motion blur) | Very High |
Avoid ultra-wide lenses unless absolutely necessary-they stretch faces and reduce clarity. Test models with known motion patterns to check for blur during entry. Look for optical specs in product sheets, not marketing claims. A slightly narrower view often delivers better real-world results.
Optimize Lighting for Reliable Facial Recognition
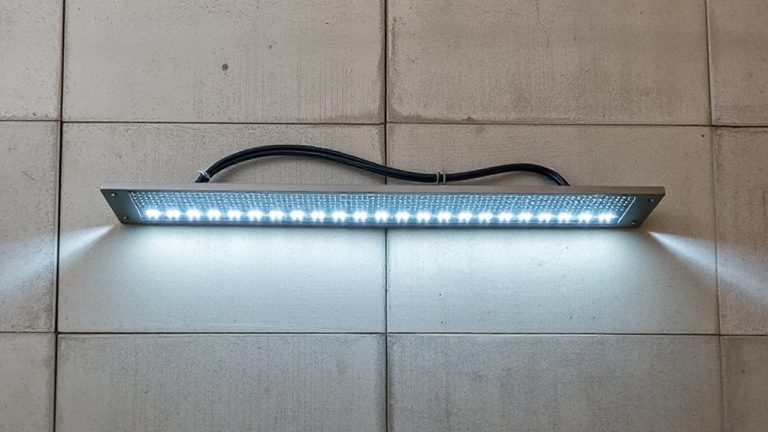
Lighting makes or breaks facial recognition performance, even with perfect camera placement. You need consistent illumination to minimize lighting contrast and guarantee features aren’t lost in dark patches. Aim for even, diffuse lighting from multiple angles-this helps with shadow reduction, especially under brows, hats, or chins. Avoid strong backlighting or direct sun, which creates harsh contrasts that confuse recognition algorithms. LED floodlights with a color temperature near 5000K work well, offering crisp, natural-looking light. Mount lights at or slightly above camera height to evenly cover the face. While brighter isn’t always better, too little light forces the camera to boost gain, increasing noise. Test different positions at dawn, dusk, and night to see real-world performance. Keep in mind that glare from reflective surfaces can undo careful setup, so adjust angles accordingly. Reliable recognition depends on balanced light, not just hardware.
Test Your Camera on Real People Walking By
While lab conditions help fine-tune settings, your camera won’t prove its worth until real people walk through its field of view under everyday conditions. You need to test image sharpness, focus accuracy, and exposure as individuals approach from various angles and speeds. This real-world trial fine-tunes your camera calibration, ensuring consistent performance beyond controlled setups. Use multiple test subjects-different heights, skin tones, and clothing-to check for bias or detail loss. Gather user feedback from those viewing the footage to identify blind spots or unclear facial features you might miss. These insights help adjust placement, angle, or lighting without guesswork. Still, avoid over-relying on ideal scenarios; weather, movement blur, and glare will affect results. Testing thoroughly doesn’t guarantee perfection, but it substantially improves reliability. Always document your findings to refine settings systematically and verify improvements over time under real-world demands.
Preserve Privacy Without Losing Facial Detail
Even with ideal camera placement and sharp imaging, capturing facial details means little if it comes at the cost of user privacy. You can preserve both with smart tech choices. Use motion detection to limit recording to active moments, reducing unnecessary data and storage demands. When motion triggers the camera, high-resolution cropping can zoom on faces without needing ultra-wide fields of view that risk capturing neighbors. Pair this with end-to-end data encryption so video feeds stay secure during transmission and cloud storage. Brands like Arlo and Reolink offer models with local storage options and TLS encryption, giving you more control. Still, encryption may slow access speeds slightly. Motion sensitivity settings need tuning-too high, and you’ll get false alerts; too low, and faces go unrecorded. Real-world tests show balanced settings work best. You’ll get clear facial details without compromising ethical or legal boundaries, as long as you respect property lines and privacy norms.
On a final note
You’ll get clear facial details by mounting cameras 8–10 feet high at entryways, angled slightly downward to focus on faces, not neighboring yards. Use a 90–110° field of view and pair with infrared or warm-white lighting to aid recognition in low light. Test with real people walking at normal speed. Just remember: more detail often means tighter coverage-balance clarity with privacy to stay compliant and effective.