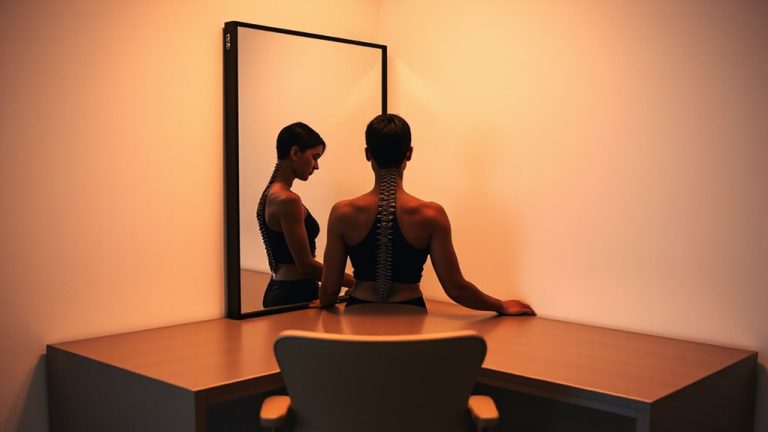
How to Arrange Peripherals to Stay Within Reach in Both Sitting and Standing Modes
Set your desk between 25–52 inches so it aligns with your elbows in both sitting and standing positions. Keep your keyboard and mouse within 0–2 inches of the desk edge, wrists straight, forearms level. Position your monitor at eye height using an arm mount-you’ll maintain reach and posture as you switch. Cable management and stable frames prevent wobble and snagging. Look for mounts with 5–10 year warranties and gas-spring lifts for reliability over time-small adjustments make a lasting difference in how smoothly your setup works day to day.
Notable Insights
- Position keyboard and mouse 0–2 inches from the desk edge to maintain easy reach in both sitting and standing postures.
- Use a sit-stand desk with electric presets to save optimal heights for seamless transitions between modes.
- Employ a monitor arm to keep screens at eye level and within view, adjusting smoothly with desk height changes.
- Place frequently used items like phones and notebooks within arm’s reach to avoid overextending in either posture.
- Use cable management systems with slack to allow movement without restricting peripheral positions during height adjustments.
Set Desk Height for Sitting and Standing
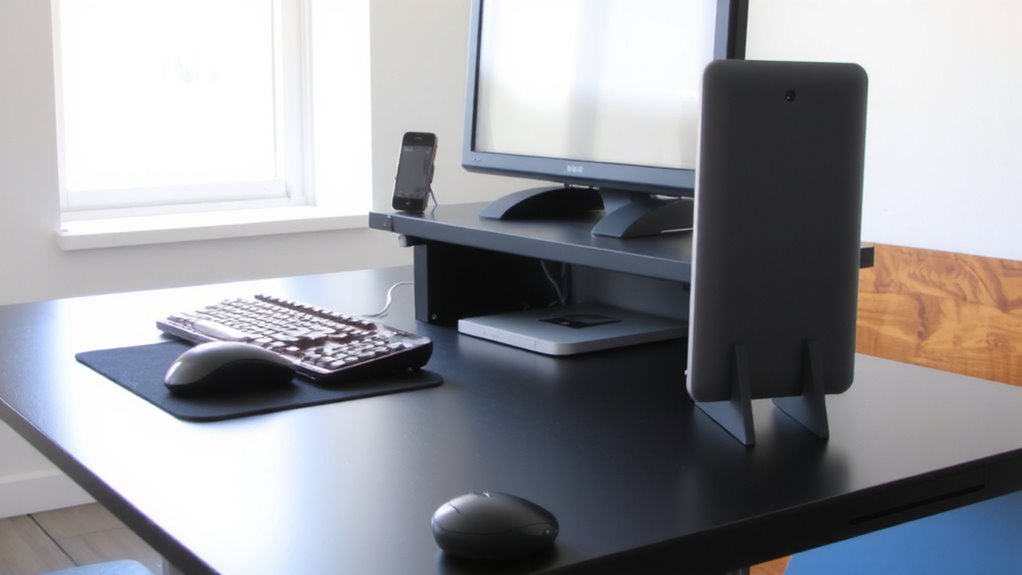
You’ll want your desk at the right height whether you’re sitting or standing, since even small mismatches can lead to neck strain or shoulder fatigue over time. A proper ergonomic design guarantees your workstation supports neutral posture, reducing long-term discomfort. For sitting, your desk should allow elbows to rest at 90 degrees; for standing, the surface should hit around elbow height when arms are relaxed. Most adults need a desk that adjusts between 25 and 52 inches for reliable height calibration across both modes. Electric sit-stand desks typically offer smoother shifts and presets, but manual models can save money if you don’t need frequent changes. Frame stability matters-wobble undermines precision. Look for desks with at least a 3-year warranty and independent stability ratings. Even high-end models lose benefit if height isn’t recalibrated properly when switching positions. Accuracy in adjustment beats extra features every time. A reliable option for seamless transitions is choosing one of the best standing desks based on performance and build quality.
Position Keyboard and Mouse at Hand Level
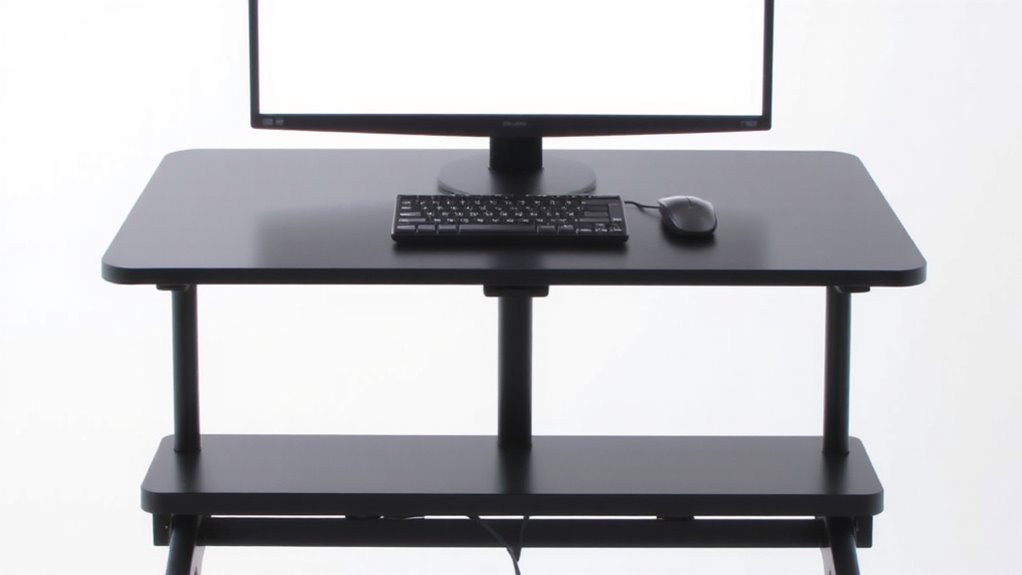
When your desk is properly adjusted for sitting or standing, the next critical step is positioning your keyboard and mouse at hand level to maintain a neutral wrist posture and reduce strain. You should aim for ergonomic alignment where your forearms are parallel to the floor and your wrists stay straight. This reduces pressure on joints and tendons, especially during long work sessions. Use an adjustable keyboard tray or a low-profile stand to fine-tune height-especially helpful when switching between sitting and standing. While built-in wrist support on some pads or keyboards seems helpful, avoid resting wrists while typing; it can restrict movement and increase pressure. Instead, let hands float lightly over keys. Real-world testing shows models like the Kinesis Freestyle2 offer flexibility, but even basic gear works if height and angle match your setup. Trade-offs exist-more adjustability often means higher cost or space needs. For optimized ergonomics, consider a best keyboard trays solution tailored to your desk’s adjustability range.
Align Monitor With Your Eye Line
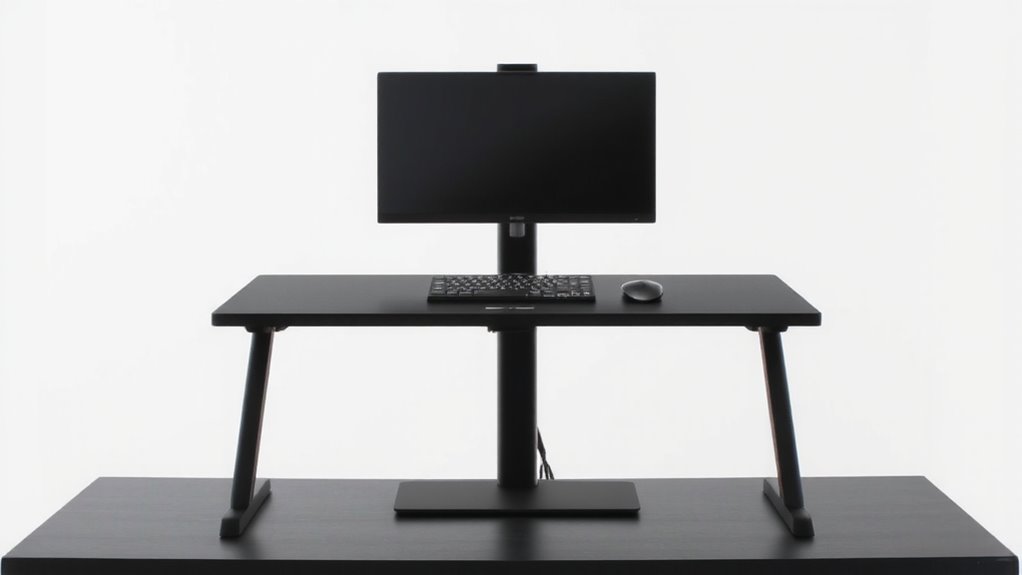
A well-positioned monitor considerably reduces neck strain and eye fatigue, especially during extended workdays, so aim to align the top of your screen at or slightly below eye level-this keeps your gaze angled gently downward, promoting a neutral spine. Proper eye alignment prevents you from tilting your head up or down, reducing long-term discomfort. For effective monitor placement, use an adjustable stand or arm that supports height and tilt changes, especially when switching between sitting and standing positions. In sitting mode, your eyes should naturally land near the top third of the screen. When standing, minor adjustments may be needed to maintain alignment. Avoid placing laptops on desks without risers, as they usually sit too low. While dual monitors offer efficiency, align the primary screen front and center to maintain focus. Remember, even ideal setups require periodic checks-small shifts in posture or desk height can compromise alignment over time. For maximum flexibility and ease of adjustment, consider using a best monitor mount that accommodates various screen sizes and supports smooth transitions between sitting and standing positions.
Keep Essentials Within Arm’s Reach
Positioning your monitor correctly sets the foundation for a comfortable workspace, but it’s just as important to guarantee the rest of your setup supports smooth, efficient movement. Keep essentials within arm’s reach in both sitting and standing modes to reduce strain and boost efficiency. A dual monitor setup works well, but only if both screens and peripherals stay accessible. Poor cable management can clutter your desk and limit motion, so use sleeves or clips to secure wires. Below is a quick guide:
| Item | Ideal Placement |
|---|---|
| Keyboard/Mouse | 0–2 inches from desk edge |
| Monitor(s) | 20–30 inches from eyes |
| Cables | Tied down, slack for height adjust |
Even with smart placement, oversized gear can overextend your reach. Test setups before finalizing. Some compact keyboards improve space use, but may lack tactile feedback. Balance function and comfort.
Use Mounts for Quick Adjustments
If you’re switching between sitting and standing throughout the day, monitor arms and adjustable mounts aren’t just convenient-they’re essential for maintaining proper ergonomics without constant readjustment. Monitor arms let you position screens at eye level in both postures, reducing neck strain and improving alignment. Look for models with gas-spring adjustments; they support smooth shifts and hold steady under daily use. Most reliable arms include built-in cable trays, which keep power and data lines organized and prevent snagging during height changes. Cable trays also reduce desktop clutter, making cleaning easier and improving workflow. While these mounts perform well, confirm weight compatibility with your monitor and desk thickness before buying. Some units require grommet mounting, which may not suit all desks. Always check warranty length-many quality brands offer 5–10 years-so you’re covered if mechanisms wear. Installation takes under 30 minutes with basic tools.
Test Posture When Sitting and Standing
You’ve got your monitor mounted right, but without checking how you sit and stand, even the best gear can’t fix poor posture. Test your posture alignment by sitting with feet flat, thighs parallel to the floor, and elbows at 90 degrees-keyboard height should allow wrists straight, not bent. Make sure your chair gives solid back support, keeping your spine’s natural curve. Now stand: your monitor’s top line should be at or slightly below eye level, elbows still at 90 degrees. Stand on a mat to reduce fatigue. Switch positions every 30–60 minutes, but don’t assume standing is always better-poor standing posture strains more quickly than sitting. Adjust desk height precisely; even 1–2 inches off can disrupt alignment. Test each position for comfort over 10-minute intervals, noting strain in neck, shoulders, or lower back. Good posture alignment prevents long-term injury, but only if both sitting and standing setups are actively tested and fine-tuned.
On a final note
You’ll stay comfortable and productive by aligning your desk and gear for both sitting and standing. Set your desk so elbows rest at 90 degrees, monitors at eye level, and keep essentials like your phone or notepad within 20 inches. Use a height-adjustable desk and monitor arms for quick switches. Test posture often-you might sacrifice some cable neatness for flexibility, and cheaper mounts can wobble. Always check warranty and weight limits.