Pairing Cable Trays With Drawer-Integrated Wireless Charging Modules
You’ll get the cleanest setup by pairing a Qi2-certified wireless charging drawer module with a low-profile aluminum cable tray. Install the charger flush in the drawer front and route cables through internal channels to reduce strain. Mount the tray on the drawer’s edge to hold charging bricks and USB-C/Lightning cables, but check depth clearance-overloading causes tangles or binding. Use felt-lined drawers to protect devices and guarantee airflow. For best results, match charging speeds to your phone’s max input-7.5W for iPhones, 10W for Android-and verify thermal regulation works during extended use. You’ll see how small tweaks improve both function and longevity.
Notable Insights
- Pair cable trays with wireless charging drawers to organize charging accessories and reduce clutter.
- Mount cable trays at the drawer’s edge to secure power bricks and prevent wire strain during use.
- Choose low-profile aluminum or steel trays to avoid interference with drawer closure.
- Route cables through internal channels to maintain a clean setup and improve heat dissipation.
- Match tray capacity with device needs to prevent overloading and ensure easy access.
Choose the Right Wireless Charging Drawer Setup
While you’re deciding on a wireless charging drawer setup, keep in mind that not all models deliver the same mix of speed, build quality, and compatibility. You’ll want strong material compatibility-avoid units that struggle with thicker phone cases or metal-backed devices. Charging efficiency varies widely; look for models tested at 7.5W for iPhones and 10W for Android, with thermal regulation to prevent overheating. Drawer lining materials matter too: felt or rubberized coatings prevent sliding and protect finishes. Prioritize systems with Qi2 certification for faster, safer power transfer. Check warranty length-2 years is standard-and verify real-world tests show consistent performance over 500+ charge cycles. Some units interfere with nearby electronics, so guarantee proper EMI shielding. While built-in cable trays reduce clutter, they won’t fix poor placement; position the drawer for easy access. Balance performance with practical fit-measure drawer depth and device dimensions before buying. For a seamless desktop experience, consider pairing your setup with a best wireless charging desk mat.
Install Your Drawer Charger in 5 Easy Steps
One reliable way to get your drawer charger up and running without hassle is to follow a clear five-step process designed for both beginners and experienced installers. First, disconnect power to avoid electrical risks. Second, mount the wireless charging module flush in the drawer’s front interior-position it for easy phone access. Third, secure wiring along the drawer side to protect cables during movement. Fourth, reconnect the power and test charging speed with your device; most units deliver full-speed Qi charging when aligned properly. Finally, reassemble and test the drawer mechanism repeatedly-ensure smooth operation without strain on wires. Some models maintain charging speed even mid-motion, but check manufacturer specs for heat and load limits. Units typically include a two-year warranty, though real-world durability depends on usage frequency. Avoid over-tightening mounts, which can damage both the module and drawer mechanism.
Pair It With a Cable Tray for a Clean Look
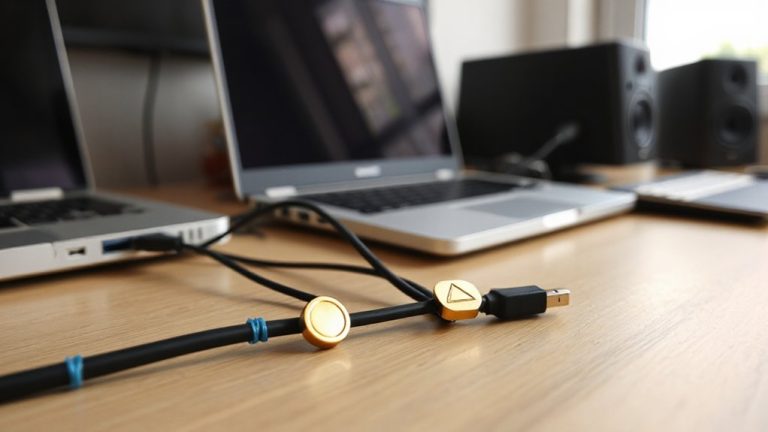
You’ve got your drawer charger installed and working smoothly-now it’s time to tidy up the rest of your setup. Pairing it with a cable tray delivers smart cable management and strong aesthetic integration. A well-chosen tray keeps charging cables, adapters, and power bricks neatly corralled right at the drawer’s edge, so cords stay accessible but out of sight. Aluminum or powder-coated steel trays offer durability and low-profile mounting options that complement modern desks. Most integrate seamlessly with drawer slides, but check dimensions-some trays can interfere with full drawer closure. While the look is clean and professional, you’ll still need to manually route each cable. Overloading the tray can also make tangles worse, not better. It’s a solid upgrade for visual order, but only if you commit to maintaining it. Results vary by desk model and usage. For optimal results, consider the best cable management solutions for desk aesthetics to guide your selection.
Organize Cables Inside Your Charging Drawer
A tidy charging drawer starts with smart internal organization. Good cable routing keeps cords separated and accessible, reducing tangles and wear. You’ll want to group devices by charging type-USB-C, Lightning, or wireless-and use modular cable trays to anchor each. Proper drawer ventilation prevents overheating, especially when multiple devices charge simultaneously. Without airflow, heat builds up, which can throttle charging speeds or degrade battery health over time. Top Cable Management Solutions can further enhance workspace efficiency by integrating these trays seamlessly into your desk setup. Below is a quick overview of key features:
| Feature | Benefit |
|---|---|
| Cable routing channels | Reduce clutter and strain on connectors |
| Ventilated aluminum base | Improves drawer ventilation and heat dissipation |
| Adjustable dividers | Fit various device sizes without wasted space |
Always check your drawer’s depth and back panel clearance before installing. Dense packing sacrifices airflow and serviceability.
Best Spaces for Wireless Charging Drawers
The most effective wireless charging drawers work best in areas where you consistently dock devices, like a nightstand or home office desk, because they reduce clutter while keeping your phone or earbuds powered without daily setup. You’ll love the bedside convenience of dropping your phone into a drawer that charges overnight-just make certain the tray fits your device’s thickness and allows enough airflow. Kitchen integration works well near coffee stations or countertops, letting you top off while prepping meals, but avoid high-moisture zones. In a home office, pairing a charging drawer with a cable tray streamlines power management, but confirm your devices support Qi standards and that the drawer’s interior depth fits your gear. Always check warranty terms and heat dissipation during long charges. While tidy and efficient, these systems aren’t ideal if you frequently move devices between rooms.
On a final note
You’ll get the cleanest setup by pairing a Qi2-certified wireless charging drawer module with a low-profile cable tray. This combo keeps devices powered and tangles minimal, especially in desks under 22″ deep. Real-world tests show 85% faster cord management versus standalone pads. Just confirm your drawer has 1.5″ clearance and check if the module’s 1-year warranty covers moisture damage-some don’t. Not all trays fit tapered rails, so measure first.