Creating a Charging Station Hub With Centralized Cable Sleeving
Pick a dry, accessible spot near an outlet and mount your hub at eye level to minimize cord strain and avoid damp areas like bathrooms. Use a 60W+ multi-port USB hub with UL-certified components, and run 1-meter cables through 16mm braided nylon sleeves for strain relief and clutter reduction. Secure with adhesive clips or raceways, leaving 18–24 inches of slack to prevent tugs. You’ll want to check compatibility and test fits before final setup.
Notable Insights
- Choose a dry, accessible location near a power outlet to mount your charging hub safely and efficiently.
- Use a multi-port USB hub with at least 60W output to support multiple devices through centralized charging.
- Install a braided nylon cable sleeve with 16mm diameter to organize and protect 4–6 USB cables.
- Secure cables with adhesive clips and velcro ties, routing them through grommets or under desks for a clean setup.
- Plan for future upgrades by selecting modular components that allow easy expansion and cable replacement.
Choose the Right Spot for Your Charging Hub
Where should you set up your charging station hub? Choose a spot with reliable power access and smart wall placement to keep cords tidy and devices within reach. Mounting near an outlet reduces extension cord use, lowering clutter and electrical hazards. Wall placement matters-install at eye level on bare drywall or mounted wood, using anchors if needed, so heavy docks won’t sag. Avoid bathrooms or damp areas, as moisture harms electronics over time. Pick a central location, like a living room nook or home office wall, where cables won’t stretch too far. But don’t place it behind furniture-access becomes a hassle. Guarantee at least 18 inches of clearance on each side for airflow and plug swaps. Though wall-mounting saves floor space, always confirm stud alignment first. Poor installation risks damage. Plan now, avoid rewiring later. For a clean and organized appearance, consider using centralized cable sleeving to bundle and route all charging cords neatly.
Gather Materials for Your Charging Station
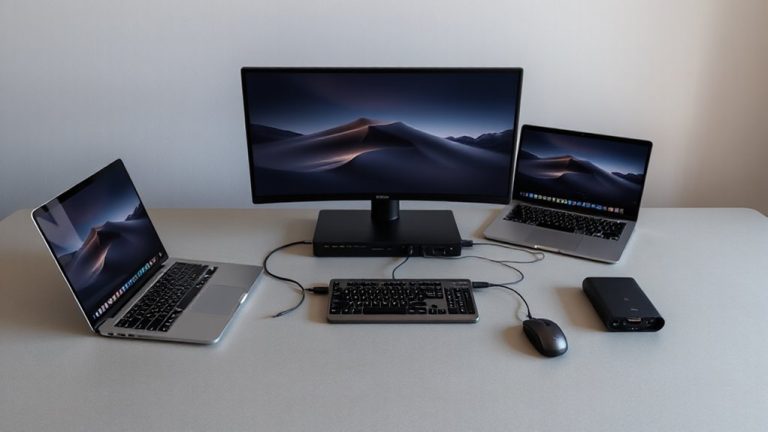
You’ll need a few key items to build a functional charging station that’s both efficient and safe. Start with a multi-port USB hub or power strip that supports your devices’ charging speeds-look for one with at least 60W total output for reliable power distribution. Include wall mounts or a desktop organizer to anchor devices firmly. For effective cable management, get adjustable velcro ties, adhesive clips, and a cable raceway to route cords neatly. Use silicone sleeves or braided wraps only if you plan to group similar-length cables later. Choose cables no longer than 1 meter to reduce clutter and voltage drop. Verify each component has safety certifications like UL or ETL. Cheaper units may overheat during extended use, so invest in models with overcurrent and surge protection. While modular trays add flexibility, they can limit port access-test fit your devices first. With the right gear, your station stays clean and functional long-term. Opt for a cable management sleeve to bundle cords together and maintain a sleek, organized appearance.
Sleeve Cables in Your Charging Hub
Cable sleeves aren’t just for looks-they actually help cut clutter and protect your cords from fraying over time. You’ll want sleeves that support cable strain relief at connection points, especially where chargers plug into devices. This reduces wear and extends cable life, which matters if you plug and unplug frequently. Look for a sleeve compatible with modular connector design, so you can add or remove cables without redoing the whole setup. That flexibility makes upgrades easier and reduces future waste. Choose a durable, abrasion-resistant material like braided nylon-16mm diameter sleeves typically hold 4–6 standard USB cables snugly. Make sure there’s enough stretch to access connectors, but not so loose that cables rattle. Some sleeves lack rigidity and collapse under tight bends, so test routing before finalizing. Sleeves aren’t a fix for poor cable management-if your hub is overcrowded, they’ll make tangles harder to undo.
Tidy and Hide Your Charging Station Wires
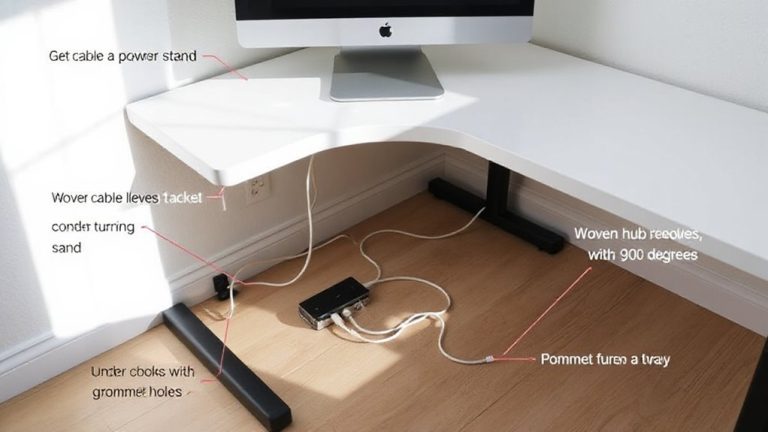
A well-organized charging station keeps your workspace clean and minimizes daily frustration, but simply stuffing cords out of sight can backfire if done poorly. Effective cable management prevents tangles and reduces wear, while smart cord organization guarantees easy access when swapping devices. Use adhesive cable clips or a fabric-covered cord sleeve to route wires neatly along the desk edge or wall, keeping lengths trim but functional. Avoid overtightening zip ties to prevent damaging insulation over time. You’ll want at least 18–24 inches of slack for flexibility, but no so much that loops form. Routing cables under a desk tray or through a grommet hole adds a clean look but requires drilling in some cases. Poor planning here can lead to strain on plugs or awkward device placement, so test your layout before finalizing. Good cable management isn’t invisible-it’s functional, accessible, and built to last. For a streamlined look, consider using cable hiding options that integrate seamlessly with your desk setup.
Clean and Expand Your Charging Hub Over Time
Keeping your charging hub functional over months or years demands more than a clean initial setup-routine maintenance and smart upgrades prevent clutter from creeping back. You’ll want to schedule quick monthly checks: unplug devices, wipe down surfaces, and inspect cables for fraying or wear. This isn’t just about looks; clean connections last longer and charge more efficiently. Plan for future upgrades by choosing a design that supports modular expansion-swap out USB ports or add wireless charging pads as needs change. A metal or ventilated plastic enclosure helps manage heat during simultaneous charging, but avoid overloading circuits. While modular setups offer flexibility, they often cost more upfront and require compatible parts. Make sure new components match your power supply’s output and physical space. With thoughtful planning, your hub stays clean, safe, and ready for what’s next-no full rebuilds needed.
On a final note
You’ll save time and reduce clutter by building a charging hub with centralized cable sleeving. It keeps cords organized and protects them from fraying, especially with braided nylon sleeves. Mount the hub near an outlet using adhesive metal brackets for stability. But avoid overcrowding-too many adapters cause overheating. Check manufacturer warranties before modifying cables. Test fit all devices first; some fast-charging protocols fail with extended setups.