How to Create a Soft Key Light Using a Reflector and Desk Lamp for Video Calls
Use a dimmable LED desk lamp with at least 90 CRI and color temperature control (3000K–5000K) to shape a soft key light; position it 30–45 degrees in front and slightly above eye level. Pair it with a DIY reflector-aluminum foil over stiff cardboard-placed opposite to lift shadows. Add a diffusion layer like parchment paper if needed. Avoid cheap LEDs-they flicker and distort tones. Adjust angle and brightness while previewing in your video app; results depend on room reflectivity and ambient light consistency. Fine-tuning is essential for balanced, camera-ready illumination.
Notable Insights
- Use a dimmable LED desk lamp with adjustable color temperature (4500K–5000K) to ensure natural skin tones and avoid harsh lighting.
- Position the lamp slightly above eye level and at a 30–45 degree angle to create soft facial contours without deep shadows.
- Build a DIY reflector using cardboard covered in aluminum foil to bounce light and reduce harsh contrasts on your face.
- Diffuse the lamp’s output with parchment paper or thin fabric to soften the light and minimize glare or hotspots.
- Test the setup via video preview, then adjust reflector angle, diffuser distance, and camera settings for consistent, flattering illumination.
Choose the Right Desk Lamp for Your Space
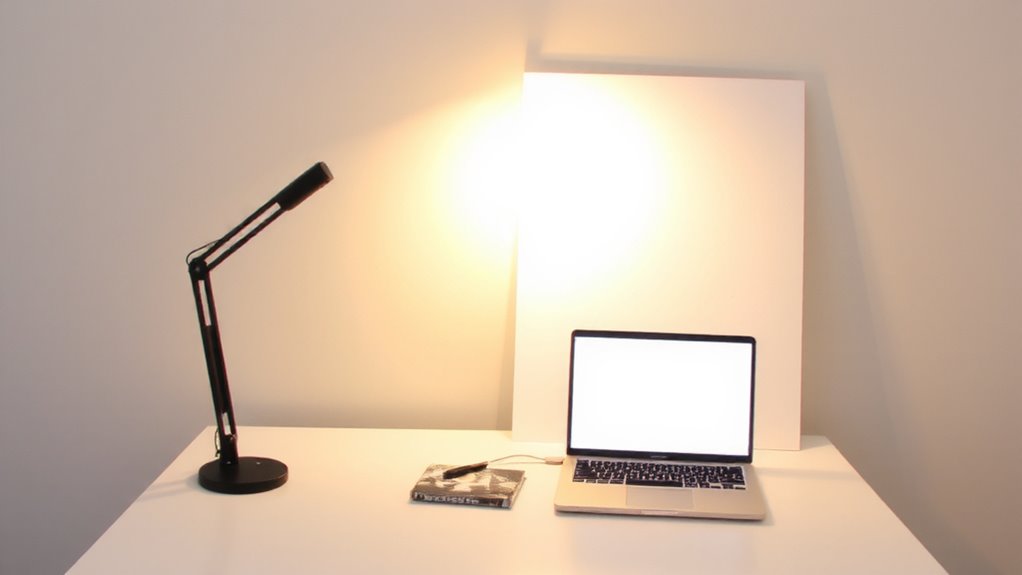
A well-chosen desk lamp can make or break your video call lighting, and your best bet is a dimmable LED task lamp with a color temperature range between 3000K and 5000K. You need control over lamp brightness to avoid harsh glares or dim, murky skin tones. A lamp with smooth dimming, not just on/off steps, lets you fine-tune output to your background and time of day. Adjustable color temperature matters just as much-cooler 5000K mimics daylight and keeps you looking alert, while 3000K adds warmth for evening calls. Pick a model with memory settings to save your preferred combo. Look for CRI values above 90 to guarantee accurate skin tones. Avoid cheap LEDs-they flicker on camera and lack precision. Brands like BenQ or TaoTronics offer reliable dimming and real-world tested performance, though they cost more. For top performance, consider one of the best desk lamps for video calls that combine adjustability, high CRI, and flicker-free output.
Position Your Key Light at the Ideal Angle

Once you’ve picked a quality lamp, getting the angle right is just as critical-place your key light slightly above eye level and about 30 to 45 degrees in front of your face, either to the side or centered. This light direction helps shape your features naturally while minimizing harshness. Positioning it too high creates unflattering shadows under your eyes and nose, undermining shadow control. At the ideal angle, you’ll achieve balanced illumination that enhances clarity without washing out your face. Avoid placing the light directly in front or behind you, as both reduce depth and dimension. Keep in mind that slight adjustments matter-shifting even 10 degrees can change the entire look. While most desk lamps allow flexible positioning, test different setups in your actual video-call environment. Results vary based on room size, wall color, and time of day, so reassess as lighting conditions change.
Make a DIY Reflector With Household Items
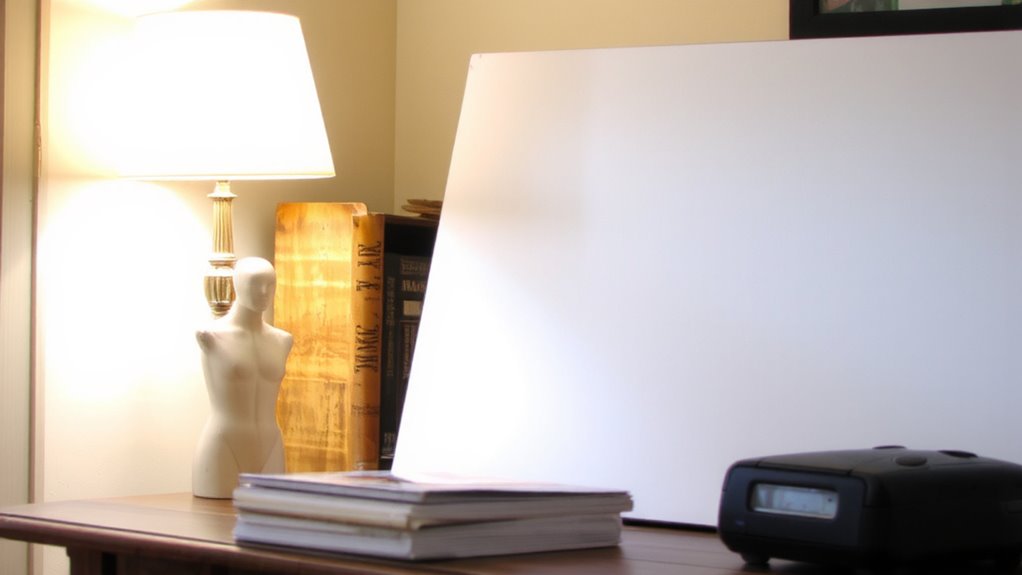
One simple trick that can make a noticeable difference in your video call lighting is using a DIY reflector made from items you already have at home. Take a stiff cardboard frame-roughly 12×16 inches works well-and cover one side tightly with aluminum foil, smoothing out wrinkles to reduce harsh glare. The foil boosts reflectivity, while the cardboard keeps it rigid and easy to position. Place it opposite your desk lamp to bounce soft light onto your face, cutting shadows without extra gear. It’s not as consistent as a professional reflector, and the foil may degrade over time, but it’s a low-cost, immediate fix. Tape or clip it to a shelf or use books to angle it just right. You’ll see better facial detail on camera, though results vary depending on room color and light intensity. It’s a smart stopgap, not a permanent solution. For optimal results, consider pairing your DIY setup with one of the best desk lamps for photography, which are designed to provide consistent, flattering light. best desk lamps for photography
Bounce and Diffuse Light for Even Facial Illumination
You’ll get far softer, more flattering light for video calls by bouncing and diffusing your existing lamp rather than shining it directly on your face. Direct light creates harsh highlights and deep shadows, but reflecting it off a white board or wall reduces light intensity and evens out illumination. Adding a diffusion layer-like parchment paper or a thin fabric-to your desk lamp further softens the glow. Maintaining a consistent color temperature (ideally between 4500K–5500K) guarantees your skin tone looks natural on camera. A well-chosen desk lamp for lawyers can provide the ideal balance of brightness, color accuracy, and adjustability to support this lighting technique. Here’s how materials affect results:
| Material | Effect on Light |
|---|---|
| White foam board | Bounces light, reduces harshness |
| Parchment paper | Diffuses, lowers intensity |
| White wall | Soft bounce, subtle fill |
| Thin cotton | Gentle diffusion, warm tint |
While these methods work well, they depend on your lamp’s output and room layout. Over-diffusing can dim the image; incorrect color temperature may distort skin tones. Adjust carefully to balance brightness and accuracy.
Test and Fine-Tune Your Setup on Camera
Now that you’ve bounced and diffused your light source to soften harsh shadows and even out facial tones, it’s time to see how it actually looks on camera-because what works in the room might not translate on screen. Fire up your video call app and check your preview: good lighting consistency means your face looks evenly lit without sudden hotspots or dark patches. Adjust the reflector angle or diffuser distance slightly if needed. Also, review your camera settings-many webcams default to auto-exposure, which can shift brightness during calls. Manually tweak brightness or white balance if your model allows it. Don’t rely solely on built-in lights; they often wash you out. Test under real conditions-sitting where you’d normally be-and check how the setup holds over 10–15 minutes. Small tweaks now prevent awkward framing or flicker later. It’s not about perfection, but clear, reliable visuals.
Adjust for Different Room Lighting Conditions
Lighting balance makes or breaks your on-camera presence, especially when ambient room conditions vary. You’ll need to adapt your reflector and desk lamp setup based on surrounding light-near a window, you might get too much daylight, while dim rooms may require brighter bulbs. Use light control to manage intensity: angle the reflector more sharply to reduce spill or move the lamp closer for strength. Check color balance carefully; mixing sunlight (cool) with tungsten (warm) bulbs creates uneven tones. Your camera’s white balance may struggle, so stick to one primary light source when possible. If you’re using LED bulbs, pick a consistent color temperature-around 5000K mimics daylight well. Test different positions as natural light shifts during the day. While this method is affordable and effective, it demands manual tweaks. No automation means more effort, but greater understanding of how light shapes your image.
Why Does Soft Lighting Matter for Video Calls?
Soft lighting smooths out harsh shadows and evens skin tone, making you look more presentable on camera without overworking the image processing in consumer webcams. It softens skin texture and supports mood enhancement by creating a calm, professional appearance. Harsh light often exaggerates flaws and causes distraction, while diffused light blends naturally with most environments.
| Benefit | Trade-off |
|---|---|
| Reduces facial shadows | Requires space for bounce/reflection |
| Evens skin texture | Less effective in overly bright rooms |
| Improves facial clarity | Needs a reflector or diffuser |
| Aids mood enhancement | Not ideal for high-contrast styles |
| Works with built-in mics | May need lamp adjustment |
You’ll need a simple setup-like a desk lamp and white reflector-to achieve this. Results vary by room size and wall color, so test positioning. While not studio-grade, it’s effective for daily calls.
On a final note
You’ll get good results with a soft key light using a desk lamp and reflector, but it’s not perfect. Position a daylight-balanced LED lamp at 45 degrees to your face and bounce it off white foam board for even illumination. This cuts harsh shadows and looks natural on camera. It’s cheap and easy, though less consistent than professional lights. Adjust if background glare or uneven brightness appears. Test live to fine-tune angles.