How to Organize Ethernet, USB, and Power Cables With Braided Sleeving
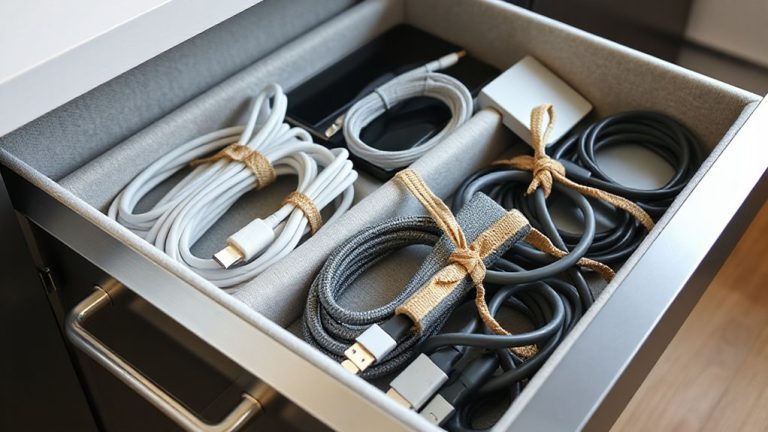
Start by grouping your Ethernet, USB, and power cables by function so they’re easier to manage. Pick braided sleeving with an inner diameter about 1/8 inch larger than your bundle-typically 6mm to 12mm-to avoid compression. Use polyester sleeving for better durability and UV resistance. Slide it on smoothly with a threading tool or silicone lube to prevent snags. Seal the ends with heat shrink tubing for a secure, clean finish that won’t loosen over time. Leave a bit of slack in bends to protect connections. Matching sleeve color to your setup improves aesthetics without sacrificing function. Proper prep now saves frustration later-and there’s more to get right.
Notable Insights
- Group Ethernet, USB, and power cables by function before sleeving to simplify organization and identification.
- Match braided sleeving’s inner diameter to the cable bundle, choosing 1/8 inch larger for a snug fit.
- Use a threading tool or silicone lubricant to smoothly insert cables into the sleeving without damage.
- Seal sleeve ends with heat shrink tubing for a secure, clean finish that prevents fraying.
- Leave 10–15% slack and secure cables with clips or raceways to maintain flexibility and neat routing.
Prep Cables for Braided Sleeving
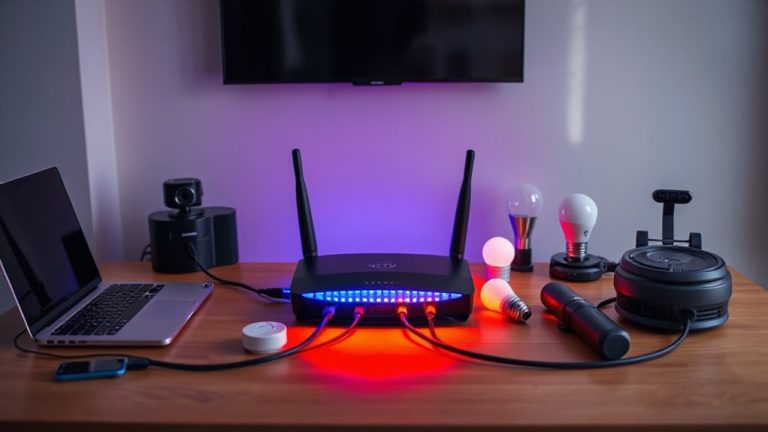
Getting your cables ready for braided sleeving starts with a solid plan-because jumping in without one can lead to tangles, uneven lengths, or wasted material. You’ll want to lay out all cables and group them by function-power, Ethernet, USB-so you can assess length needs and routing paths. Cable labeling at this stage saves headaches later, especially when routing through desks or cabinets. Mix up similar-looking cords, and you’re asking for confusion. Matching sleeving color to your setup keeps things clean, but don’t prioritize looks over function: dark colors hide dirt but may clash with lighter gear. Test-fit lengths before cutting braids, and remember, once you shorten a cable, there’s no going back. Take your time-rushing here risks frustration down the line. A well-executed setup enhances both cable management solutions and overall workspace efficiency.
Pick the Right Braided Sleeving Size
One key rule when choosing braided sleeving holds true: match the inner diameter to your cable bundle’s thickness, or you’ll end up with a tight fit that strains wires or a loose wrap that sags over time. Aim for a snug but flexible fit-typically 1/8 inch larger than your bundle’s diameter-to guarantee size compatibility. Most sleeving comes in standard sizes from 4mm to 16mm, so measure your grouped cables first. Material durability matters, too: polyester-based braids resist fraying and UV damage better than cheaper nylon blends, especially in high-traffic areas. While tighter weaves look sleek, they’re harder to stretch during installation. Overestimate slightly if using connectors, but avoid excess-it defeats the clean look you’re after. Always test fit a short segment before cutting the full length. Remember, even durable material won’t compensate for poor size compatibility. For optimal results, consider using cable management clips to secure sleeved bundles along desk grommets or edges.
Slide Braided Sleeving Over Cables Smoothly
While braided sleeving can deliver a clean, professional cable setup, sliding it over your cables smoothly depends on proper prep and technique-otherwise, you’ll fight friction and misalignment. Start by grouping your cables tightly, ensuring correct cable alignment from end to end. A misaligned bundle creates snags and makes smooth insertion nearly impossible. Use a threading tool or silicone lubricant to reduce resistance as you feed the sleeving over the bundle. Work slowly, pausing to adjust if you feel resistance-rushing can stretch or damage the braid. For thick or mixed-diameter cables, consider splitting the sleeving and wrapping it around the bundle, then securing it discreetly. While this method isn’t seamless, it still delivers a tidy appearance. Smooth insertion isn’t just about speed; it’s about patience, preparation, and maintaining consistent pressure throughout the process. A well-organized desk setup can also improve comfort during long work sessions, especially when paired with ergonomic essentials like the best active sitting chairs for better posture, including models designed for improved posture support.
Lock Down Your Braided Sleeving Ends
A single loose end can unravel the clean look you’ve worked hard to achieve, so securing your braided sleeving properly is essential. Proper cable strain relief and secure sleeve terminations prevent fraying and maintain both function and appearance over time. You have options-each with trade-offs in durability, look, and effort.
| Method | Best For |
|---|---|
| Heat shrink tubing | Permanent, tight seal |
| Zip ties | Quick fixes, temporary setups |
| Sleeve clips | Reusability, clean aesthetics |
Heat shrink offers the most reliable bond when applied with a heat gun, shrinking to 1/3 its original size. Sleeve clips snap on and preserve flexibility but may loosen under constant tension. Zip ties work in a pinch but can damage the braid if over-tightened. Whichever you choose, guarantee it doesn’t impede cable movement at connection points-strain relief matters most where cables bend.
Keep Your Setup Tangle-Free Long-Term
If you’re aiming to keep your cables tangle-free over time, planning your cable paths before tightening anything is a must. Start by grouping cables logically-power, data, and peripherals-and use braided sleeving to bundle them along clean, unobstructed routes. Cable labeling helps you identify each line quickly, making troubleshooting faster without unwrapping the whole setup. Leave about 10–15% slack in your bundles to accommodate movement and reduce stress on connections. That extra room also supports future expansion, letting you add devices without redoing your entire layout. Avoid over-tightening the sleeving, as it can compress cables and limit flexibility. While braided sleeves resist fraying and look cleaner than zip ties, they’re not ideal for high-flex areas like robotic arms or moving furniture. Test your layout with all devices powered on to guarantee no tension builds during use. With smart planning, your setup stays reliable, accessible, and genuinely tangle-free.
Use Braided Sleeving in More Home & Office Spots
Though often seen in gaming setups, braided sleeving works just as well in everyday home and office environments where clean, durable cable management matters. You’ll boost cable management aesthetics while maintaining easy access to ports and devices. Braided sleeves bundle power strips, monitor cords, and charging cables neatly behind desks or entertainment centers, supporting hidden cable routing without bulky conduits. Most kits use 1/4” to 3/8” diameters, fitting common USB-C, HDMI, and Ethernet cables without crimping. Nylon braiding resists fraying but can snag if pulled tight around sharp edges-watch routing paths. Unlike zip ties, sleeves are reusable and adjustable, though they don’t handle high heat near power supplies as well as silicone variants. Real-world testing shows minimal wear after 12 months in low-movement spots. For best results, pair with adhesive clips or raceways. Not a fix for overloaded setups-simplicity still wins.
On a final note
You’ll get cleaner, more durable cable bundles with braided sleeving, especially in high-traffic home office or desk setups. It protects wires, reduces clutter, and resists fraying better than zip ties. But measure your total cable diameter first-too tight and you strain connectors; too loose and bundles wobble. Cut cleanly with heat-activated sleeves or fray-check to seal ends. It’s not ideal for frequently reconfigured gear, since disassembly is tedious.