How to Position Monitors and Screens to Minimize Sound Reflection Off Glass
Angle your monitors 30 degrees toward your listening position and keep them at least two feet from glass to cut early reflections that blur stereo imaging. Position tweeters at ear level using stands or feet-don’t tilt. Pulling speakers further, up to 3 feet, reduces echo and boosts clarity. Add 2”–4” acoustic panels at first reflection points between monitors and windows for better control. Real playback tests and room calibration tools help fine-tune results, but trust your ears. For ideal balance, consider how layout constraints affect ideal placement.
Notable Insights
- Angle monitors 30 degrees toward the listening position to reduce direct sound reflection off glass surfaces.
- Position speakers at ear level so tweeters align with ears for accurate, uncolored audio reproduction.
- Keep monitors at least 2–3 feet from glass to minimize early reflections and boundary bass buildup.
- Install acoustic panels at first reflection points between monitors and windows to absorb mid-high frequency echoes.
- Use familiar tracks and calibration tools to test playback, ensuring clear stereo imaging and balanced response.
Angle Monitors Away From Windows
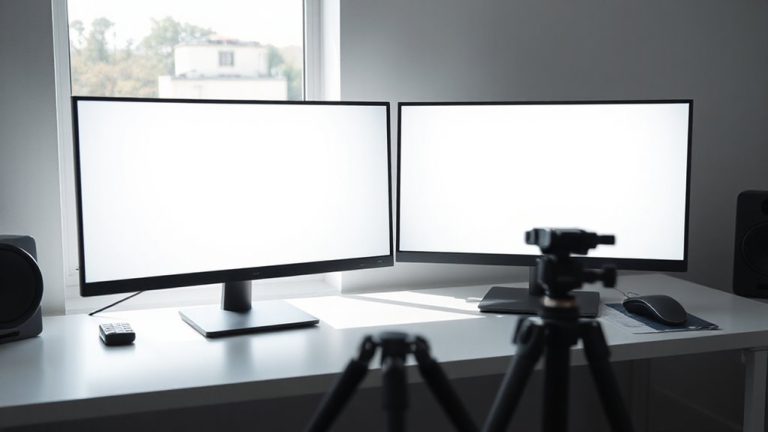
You’ll get the best sound clarity by angling your monitors away from windows, since glass surfaces cause strong early reflections that muddy audio detail. Proper monitor alignment reduces glass interference, preserving stereo imaging and transient response. Aim the speakers at a 30-degree angle toward your listening position, forming an equilateral triangle with your head. This minimizes direct sound paths to the glass, cutting comb filtering. In rooms with floor-to-ceiling windows, even heavy curtains only dampen, not eliminate, reflections-so angle and distance matter more. Keep monitors at least two feet from glass to reduce boundary reinforcement. While ideal placement isn’t always possible in tight spaces, even slight toe-in adjustments improve definition. Some modern monitors include DSP settings to compensate for reflective environments, but these can’t fully correct poor physical placement. Test alignment by playing transient-rich audio-like finger snaps or percussive acoustic tracks-and tweak angles until imaging feels tight and centered.
Set Speakers at Ear Level for Clearer Sound
Speaker height directly impacts sound accuracy-placing monitors at ear level guarantees the tweeters align with your ears, delivering an uncolored frequency response and precise stereo imaging. Proper ear alignment ensures you hear the direct sound before reflections, which is critical in untreated rooms. While stands or risers can fine-tune speaker height, avoid mounting too high or低, as off-axis listening dulls high frequencies.
| Speaker Position | Effect on Sound |
|---|---|
| At ear level | Clear highs, accurate imaging |
| Above ear level | Harsh treble, distorted imaging |
| Below ear level | Muffled mids and highs |
| Tilted upward | Compensates poorly for low height |
Adjust stands or use monitor feet to achieve ideal ear alignment. Some speakers include acoustic compensation for height, but they can’t fully correct poor placement. Always verify by listening.
Move Monitors Away From Glass to Reduce Echo
One critical step in dialing in accurate monitor placement is keeping them at least 2–3 feet away from glass surfaces, since nearby windows or glass walls create strong early reflections that muddy the stereo image and exaggerate harsh frequencies. Reducing glass proximity helps maintain clarity, especially in nearfield monitoring where precision matters. You’ll hear a cleaner stereo field and more accurate bass response when monitors aren’t bouncing sound off large reflective panes. That said, moving speakers further out might compromise your ideal listening triangle or desk layout, so measure carefully. While ideal monitor placement often conflicts with workspace constraints, even small adjustments-like angling monitors slightly inward or pulling them just beyond the 2-foot mark-can yield noticeable improvements. Don’t expect total reflection elimination, but you should hear tighter imaging and reduced echo. This fix is free and effective, though it’s just one part of a broader acoustic strategy.
Install Acoustic Panels Between Monitors and Windows
Even when monitors are properly distanced from glass, strong early reflections can still degrade sound quality, so installing acoustic panels between your monitors and nearby windows is a proven way to tighten the stereo image and reduce echo. Proper panel placement at the first reflection points-usually where sound bounces directly from monitors to glass and into your ears-helps intercept these disturbances. While glass absorption is inherently poor, adding medium-density foam or fiberglass panels 2” to 4” thick markedly dampens mid and high frequencies. Mount panels so they’re angled or positioned flush between the monitors and the window for best results. Most quality panels include fabric covers, fire-resistant materials, and mounting hardware with a 5-year warranty. They aren’t a full room treatment, though-don’t expect deep bass control. They’re most effective when used with monitor positioning, not as a standalone fix.
Test Your Setup With Real Playback Checks
How do you really know your monitor setup is working? You test it with real playback. Play familiar tracks-ones you know inside out-and listen for balance, clarity, and stereo imaging. Room calibration tools like audio measurement mics and software (think Sonarworks or REW) help identify issues, but your ears are the final judge. Walk around your listening position; sound should stay consistent. Bass trapping in corners reduces low-end buildup, letting you hear true bass response instead of room resonances. Without it, even perfect monitor placement can mislead. Be honest-if the low end feels boomy or vocals lack focus, adjust speaker angle, distance, or add more trapping. Calibration isn’t magic; it’s a starting point. Real playback checks expose what numbers miss, especially near reflective surfaces. Trust your mix only after repeated, critical listening in the actual space.
Stop Window Reflections From Distorting Your Mix
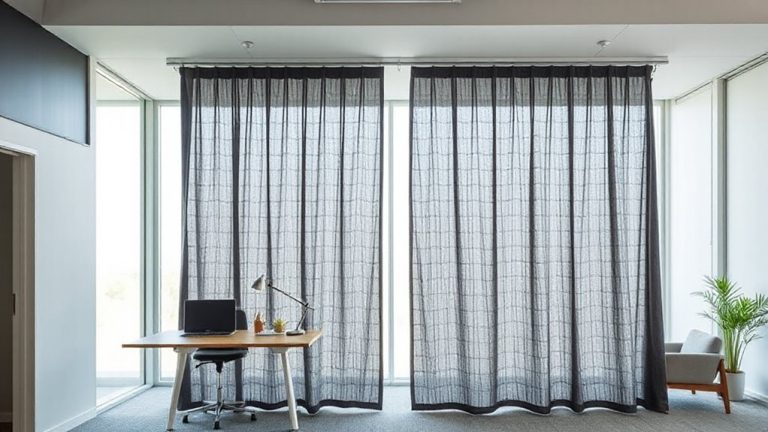
If you’re hearing a mix that feels thin or overly bright, reflections from untreated windows might be the culprit-especially since glass surfaces scatter high frequencies and blur stereo imaging. You need to break up those reflections without wrecking room symmetry, which is key for balanced stereo perception. Placing thick absorptive panels at first reflection points on windows helps, but make sure they’re at least 4” thick to manage midrange effectively. Pair that with broadband bass trapping in front corners to handle low-end buildup, which glass can exaggerate. Heavy curtains work in a pinch, but they’re less effective below 500 Hz. Avoid foam-it looks tidy but does little. While physical treatments are best, you can temporarily improve things by repositioning monitors away from glass. Just don’t sacrifice speaker-to-listener angles. Results vary by room size and window placement, so test changes with familiar tracks.
On a final note
You’ll get cleaner audio by angling monitors away from windows and placing speakers at ear level, which reduces reflected sound. Moving screens farther from glass and adding acoustic panels cuts echo, but expect to tweak placement based on room shape. Real playback tests reveal issues specs won’t. While these steps improve clarity, perfect results depend on your room’s layout and materials-no fix replaces proper testing.