How to Simulate Studio Lighting With Household Lamps for Remote Conferencing
You can simulate studio lighting with household lamps by using daylight-balanced LED bulbs around 4000K for natural skin tones and positioning a key lamp slightly above eye level in front of you. Add a second, dimmer lamp behind to separate you from the background, and diffuse harsh light with printer paper or thin fabric. Avoid warm bulbs and glare by adjusting angles-small tweaks make a big difference in look and engagement, especially if you’re optimizing for daily calls.
Notable Insights
- Use daylight-balanced LED bulbs (5000K–6500K) for accurate skin tones and consistent color.
- Position a front lamp slightly above eye level to evenly illuminate your face and reduce shadows.
- Add a dimmer backlight behind you to separate from the background without causing glare.
- Soften harsh light by diffusing with printer paper or thin fabric placed safely over the lamp.
- Match all bulbs to 4000K for natural-looking skin tones and eliminate uneven color casts.
Use Lamps You Already Own for Better Video Lighting

Lighting makes or breaks your on-camera presence, and you might already have what you need. You don’t need professional fixtures-common household lamps work if you prioritize lamp placement and color accuracy. Position a lamp in front of you, slightly above eye level, to reduce shadows. Use daylight-balanced LED bulbs (5000K to 6500K) for truer color accuracy, so your skin tone looks natural on camera. Avoid warm, yellow-toned lights from typical living room lamps-they distort facial tones. A simple floor or desk lamp with an adjustable neck gives you control over direction and intensity. While these setups won’t match studio lights, they’re cost-effective and space-efficient. Just make certain the lamp doesn’t wobble or overheat during long calls. Most household lamps lack diffusers, so avoid pointing them directly at your face. Test with your webcam preview first. Results vary, but thoughtful lamp placement gets you remarkably close. For even better results, consider lamps with adjustable brightness and color temperature, like the top-rated picks in our best office lighting guide.
Position Lights in Front and Behind for Clear Visibility
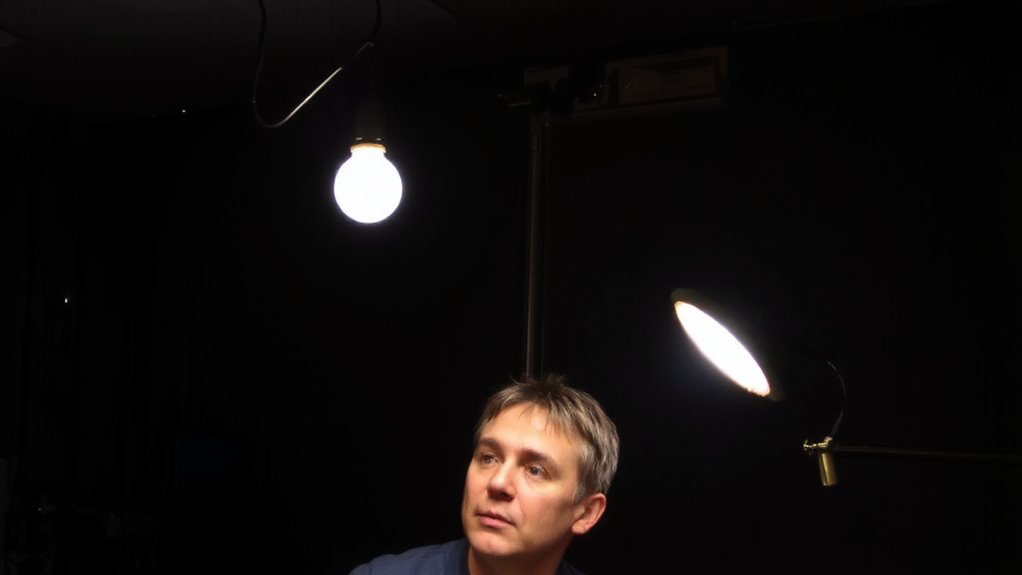
While you might not have a full lighting kit, placing one lamp in front and another behind you can dramatically improve your on-camera clarity. Use front lighting to illuminate your face evenly-position the lamp at eye level or slightly above to avoid harsh shadows. A second lamp behind you enhances backlight separation, outlining your head and shoulders so you don’t blend into the background. This setup mimics professional three-point lighting and adds depth to your image. Make sure the rear light is dimmer than the front to avoid overexposure. Don’t place it so high that it causes glare on screens. For best results, use bulbs with similar color temperatures, ideally around 5000K, to maintain natural skin tones. While this won’t replace studio gear, it’s a practical, measurable improvement that works with most webcams and conferencing apps. Consider using a best smart desk lamp for more precise control over brightness and color temperature.
Softening Harsh Light With Paper or Fabric
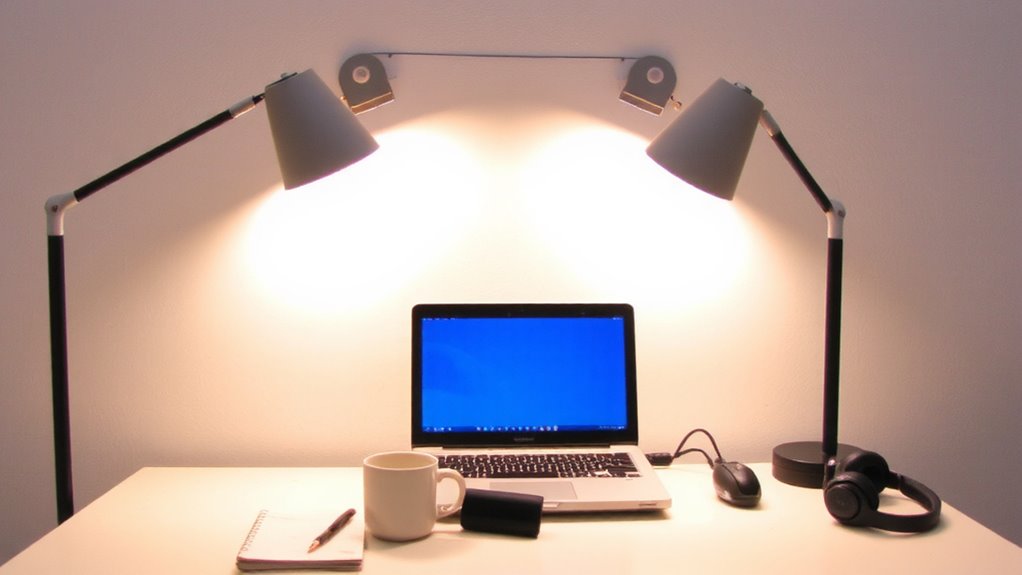
A simple diffuser made from paper or fabric can effectively soften harsh light from household lamps, helping you achieve a more flattering look on camera. You can use everyday diffusion materials like typing paper, printer paper, or thin white fabric to scatter the light and reduce harsh shadows. Attach them securely over the lampshade or between the bulb and your face using clips or tape, but keep flammable materials at a safe distance from hot bulbs. These DIY light modifiers help spread light evenly, mimicking professional softboxes. While they’re affordable and accessible, not all diffusion materials work equally well-thicker paper may block too much light, while sheer fabric offers subtler diffusion. You’ll need to experiment with distance and layering to avoid dimming your setup too much. Results vary based on lamp wattage and fabric opacity, so test under real conditions before your call. For even better results, consider using a vlogging lights setup designed for consistent, adjustable illumination.
Choose 4000K Bulbs for Natural-Looking Skin
You’ll get the most natural-looking skin tones on camera by using bulbs labeled 4000K, a color temperature that strikes a balanced mix of warmth and coolness-close to midday natural light. This color temperature renders skin tone accurately without washing you out or adding a yellow or blue cast, which cheaper bulbs often do. Lights that are too warm (2700K–3000K) add a heavy orange tint, while those above 5000K look clinical and harsh. With 4000K, your face appears even and lifelike, which helps maintain engagement. Most LED bulbs list color temperature on the packaging, so check before buying. While 4000K works well for most skin tones, very dark or very light complexions might need minor adjustments. Avoid overspending on “studio-grade” lamps; many affordable household LEDs offer reliable 4000K output with solid warranties and long lifespans.
Fix Lighting Problems Before Your Next Meeting
Why does your video call lighting still look off, even with a 4000K bulb in place? The issue might not be color temperature-it’s light direction. Poor positioning creates harsh shadows or flat faces, no matter how good your bulb is. Fix it before your next meeting with simple tweaks.
| Problem | Solution |
|---|---|
| Harsh shadows | Move lamp to 45-degree side angle |
| Washed-out face | Lower brightness or add diffusion |
| Uneven color temp | Use only 4000K bulbs |
| Dull appearance | Add front-facing key light |
| Glare on forehead | Adjust light direction slightly upward |
Position your lamp to the side and slightly above eye level. Avoid backlights. Mix soft, diffused sources if needed. Test angles 10 minutes before a call. Even with ideal color temperature, light direction makes or breaks realism.
Why Good Lighting Makes You Look More Engaged
When you’re lit well, your expressions become easier to read, which makes you come across as more present and attentive-even on grainy video feeds. Good lighting enhances your facial expressions and helps maintain natural eye contact, both critical for clear communication. Bright, diffused light from a desk lamp with a 2700–3000K color temperature mimics professional setups, reducing shadows that hide subtle emotions. Position the light source slightly above eye level and in front of you to avoid flat or harsh results. While ring lights boost engagement visually, they can create reflections on glasses. Softbox-style lamps offer more flattering coverage but take up space. Most household LED lamps work if you adjust positioning and intensity. Just don’t overdo brightness-distorted video or squinting harms credibility. Test your setup in a mirror or via self-view to fine-tune angles, ensuring your face stays evenly illuminated during meetings.
On a final note
You can get decent studio-like lighting with household lamps, but manage expectations. Position a 4000K bulb in front for even facial illumination and another behind to separate you from the background. Soften harsh shadows with parchment paper or a white sheet. It works in a pinch, though dedicated softboxes offer more control. You’ll save money, but setup time increases, and heat from incandescent bulbs may be uncomfortable during long calls.