How to Use a Glare Analysis App to Find Optimal Monitor Placement
You can use a glare analysis app to find the best monitor placement by scanning your workspace with your phone’s camera and ambient light sensor. Position your device where your screen will go, grant camera access, and follow prompts to measure reflections from windows or lights. The app shows real-time color-coded hotspots-red and yellow areas mean high glare, blue means low. Avoid placing the monitor facing direct light or under bright overheads. Test at different times of day, since sunlight changes can shift glare patterns considerably. Calibrate at eye level during typical work hours for accurate results. Apps with 4.5+ star ratings across iOS and Android tend to be reliable, but even free versions can deliver solid performance if they’ve been tested in office environments. Matte screens help reduce glare, though they soften image sharpness slightly. Let the app guide small adjustments in monitor angle or desk position until hotspots fade. Pair app feedback with indirect lighting, blinds, or matte screen protectors for best outcomes. You’ll see how simple tweaks boost comfort and clarity.
Notable Insights
- Position your device’s camera where the monitor will go and calibrate during typical lighting conditions for accurate glare analysis.
- Choose a glare analysis app with high ratings, cross-platform support, and ambient light sensor integration for reliable results.
- Grant camera access and align sensors at eye level to ensure the app accurately captures screen reflection and viewing angles.
- Scan in real-time from your seated position to identify glare hotspots caused by windows, overhead lights, or room reflectivity.
- Use color-coded feedback to reposition the monitor and adjust lighting or window treatments for minimal glare and optimal visibility.
Understand What Causes Monitor Glare
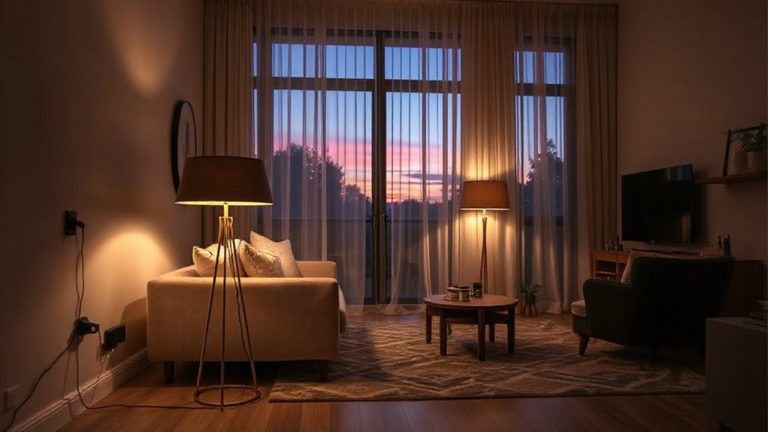
You’re likely dealing with monitor glare because of how light interacts with your screen’s surface, and understanding the sources helps you fix it. Screen reflection occurs when overhead lights or windows bounce off the display, washing out content and straining your eyes. This glare intensifies on glossy screens, which offer vibrant colors but poor light diffusion. Matte finishes reduce reflection by scattering incoming light, though they can soften image clarity slightly. Positioning matters just as much-the angle between your monitor and light sources affects how much glare you experience. Even with ideal placement, uncontrolled ambient light undermines visibility. You’ll want to assess both natural and artificial lighting throughout the day. While anti-glare coatings help, they’re not a complete fix if your setup ignores light diffusion principles. Balancing screen type, room layout, and lighting direction gives you the best shot at clear, comfortable viewing-without relying solely on gear.
Pick the Best Glare Analysis App
How do you know which glare analysis app truly delivers accurate results? You focus on proven tools with strong user reviews and solid app compatibility. Look for apps tested across diverse lighting environments, especially those designed for professional workstation setups. Real feedback shows which tools consistently detect glare angles within 5 degrees of measured values.
| Feature | Why It Matters |
|---|---|
| High user reviews (4.5+ stars) | Indicates reliability and real-world accuracy |
| App compatibility with iOS, Android & desktop | Guarantees seamless use across your devices |
Don’t assume premium means better-some free apps perform as well as paid ones. But always check if the app works with your device’s ambient light sensors. Limited compatibility can skew results. Trust community feedback, but test the app yourself under your typical lighting.
Set Up and Calibrate the App
While choosing the right app is important, setting it up correctly matters just as much if you want reliable glare readings. First, grant the necessary app permissions-especially camera access-so it can analyze light reflections accurately. Without them, the app can’t function as intended. Navigate the user interface to begin calibration, usually by positioning your phone’s camera where your monitor will sit and following on-screen prompts. Calibration often involves measuring ambient light under typical room conditions, so test during the time of day you use your workspace most. A well-designed user interface makes this process intuitive, but missteps-like skipping surface alignment or ignoring light source labels-can skew results. Remember, even a high-rated app delivers poor data if calibration is rushed. Take your time to guarantee sensors align with your actual eye level and view angle for meaningful output.
Use the App to Scan Your Workspace
Where should you actually place your monitor for minimal glare? Start by using the app to scan your workspace-hold your phone or tablet steady and let it capture light conditions from your usual seating position. The app evaluates screen orientation and ambient reflection, showing how window light or ceiling fixtures affect visibility. You’ll need to adjust your monitor’s angle or location based on real-time feedback, since even slight shifts matter. Keep in mind that anti-glare coatings help, but won’t fix poor placement. Avoid facing windows directly or under bright overhead lights. While the scan is fast and accurate, results depend on your room’s lighting at that moment-scanning at different times of day gives a fuller picture. This step doesn’t offer solutions yet, but it reveals what’s really affecting your screen.
See Glare Hotspots in the App’s Display
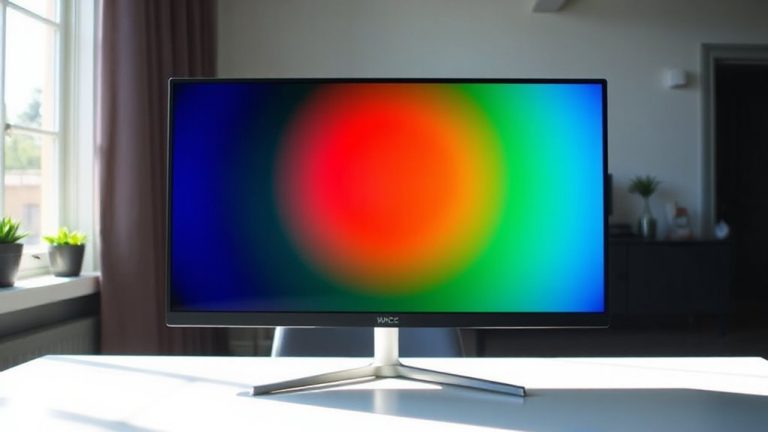
What does the app actually show when it detects glare? It maps glare patterns across your screen in real time, highlighting areas where reflection intensity peaks. You’ll see color-coded hotspots-reds and yellows indicate strong reflections, while blues show minimal impact. These visuals help you identify problematic light sources, like windows or overhead fixtures, that create uncomfortable viewing conditions. The app’s display isn’t perfect; it relies on your device’s camera quality and ambient light changes, so results can vary slightly between scans. Still, it’s a reliable tool for spotting consistent glare zones. Use this data to understand how light interacts with your monitor surface throughout the day. Just remember, while hotspots guide adjustments, they don’t account for personal comfort preferences. You’ll need to balance what the app shows with how your eyes feel during extended use.
Reposition Your Monitor Using Live Data
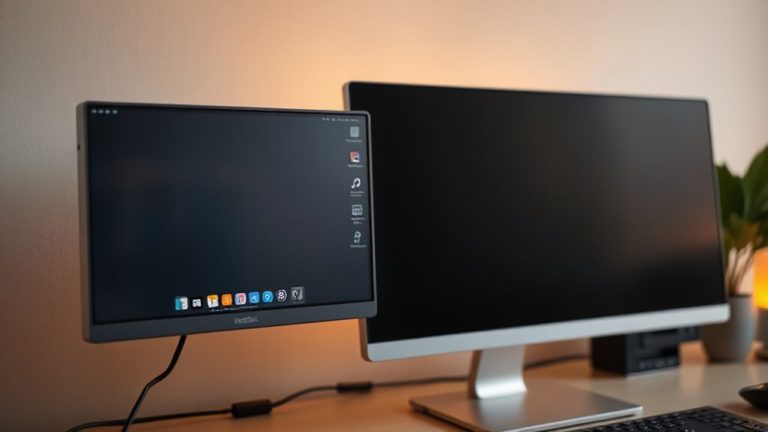
How can you make the most of those color-coded glare maps? Use them to guide real time adjustments as you move your monitor. Watch the app’s display shift as glare intensifies or fades-this immediate feedback helps you locate sweet spots quickly. Position your screen where glare diminishes, but don’t sacrifice ergonomic alignment just to chase a cool blue zone. Your top priority should be a setup where your eyes stay level with the top of the monitor, arms at 90 degrees, and the screen about an arm’s length away. You might need to compromise between ideal lighting and posture. Some users tilt or rotate their monitor slightly, testing angles until both comfort and visibility improve. Remember, live data is helpful, but it’s not flawless-ambient light changes throughout the day, so reassess periodically for lasting results.
Fix Lights and Windows Based on App Feedback
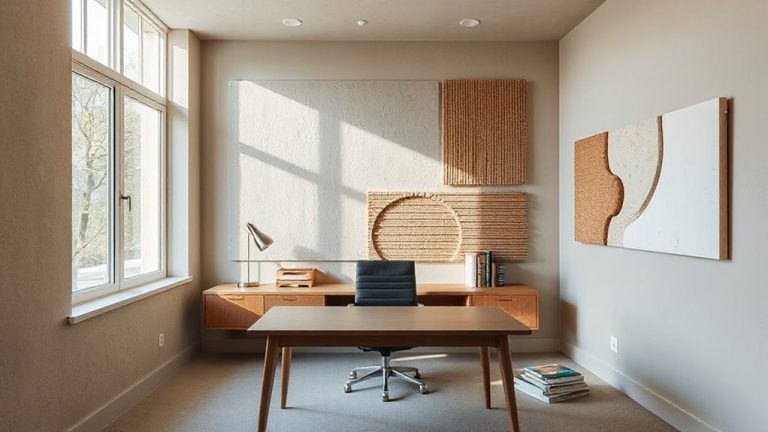
You’ve used the glare app to find the best monitor position, but if your lights or windows are still causing strong reflections, no amount of screen adjustment will fully solve the problem. Start by repositioning artificial lights-overhead fluorescents and unshielded bulbs often create harsh glare. Switch to softer, indirect lighting placed behind or to the side of your monitor. For natural lighting, align your desk perpendicular to windows to reduce direct sun on the screen. Even then, brightness changes throughout the day, so window treatments are essential. Install adjustable blinds or blackout curtains to control sunlight without cutting it out completely. These let you fine-tune exposure during peak hours. While polarized film helps, it can slightly distort outdoor views. No solution is perfect, but combining smart lighting choices with effective window treatments gives you reliable control. Balance comfort, visibility, and energy use for long-term workspace success. Consider reviewing the Best Blinds on Amazon to find options that offer precise light control and easy adjustability.
On a final note
You should use a glare analysis app-it gives precise feedback on light interference that you can’t spot by eye. These tools map glare hotspots from windows or lights, helping you position your monitor for comfort and screen visibility. Just remember: phone sensors vary, so calibrate carefully and double-check results under normal room lighting. It’s smart tech, but works best when paired with simple fixes like repositioning or adjusting blinds.