Mounting Vertical Displays for Document Reference Without Craning Necks
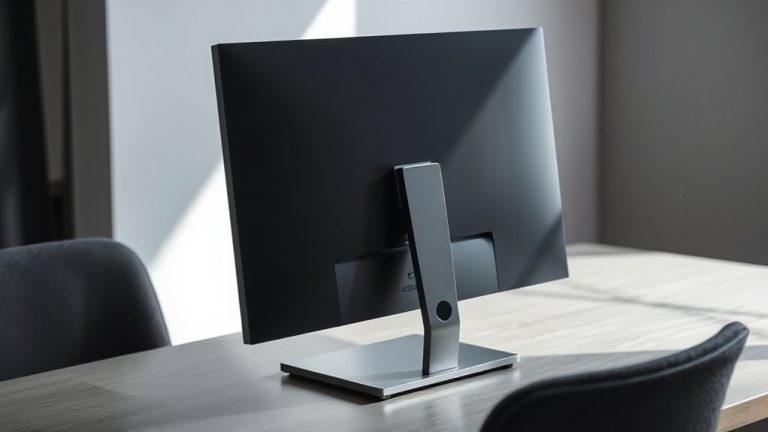
Mounting your monitor vertically cuts neck strain by aligning the screen’s top third with eye level, reducing downward gaze by up to 30 degrees. Use a display with 90-degree pivot and VESA compatibility (usually 100x100mm), paired with a steel-reinforced arm rated for your monitor’s weight. Set the top at or slightly below eye level, about an arm’s length away, with a slight rear tilt. This setup minimizes head movement and scrolling in document-heavy workflows. Look for mounts with at least a 5-year warranty and avoid plastic joints. Some screens pivot poorly, so test movement before final setup. You’ll find ideal positioning depends on desk height, chair, and whether you wear progressive lenses. Small adjustments make a big difference in comfort over long sessions.
Notable Insights
- Position the top third of the vertical monitor at eye level to minimize neck flexion and reduce strain.
- Use a monitor with full pivot support and height adjustment for optimal ergonomic alignment.
- Choose a sturdy mount with steel-reinforced arms and adequate weight capacity for stability.
- Maintain an arm’s length distance and slight tilt to enhance comfort during document referencing.
- Ensure proper cable management and lighting to reduce distractions and eye fatigue.
How Neck Pain Hurts Productivity
Why do so many people overlook the impact of neck pain on their daily focus and efficiency? You’re likely compromising both. Poor ergonomic posture forces your neck into strained positions, especially during long screen sessions. That constant tension doesn’t just ache-it drains mental stamina and slows task completion. Even slight misalignments can trigger eye strain, worsening fatigue and reducing accuracy. Over time, this dulls concentration and increases error rates, particularly in detail-heavy work. While adjusting seating or desk height helps, few realize how much monitor placement contributes. Without proper alignment, you’re fighting discomfort all day, even if you don’t notice it. Still, fixes aren’t always simple-some desks limit adjustability, and not all mounts offer fine-tuned tilt or rotation. Results depend heavily on your setup’s compatibility and your willingness to recalibrate regularly. Neck pain’s real cost isn’t just physical-it’s the quiet hit to your productivity you haven’t accounted for. Choosing the right seating solution can significantly reduce upper body strain, especially when paired with proper display positioning, and investing in an ergonomic chair can enhance long-term posture and comfort.
Why a Vertical Monitor Solves It
When your screen sits too low or too far off-center, you end up straining your neck just to keep up with your workload-but switching to a vertical monitor setup can correct that alignment issue right at the source. You gain immediate ergonomic benefits by aligning the top third of the screen at eye level, reducing neck flexion by up to 30 degrees. This posture cuts fatigue during long sessions and supports sustained screen readability, especially for documents and code. Text runs naturally down the display, minimizing the need to scroll or tilt your head. Most modern monitors with height-adjustable stands and pivot functionality make this easy to achieve. Just guarantee your desk has enough depth-vertical layouts need about 20 inches of clearance. While productivity improves for reading-heavy tasks, creative or multitasking workflows might require rotating back to landscape. The fix isn’t universal, but for document work, it’s a proven, measurable upgrade.
Can Your Monitor Handle Vertical Mounting?
You’ll want to confirm your monitor can actually pivot before committing to a vertical setup-many modern displays support it, but not all do. Check display compatibility by reviewing your model’s specs for VESA mount support and rotational range. Most business and productivity monitors offer 90-degree pivoting, while gaming or ultrawide displays often lack this feature. Meeting hardware requirements usually means a 100x100mm VESA pattern and a monitor under 25 lbs. For reliable performance, look for mounts that offer tool-free installation as featured in top-rated models. Below is a quick reference:
| Monitor Type | Pivots? | VESA Support |
|---|---|---|
| Standard 24″ IPS | Yes | 100x100mm |
| Ultrawide Curved | No | 200x100mm |
| 27″ 4K Business | Yes | 100x100mm |
| Budget 22″ HD | No | 75x75mm |
| Professional OLED | Yes | 200x100mm |
Always verify manufacturer specs-some units list pivot support but deliver stiff or wobbly motion.
Pick the Best Mount for Stability
While not all mounts deliver equal support, choosing one built for stability means prioritizing solid materials, proper weight rating, and secure joint construction. You need a mount that won’t wobble under daily use, so check the weight capacity-your display must fall within the range, ideally near the middle for best balance. Look for steel-reinforced arms and solid clamping mechanisms that anchor firmly to your desk. A good tilt range (typically -15° to +15°) lets you adjust without losing rigidity. Avoid ultra-thin arms or plastic joints; they may save money but sacrifice reliability. Even with vertical mounting, a stable mount won’t drift or sag over time. Read manufacturer specs closely-some list maximum weight but don’t account for leverage from extended arms. Opt for brands with at least a 5-year warranty, as they usually back real-world durability.
Set the Ideal Height and Viewing Angle
How often do you adjust your screen, only to end up with neck strain or glare on the display? Set the top of your vertical display at or slightly below eye level-this guarantees proper ergonomic alignment and reduces neck fatigue. Position the screen about an arm’s length away, tilting it 10–20 degrees back for maximum visual comfort. Avoid mounting too high, especially on walls, since even small angles add up over hours. Most users find 15 degrees is a sweet spot, balancing readability and glare reduction. If you wear progressive lenses, you may need to lower the screen further. Test adjustments over a full workday; discomfort can take time to appear. Remember, ideal height varies by desk, chair, and posture-there’s no universal mount setting. Fine-tune based on your setup, not defaults.
Keep Cables Tidy and Out of Sight
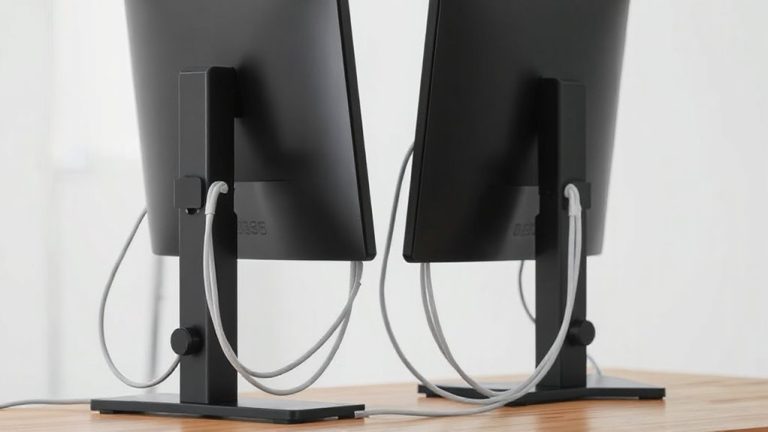
A clean cable setup isn’t just about looks-it directly affects how smoothly your workspace functions. Good cable management reduces clutter, prevents tripping hazards, and makes adjustments easier when repositioning your vertical display. Hidden routing keeps power and data lines discreet, often through mounts with built-in channels or desk grommets. While it takes extra time upfront, the payoff is a sleek, professional setup that’s simpler to maintain. For optimal results, consider using braided cable sleeves to bundle and organize exposed wires neatly.
| Method | Best For |
|---|---|
| Adhesive clips | Temporary setups, low-cost fix |
| In-desk conduits | Permanent installs, hidden routing |
| Braided sleeves | Exposed cables, quick cable management |
Hidden routing options often require drilling or specific desk types, so verify compatibility before buying. Not all desks support internal cable paths-measure openings and check warranty terms first.
Best Desk Setups for Vertical Screens
If you’re adding a vertical screen to your desk, your best bet is a sit-stand converter or a deep L-shaped workstation that supports secondary monitor placement off-center. These setups let you position the display at eye level when sitting or standing, reducing neck strain. Pair it with ergonomic chairs that offer lumbar support and adjustable height to maintain proper posture over long stretches. Make sure your desk lighting comes from the front or side to prevent glare on the vertical screen-avoid overhead lamps that cast shadows or reflections. While vertical monitors save space and improve document readability, they require careful alignment with your primary screen to avoid constant head turning. Also, not all desk mounts support portrait mode without wobbling, so check weight compatibility and pole thickness. Test configurations for at least a week before finalizing.
On a final note
A vertical monitor boosts comfort and focus if set up right. Mount it so the top stays at or below eye level to avoid neck strain, and use a VESA-compatible arm for smooth height and tilt adjustments. You’ll gain space and readability, especially for documents and code-but heavy monitors need sturdy mounts, and not all desks fit large arms. Check weight limits, warranty, and cable management options to avoid clutter and guarantee long-term stability.