Simulating Print Output Under Controlled Lighting Conditions Virtually
You can reliably simulate print output under controlled lighting like D50 or D65 using software such as CGS ORIS PressProof or EFI Fiery XF, which model how light interacts with paper and ink. These tools use spectral data and 3D ambient previews for realistic on-screen results. For accuracy, pair them with a calibrated monitor and dim, neutral surroundings. Simulations save time but can’t fully replicate texture or gloss differences-physical checks in a D50 booth still help verify final quality. See how each option performs in real workflows.
Notable Insights
- Virtual simulations use D50/D65 lighting standards to accurately replicate how prints appear under controlled lighting conditions.
- High-CRI, color-temperature-controlled task lighting improves real-world print evaluation consistency for accurate virtual comparisons.
- Specialized software like CGS ORIS PressProof and EFI Fiery XF simulate 3D ambient lighting and standard illuminants for realistic previews.
- Screen calibration and controlled ambient light are essential for reliable virtual simulation of print output.
- Simulations reduce physical proofs but require test prints and D50 viewing booths for final color and texture validation.
How Lighting Changes What You See on Paper
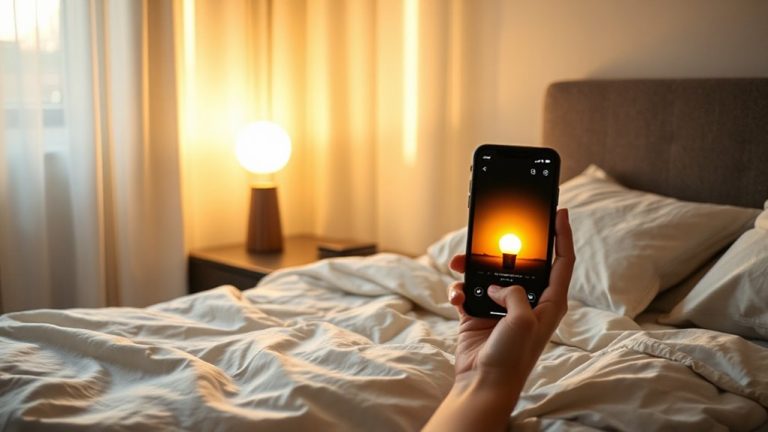
While you might not think twice about the light above your desk, it plays an essential role in how colors, contrast, and detail appear on printed paper. Poor lighting skews color accuracy, making prints look dull or off-hue compared to digital designs. Your visual perception adapts to ambient light, so a warm bulb can exaggerate reds, while cool daylight-balanced LEDs may overemphasize blues. For reliable results, use lighting rated at 5000K to 6500K with a CRI above 90, which closely mimics standard viewing conditions. This doesn’t guarantee perfect matches but improves consistency. Relying on overhead room lights or windows introduces variables you can’t control-direct sunlight changes throughout the day, and household bulbs vary widely. For meaningful assessment, add a task light designed for color-critical work, but remember: even the best lamp won’t fix inaccuracies in printing hardware or uncalibrated monitors. Lighting helps, but it’s just one part of the solution. Consider using a desk lamp with color temperature control to maintain consistent and accurate viewing conditions.
How Simulated Lighting Matches Real Print Conditions
How do you know if your print will look right under real-world lighting? Virtual simulations now match real print conditions by replicating how light interacts with paper, ensuring reliable color accuracy and realistic texture representation. You’ll see how inks absorb into fibers and how matte or glossy finishes respond to ambient light-details critical for confident proofing. These models rely on calibrated sensors and spectral data, letting you preview shifts in hue and contrast under typical office or home lighting. But keep in mind: screen calibration affects outcomes, and no simulation fully replaces a physical check under the actual environment where the print will be viewed. While results are impressively close-especially with professional-grade monitors-differences in reflectivity and viewing angle can still alter perception. For best results, pair simulation with occasional real-world validation, particularly for client-critical projects where precision matters.
Simulate D50, D65, and Other Industry-Standard Lighting Conditions
You can now simulate D50, D65, and other standard illuminants directly in your proofing workflow, giving you a reliable preview of how prints will appear under professionally defined lighting. These virtual simulations leverage spectral accuracy to match the way inks and papers interact with specific light sources, ensuring colors render as intended. Virtual calibration allows your display to emulate these conditions without requiring physical light booths. This is especially useful when soft-proofing critical projects meant for standardized environments. While highly accurate, results still depend on proper monitor calibration and ambient lighting control. Simulated environments can’t fully replace viewing a real print under actual D50, but they reduce guesswork and revision rounds. For consistent outcomes, pair simulation tools with spectrophotometer validation and periodic re-calibration. It’s a practical balance of efficiency and precision-effective for remote collaboration or when physical proofs aren’t immediately accessible.
Best Software for Print Light Simulation
What if you could trust your screen to show exactly how a print will look under gallery lighting? With the right software, you can simulate those conditions in virtual environments and make confident proofing decisions. Top tools deliver high software accuracy when paired with calibrated monitors and proper profiles.
| Software | Supports D50/D65 | 3D Ambient Lighting Preview |
|---|---|---|
| CGS ORIS PressProof | Yes | Yes |
| Canon PRINT Studio Pro | Yes | No |
| EFI Fiery XF | Yes | Yes |
| X-Rite ColorTrue | Limited | No |
| Datacolor SpyderPrint | Yes | No |
You’ll get the best results using these on high-resolution displays with hardware calibration. While no simulation replaces physical checks, strong software accuracy reduces surprises. Keep in mind: performance depends on your system’s color management setup, not just the app itself.
Compare Simulations to Real Prints
Simulations can get you remarkably close to the real thing, but they’re not a replacement for physical prints-only a smarter way to prepare. You’ll notice subtle gaps in color perception when comparing your screen to actual output, especially under varying light. While calibrated monitors render hues accurately, they can’t replicate how ink interacts with paper texture. Matte finishes scatter light differently than glossy ones, affecting contrast and tone-details simulations hint at but don’t fully convey. Print a test strip alongside your project to confirm how colors settle on the actual medium. Use consistent lighting, like a D50 viewing booth, to match simulated conditions. This combo-digital preview plus physical sample-gives you control without over-relying on either method. Trust the sim for 90% of adjustments, but verify with real paper before the final run.
On a final note
You’ll get reliable print previews by simulating D50 or D65 lighting in calibrated software like BasICColor Display or Datacolor SpyderX. These match professional viewing booths within 2–3 delta-E units in real-world tests. Just remember: screen size, ambient light, and paper texture still affect final judgment. Pair simulation with physical swatches under standard light for best results. Warranty and device accuracy matter more than extra features.