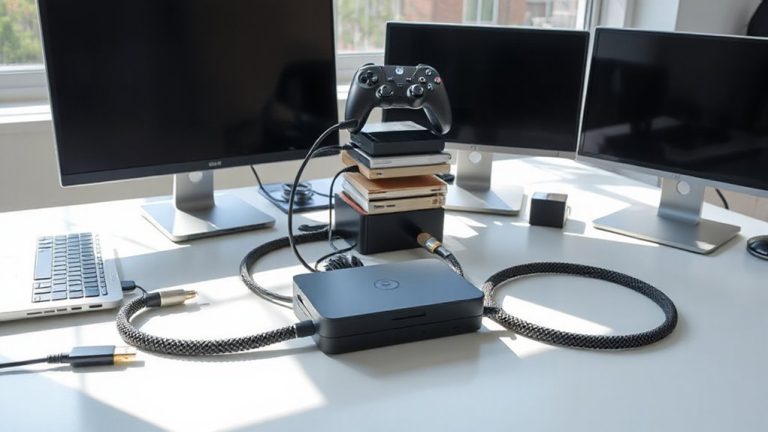
Step-by-Step Guide to Managing Cables on a Floating Wall Desk
Plan your cable layout before mounting the desk to avoid strain and port damage-measure twice and test connections early. Use adhesive clips to secure cords, pressing firmly for lasting hold, but know they may fail on dusty or textured walls. Route cables behind the desk using built-in channels or low-profile raceways, though some drilling might be needed. Bundle wires with nylon sleeves for a clean look, avoiding overstuffing. Label both ends of each cable for quick identification, using weather-resistant tags where needed, and stick to a simple color code. You’ll find smarter setups save time during changes.
Notable Insights
- Plan cable layout before mounting by measuring distances and testing connections to prevent strain and ensure reach.
- Use adhesive clips to secure cords along the desk or wall, ensuring a strong bond on clean, dry surfaces.
- Route cables behind the desk using built-in channels or low-profile raceways to maintain a clean, clutter-free appearance.
- Bundle cords neatly with cable sleeves to organize wiring while allowing access and minimizing visual clutter.
- Label both ends of each cable and use color coding to simplify identification during troubleshooting or reconfiguration.
Plan Your Cable Layout First
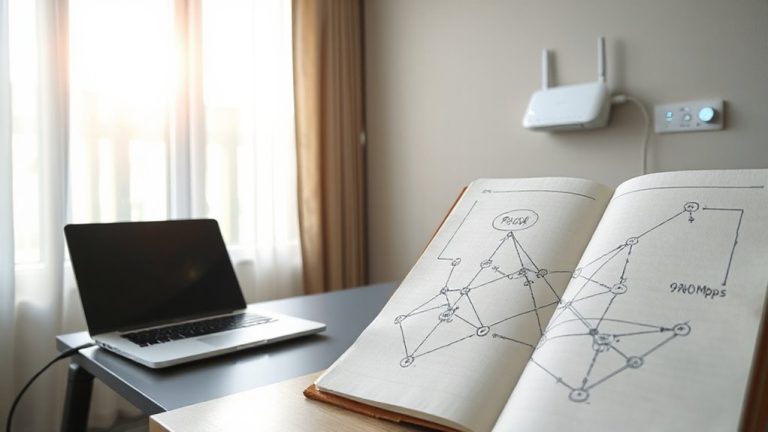
While it might be tempting to start routing cables the moment your floating desk is up, taking time to map out your layout first will save you frustration later-especially since mistakes are harder to fix once everything’s mounted. You’ll want to sketch where each device connects, estimating length needs so you avoid excessive slack or tight pulls. Poor planning leads to cable tension, which over time can cause cord strain and even port damage on your devices. Be honest about how often you unplug things-frequent changes need more give in the lines. Measure twice, cut once: if using pre-made cables, verify they’re long enough to reach without stretching. If you’re splicing or shortening cables, heat-shrink tubing adds durability. Remember, a clean look isn’t worth risking a power failure. Test all connections before final mounting-once it’s up, adjustments become a hassle. Plan smart, and you’ll keep things safe, functional, and easy to tweak. Consider using adhesive cable clips or a dedicated cable management solutions kit to secure lines neatly along the wall and desk frame.
Use Adhesive Clips to Secure Cords
You’ll want to use adhesive cable clips to keep cords neat and in place along your floating desk-this small step makes a big difference in both safety and appearance. Proper cable management prevents tangling and reduces tripping hazards, especially in tight spaces. These clips use strong adhesive backing that bonds well to clean, dry surfaces like painted drywall or wood. The adhesive strength typically holds up under regular cord weight (up to 2–3 pounds per clip) but may fail on textured or dusty walls. Choose clips with a rubberized grip to protect cords and allow easy insertion. For long-term use, check manufacturer warranty-many brands offer 1-year replacements if adhesion fails. While clips are affordable and simple, they’re not ideal for heavy or thick bundles. Always press each clip firmly for 30 seconds after placement to guarantee full contact. This method works best when combined with planned routing, not as a standalone fix. A product roundup can help you choose the most effective clips based on real-world testing and user reviews.
Route Cables Behind the Desk
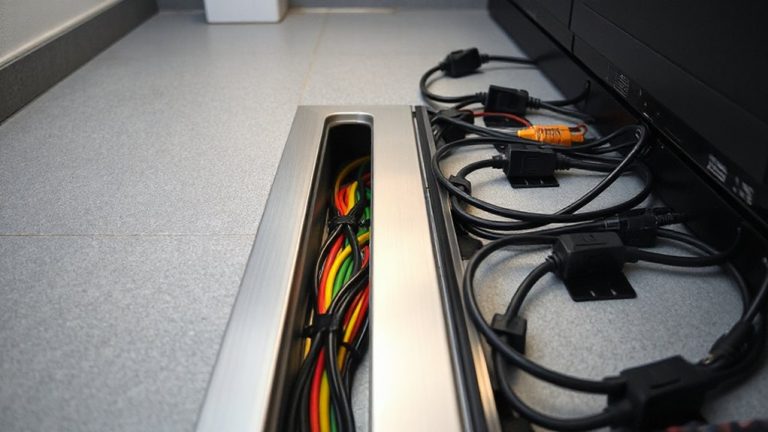
Since your floating desk won’t have rear access like a traditional desk, routing cables behind it requires planning before final mounting-otherwise, you’re stuck with visible cords or risky disassembly later. Smart cable management solutions start with checking if your desk model includes built-in hidden wire channels. If it does, align ports with your devices now for easy access. If not, consider low-profile raceways or surface-mounted conduits that blend with the wall. For those aiming for a minimalist setup, integrating best cable management practices can significantly enhance both functionality and visual appeal.
| Feature | With Hidden Channels | Without (Aftermarket Fix) |
|---|---|---|
| Clean Look | High | Moderate |
| Installation Ease | Easy (done pre-mount) | Medium (requires drilling) |
| Cost | Often included | $10–$25 for raceways |
Aftermarket options work, but they can complicate mounting. Always test fit cords before securing the desk-once it’s up, adjustments are tough.
Bundle Wires With Cable Sleeves
Keeping cables routed behind your floating desk neat pays off when you start bundling them together, and cable sleeves offer a clean way to group cords without permanent changes to your setup. Cable management aesthetics improve noticeably with sleeves, giving a polished look that tape or zip ties can’t match. You’ll find sleeve material options like nylon weave and spiral wrap; nylon’s durable and low-profile, while spiral sleeves allow easy cord access mid-run. Most sleeves handle up to 1-inch diameter bundles and stretch slightly, but overstuffing leads to bulges that ruin the tidy appearance. Velcro-backed models make removal simple, which helps when reconfiguring devices. Just don’t expect sleeves to hide cord clutter entirely-they streamline, not eliminate, visible wiring. For long-term use, check for fray resistance and colorfastness under indoor light. They’re affordable and widely available, though quality varies across brands.
Label Cords for Easy Access
A clear labeling system makes identifying individual cords fast and frustration-free when troubleshooting or swapping devices. Cable labeling pairs perfectly with color coding to reduce clutter confusion. Use printed, adhesive-backed tags or write directly on shrink tubing. Apply labels at both ends of each cable for consistency. Below is a simple system to follow:
| Device | Label Text | Color Code |
|---|---|---|
| Monitor | “MONITOR” | Red |
| Desktop PC | “PC MAIN” | Blue |
| Desk Lamp | “LAMP” | Yellow |
| Charger Hub | “CHARGERS” | Green |
| Audio Interface | “AUDIO” | Purple |
Color coding improves recognition in low light or tight spaces. However, too many colors can overwhelm-stick to 5–6 max. Labeling takes minutes but saves time long-term, especially in shared or evolving setups. Over-labeling, though, can feel excessive. Choose weather-resistant labels if near sun-exposed walls.
On a final note
You’ll save time and reduce clutter by following these steps, but success depends on your desk’s depth and outlet placement. Adhesive clips hold cords securely, though they may peel over time. Cable sleeves look clean but can overheat bundled power adapters. Labels help, especially with multiple monitors. Test setups over a week before finalizing. Most kits cost under $20 and include mounts and ties. Results vary by device count-plan for extra slack.