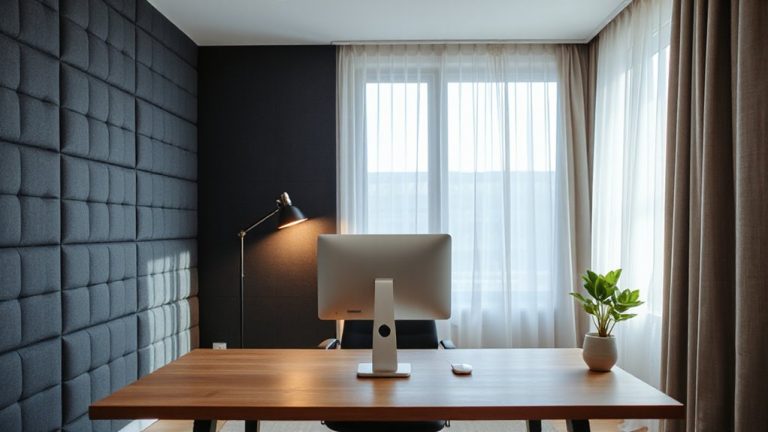
Using an External Camera Instead of a Laptop for Better Framing and Clarity
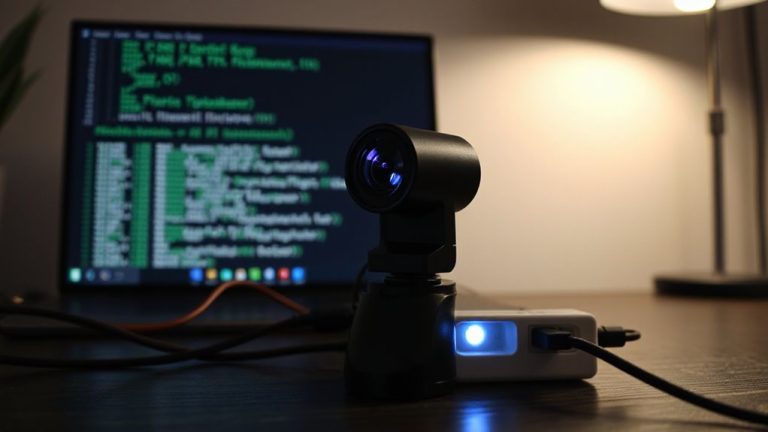
You’ll get sharper images and better color accuracy with an external camera, especially in low light, thanks to larger sensors and wider apertures. It lets you frame yourself at eye level, avoiding unflattering angles. Most models plug in via USB and work instantly, though some need USB-C or software for full features. While 1080p is plenty-since platforms downscale-check reviews for real-world performance. Models like the Logitech C920 or Anker PowerConf C200 offer solid build, two-year warranties, and consistent results without overspending. There’s more to get right with placement and lighting.
Notable Insights
- External cameras offer sharper images and better color accuracy than most built-in laptop webcams.
- Larger sensors and adjustable apertures improve low-light performance and depth-of-field control.
- Positioning an external camera at eye level enhances framing and maintains natural eye contact.
- Most external webcams connect via USB and work plug-and-play with major conferencing apps.
- Models like the Logitech C920 or Anker PowerConf C200 deliver strong value under $100.
Fix Your Laptop Camera’s Bad Angle and Quality
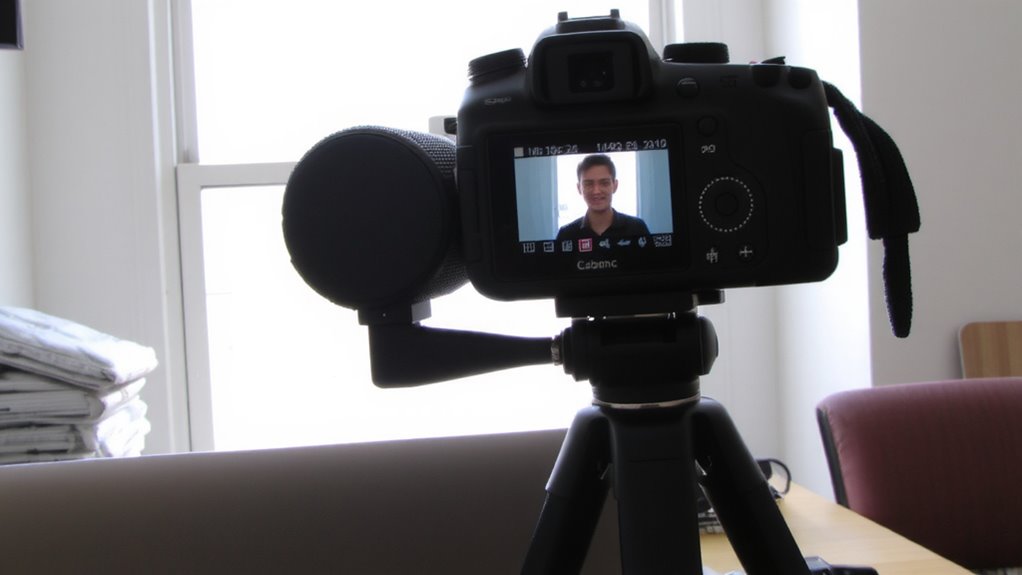
A better camera beats built-in laptop webcams almost every time, and upgrading gives you sharper images and more control over lighting and framing. You’ll instantly notice clearer skin tones, crisper text, and truer colors, especially with lighting adjustments that built-in mics and sensors can’t handle. Mounting your camera at eye level fixes the unflattering upward angle typical of laptops. You can also achieve professional-looking background blur, separating you from messy rooms without blurring software that lags or distorts. Most external models offer manual focus and wider apertures for this effect. Just don’t expect miracles in dim rooms-low-light performance varies. Check specs like f-stop ratings and low-lux sensitivity. Also, confirm compatibility with your OS and conferencing apps. Some cameras need USB-C or external power. While they cost more and take setup time, the improvement in visual quality is measurable and meaningful for frequent calls. For those serious about streaming or professional video calls, consider starting with one of the top picks from expert-tested recommendations.
Upgrade Your Video Calls With an External Camera
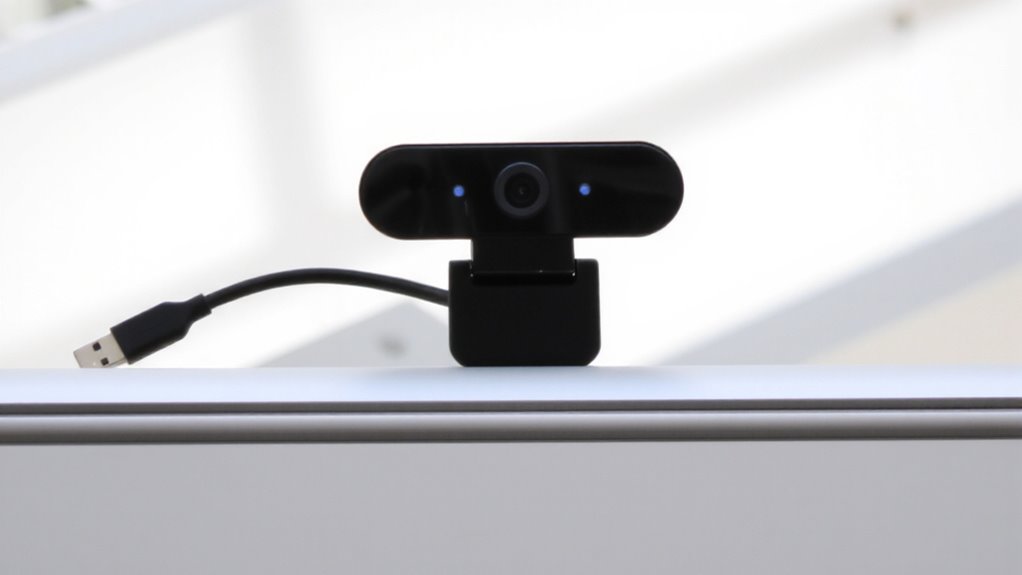
While your laptop’s built-in camera gets the job done, switching to an external model can genuinely upgrade your video calls with sharper detail, better color accuracy, and far more control over how you look. You’ll notice improved image quality, especially in low light, thanks to larger sensors and lenses that support enhanced lighting setups. Most external cameras also offer autofocus and wider fields of view, making framing easier. Just keep in mind that plug-and-play models may lack advanced audio syncing, leading to slight lag between sound and motion if your computer struggles with bandwidth. While many deliver strong performance right out of the box, confirm compatibility with your video conferencing apps. Some require drivers or software updates. Also, check warranty length-two years is common for mid-range models. Real-world tests show consistent results across platforms, but results vary if paired with weak internet or older machines.
Set Up Your External Camera in Minutes
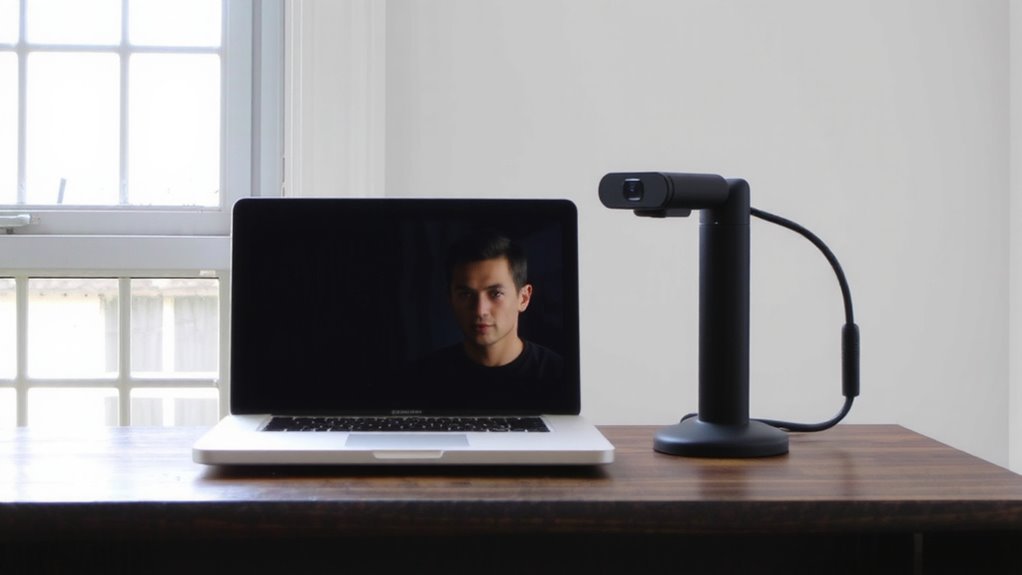
Once you’ve picked a solid external camera, getting it set up takes just a few minutes and works smoothly if you follow a few key steps. Plug the camera into your computer via USB-most models are plug-and-play, so no drivers are needed. Position it at eye level using a tripod or monitor mount to guarantee proper camera placement, which avoids unflattering angles. Make sure the lens is clean and unobstructed. For best results, do a quick lighting adjustment: face a natural light source or use a soft lamp in front of you to eliminate harsh shadows. Avoid backlighting from windows behind you. Test the feed in Zoom or Teams to verify clarity and exposure. While setup is simple, poor room lighting or a cramped desk can limit gains. Not all cameras handle low light equally-check real-world reviews before deciding. For streaming, consider a DSLR camera as it often delivers superior image quality and depth of field compared to standard webcams.
Frame Yourself Perfectly on Screen
You’ve got the camera set up and lighting dialed in-now it’s time to make sure how you appear on screen matches the quality of your setup. Position the camera at eye level so you maintain natural eye contact, which builds trust during calls. If the lens is too high or low, you’ll look unbalanced or disengaged. Sit about 2–3 feet from the camera; any closer distorts your face, any farther reduces clarity. Center yourself in the frame with space above your head-roughly a third of the shot should be headroom. Good lighting control means avoiding backlighting (like windows behind you) and using soft, front-facing light to reduce shadows. A built-in ring light or adjustable desk lamp helps, but don’t over-saturate. While better framing improves professionalism, remember: perfect placement takes trial and small adjustments. Test with a quick recording to check alignment before going live. A sturdy webcam stand ensures your camera stays securely positioned at the ideal height and angle.
Find the Right External Camera Without Overpaying
A solid external camera doesn’t have to cost a fortune-some under $100 deliver crisp 1080p video with decent low-light performance, making them strong upgrades over most built-in laptop webcams. Look for at least 1080p camera resolution; it guarantees clarity on calls without straining your internet. You’ll also want solid lighting compatibility-many budget models handle backlight poorly or wash out faces in uneven light. Models like the Logitech C920 or Anker PowerConf C200 manage both well, offering reliable autofocus and HDR for real-world conditions. They’re tested to maintain color accuracy in home offices with mixed lighting. Built-in dual mics are a bonus but not always noise-canceling. Avoid 4K unless you need extreme detail-most apps downscale anyway. Check warranty length; two years is typical for dependable brands. Don’t pay extra for streaming features if you only do Zoom or Teams.
On a final note
You’ll get sharper video and better framing with an external USB camera, especially if you mount it at eye level. Models like the Logitech C920 offer 1080p resolution and autofocus, outperforming most laptop webcams. Setup takes minutes via USB plug-and-play. Just make sure your desk or monitor has room for the clip, and check your software supports manual exposure or zoom. It’s a solid upgrade-if you actually use video calls weekly.