How to Set Up a Dual-Monitor System for Graphic Designers Using Color-Critical Work
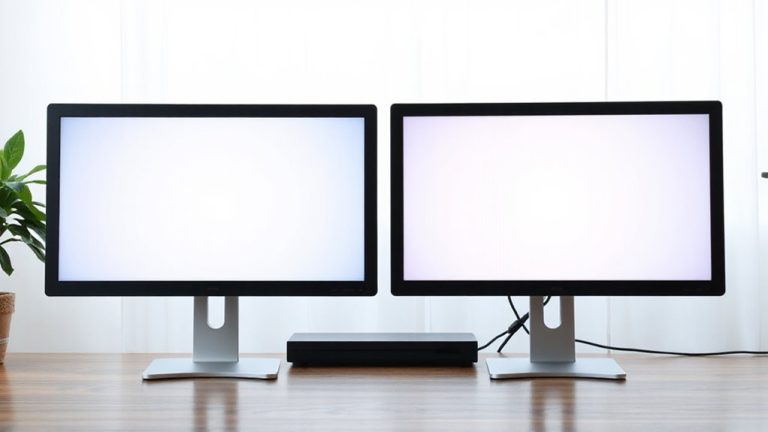
Pick two matching IPS monitors with 99% Adobe RGB, like the Dell UltraSharp U2723QE, for consistent color and wide viewing angles. Connect each via DisplayPort 1.4 to avoid signal issues, ensuring your GPU supports dual 4K outputs. Calibrate both with a colorimeter like the X-Rite i1Display Pro to correct small factory variances and maintain accuracy. Position the main screen centered, the second at a 30-degree angle, both at arm’s length. Keep them updated and recheck calibration monthly-long-term stability matters, and small tweaks add up.
Notable Insights
- Choose matching IPS panel monitors to ensure consistent color and brightness across both screens.
- Select high-resolution displays with 99% Adobe RGB coverage for accurate, print-ready color reproduction.
- Connect each monitor directly to the GPU using certified DisplayPort 1.4 cables for stable 4K signal delivery.
- Calibrate both screens with a colorimeter to create matching ICC profiles and maintain color accuracy.
- Position monitors ergonomically with the primary screen centered and the secondary at a 30-degree angle.
Choose Matching IPS Monitors for Color Accuracy
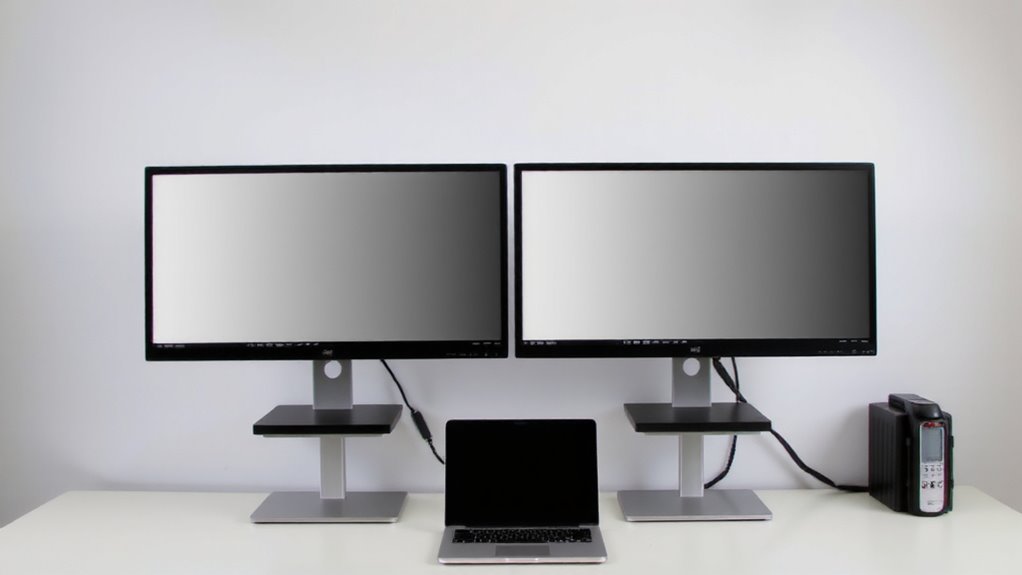
You’ll want to pick matching IPS panel monitors because they deliver consistent color reproduction across both screens-a must when editing photos or designing layouts. IPS panels offer strong panel uniformity, meaning fewer blotches or brightness shifts across the display, which is critical when you’re aligning two screens side by side. You’ll also benefit from wide viewing angles-up to 178 degrees-so colors stay accurate even when viewed slightly off-center. That’s helpful when working long hours at a desk, where slight shifts in position won’t distort your work. However, not all IPS panels perform equally; cheaper models can still show backlight bleed or gamma shifts. Always check professional reviews that test uniformity and consistency. Matching model numbers guarantees both brightness and color response behave identically. Keep in mind that even matching units can vary slightly out of the box-plan to calibrate them together.
Pick a High-Resolution Panel With Full Adobe RGB Support
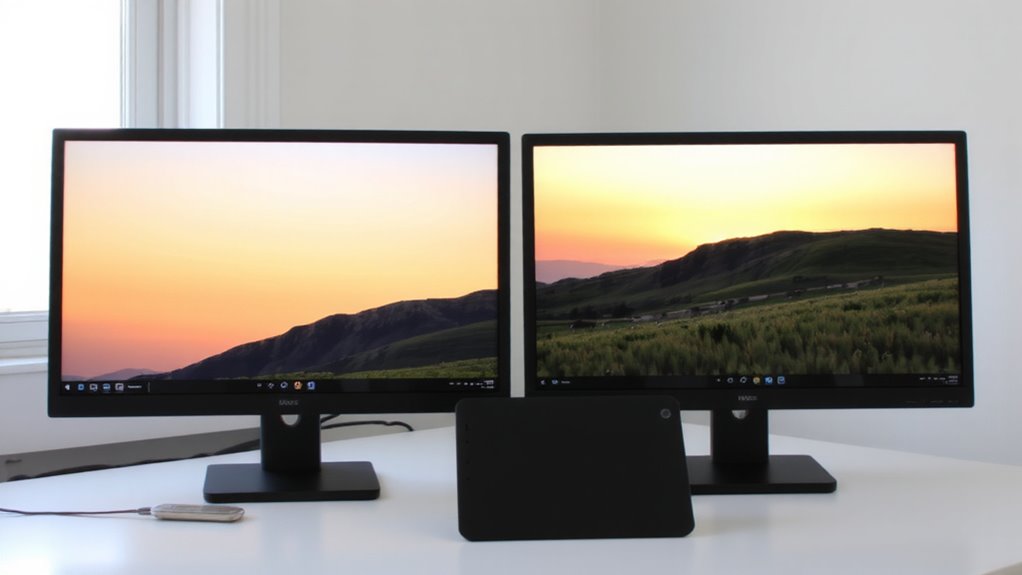
A high-resolution panel with full Adobe RGB support takes your color workflow a step further than matching IPS displays alone. You’ll get a wider color gamut, meaning more accurate skin tones, gradients, and print-ready results. But don’t overlook panel brightness-aim for at least 300 cd/m² to maintain consistency under various lighting. Below is a comparison of key specs across three recommended models:
| Model | Color Gamut (Adobe RGB) | Panel Brightness (cd/m²) |
|---|---|---|
| Dell UltraSharp U2723QE | 99% | 350 |
| LG 27UP850-W | 95% | 300 |
| BenQ SW271 | 99% | 250 |
Higher panel brightness helps in well-lit rooms, but may require calibration to match your secondary monitor. While 99% Adobe RGB is ideal, even 95% can suffice for web graphics. Keep in mind that panel brightness and color gamut must be stable over time-check for factory calibration reports and 3-year warranties.
Connect Both Monitors Using DisplayPort Cables
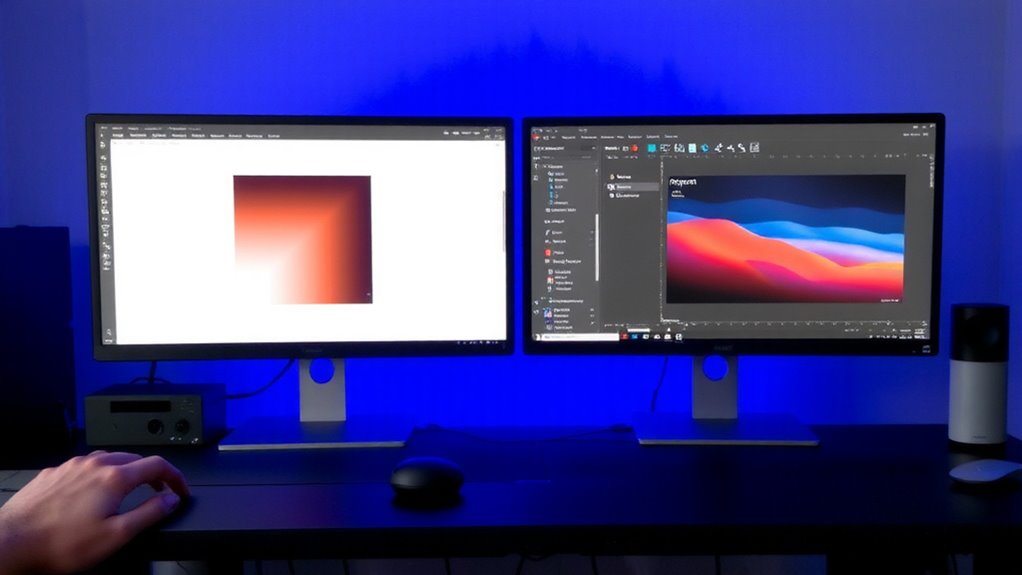
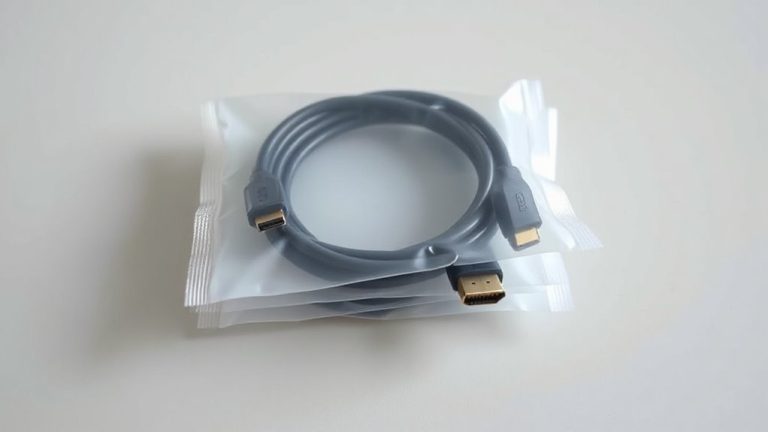
For reliable, high-bandwidth connections that handle 4K resolution at 60Hz or higher, DisplayPort cables are the go-to choice when linking two monitors to your workstation. You’ll get better signal integrity compared to HDMI, especially over longer runs, which matters when editing high-bit-depth images. Use certified DisplayPort 1.4 cables to support full bandwidth without compression. Make sure your graphics card has dual DisplayPort outputs-most professional GPUs do. Proper cable management keeps your setup clean and avoids accidental disconnections; consider braided sleeves or under-desk clips to route cables neatly. Don’t daisy-chain unless your monitors explicitly support DisplayPort Multi-Stream Transport (MST), as this can introduce lag or instability. Active DisplayPort cables maintain signal integrity beyond 2 meters but cost more. Passive cables work fine for shorter distances under 1.8 meters and are cheaper. Always check port compatibility-some monitors use mini DisplayPort.
Calibrate Screens With a Colorimeter for Matching Output
Getting accurate color across both screens means using a colorimeter, not relying on software presets or manual adjustments. A colorimeter measures emitted light and creates custom ICC profiles, guaranteeing both monitors match under your specific ambient lighting. This step is essential-factory settings drift, and visual tweaks won’t fix underlying calibration errors. For best results, calibrate after warm-up (30 minutes) and recheck monthly.
| Feature | Why It Matters | Real-World Tip |
|---|---|---|
| Ambient lighting compensation | Reduces glare-induced color shifts | Measure in typical working light |
| Viewing angles | Affects color and contrast consistency | Keep eyes level with screen center |
| Sensor accuracy (dE < 1) | Ensures imperceptible differences | Use X-Rite i1Display Pro or Datacolor SpyderX |
| Software compatibility | Works with macOS, Windows, Creative Cloud | Verify OS support before buying |
| Recalibration alerts | Maintains long-term precision | Set 30-day reminders |
Position Monitors to Reduce Strain and Improve Access
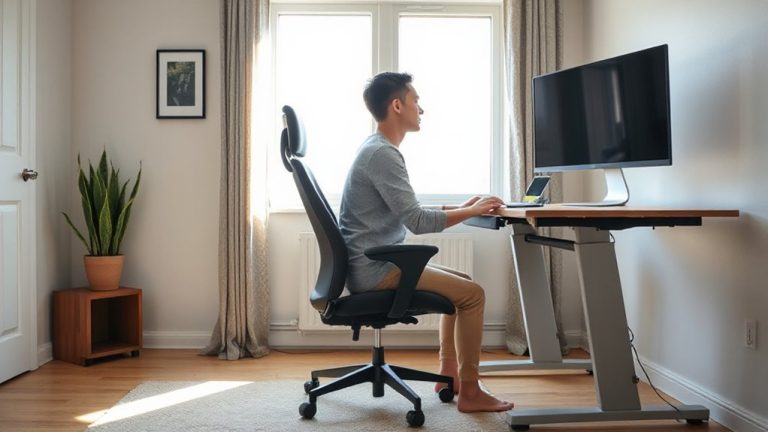
Your dual-monitor workspace thrives when screen placement supports both comfort and efficiency-position the primary monitor directly in front of you, aligned with your natural eye level, so the top edge sits at or just below horizontal gaze. Tilt it slightly upward if needed to reduce glare. Place the secondary screen to the side at a 30-degree angle, so you can glance without twisting your spine. This setup supports proper ergonomic alignment, reducing neck and shoulder strain during long design sessions. Keep both monitors at arm’s length-about 20–30 inches from your eyes. Use monitor arms or stands with height adjustment for fine-tuned positioning. Don’t overlook cable management: secure power and video cables with clips or sleeves to prevent tangles and maintain a clean, distraction-free desk. Poor cable organization can disrupt workflow and create safety hazards over time. For optimal flexibility and ease of adjustment, consider using a best monitor mount that supports full-range motion and weight compatibility for your display setup.
Use Your Second Screen for Tools and Reference Images
While you might be tempted to mirror your displays, dedicating the second screen to tools and reference images actually streamlines your design workflow-if you set it up right. Placing palettes, layers, and panels on the secondary monitor frees up primary screen space, boosting workspace efficiency and reducing clutter. Use it to display client briefs, color swatches, or high-resolution reference images side-by-side with your canvas, minimizing tab-switching and eye strain. An ergonomic layout positions the secondary monitor slightly lower and to one side, aligned with your natural peripheral vision, so you’re not constantly turning or tilting your head. Just don’t stretch low-resolution references too large-they’ll misrepresent detail. Also, avoid cluttering the second screen with too many open windows; it defeats the purpose. Calibrate both monitors regularly to maintain color consistency. This dual-screen strategy works best with matching panel types-IPS for accurate colors and wide viewing angles.
On a final note
You’ll get reliable color and smooth workflow with matched IPS panels supporting full Adobe RGB, connected via DisplayPort for stable, high-bandwidth signals. Calibration with a colorimeter guarantees both screens match, which is critical for design accuracy. Position them side-by-side with equal height and minimal bezel gap to reduce eye strain. Use the second screen for tools and references-just avoid oversizing, since bigger isn’t always better for pixel density or desk space.