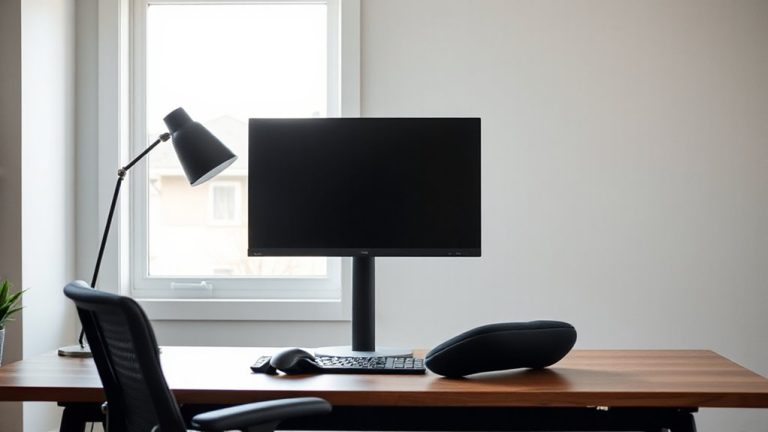
How to Position Monitors for a Home Office With Frequent Video Conferencing
Set your monitor at eye level, with the top just below your seated line of sight, using a stand or arm if needed-this prevents neck strain and aligns your camera naturally. Place the webcam centered above the screen, about 2–4 inches above eye level, for solid eye contact without distortion. Keep the monitor an arm’s length away (20–30 inches), and use front lighting to avoid shadows. Avoid tilting screens up or down excessively, since that throws off both posture and camera angle. Multiple monitors should stay balanced so your primary screen keeps the camera in front. Small changes here make a noticeable difference in comfort and how you come across-there’s more to get right where setup meets daily use.
Notable Insights
- Position the monitor at eye level, aligning the top with or slightly below your line of sight to prevent neck strain.
- Place the webcam 2–4 inches above eye level, centered above the monitor, for natural eye contact during calls.
- Set the monitor an arm’s length away, ideally 20 to 30 inches, to reduce eye strain and improve comfort.
- Use front-facing soft lighting, ideally around 5000K, to illuminate your face and avoid backlighting issues.
- Elevate the monitor using a stand or riser to achieve proper height, ensuring both screen and camera are correctly aligned.
Set Your Monitor at Eye Level to Avoid Neck Strain
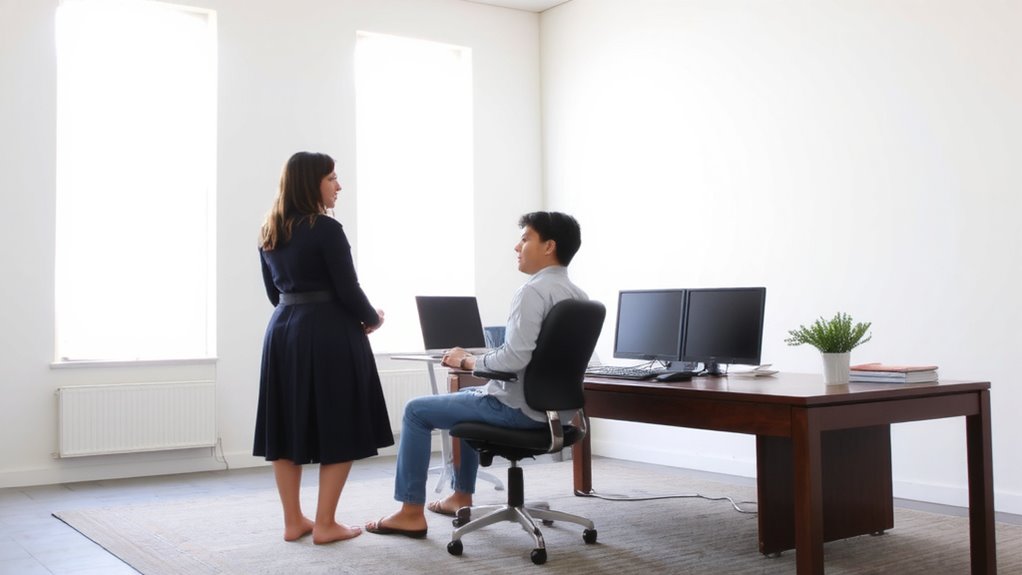
While it might seem like a minor detail, getting your monitor height right can make a big difference in how you feel after a full day of work. You should set your monitor at eye level so the top of the screen aligns with or sits slightly below your line of sight. This position supports healthy neck posture by preventing you from tilting your head up or down, which can strain muscles over time. Poor monitor height often leads to stiffness and long-term discomfort, especially during extended use. Adjusting with a stand, books, or an articulating arm can help-but avoid unstable setups. Built-in stands on most monitors offer limited height range, so external solutions are often needed. While some ultrawide or larger screens are harder to position perfectly due to depth, the improvement in comfort is measurable. Balance precision with practicality-small adjustments still yield real benefits. For those also dealing with sitting discomfort, choosing the right best office chairs for tailbone pain can significantly improve overall ergonomic support.
Align Your Camera at Eye Level for Natural Eye Contact
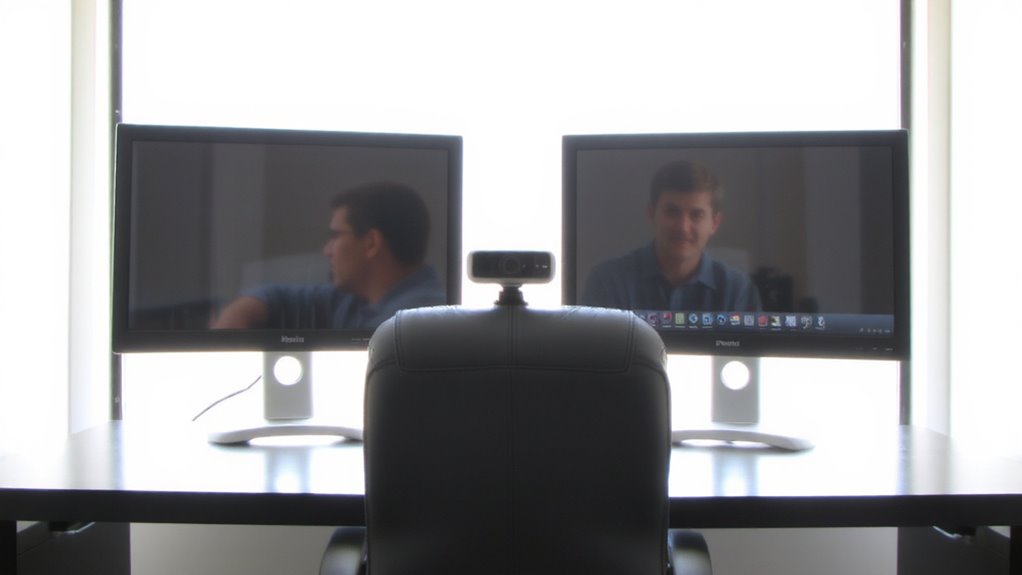
Positioning your camera at eye level makes video calls feel more natural and helps you maintain better eye contact with the person on the other end. Most built-in laptop cameras sit too low, forcing you to look down and appear disengaged. Elevate your laptop or use an external webcam mounted above your monitor to hit eye level-about 2–4 inches above your seated line of sight. This improves camera stability and minimizes awkward angles. A consistent background also matters: position yourself at a fixed distance from a tidy, neutral wall to guarantee background consistency across calls. Avoid moving the camera daily, as shifting placement affects both framing and lighting. While risers or stands can help, make certain they don’t compromise camera stability. Test different heights, but stick with a setup that’s both secure and repeatable. Not every desk allows ideal placement, so prioritize stability and consistency over perfection. A best desk riser can provide both elevation and stability while enhancing your ergonomic setup.
Use Front Lighting to Look Clear and Professional on Video
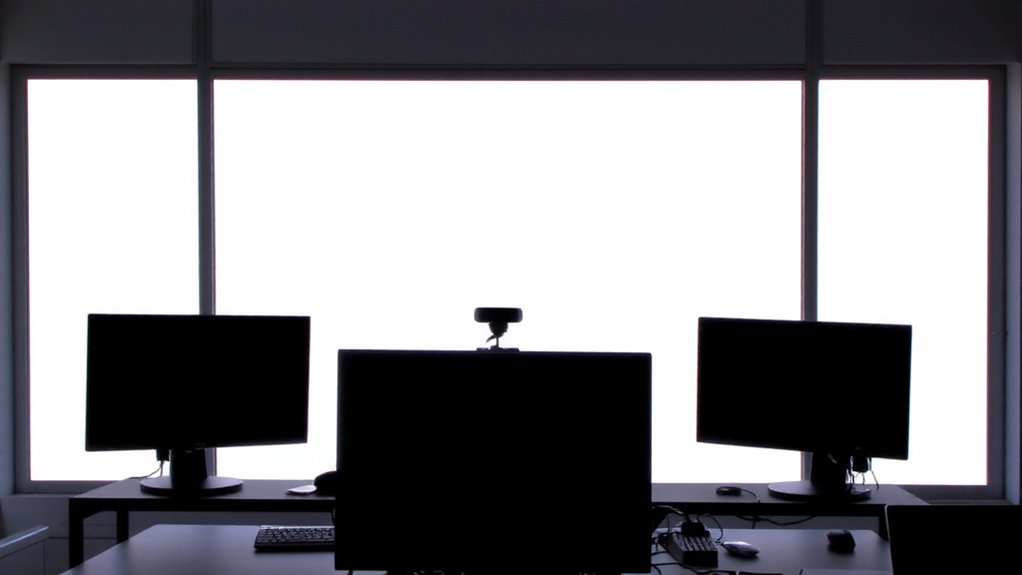
Ever wonder why you look washed out or shadowy on video calls? You’re likely backlit. Position your monitor so natural light floods your face from the front or side. This creates a natural glow that makes you look alert and professional. Avoid harsh overhead lights-they cast unflattering shadows. Instead, use soft lighting from a table lamp or LED ring light placed just above or below your monitor. Look for bulbs with a color temperature around 5000K for balanced tones. While soft lighting improves image quality, too much brightness can wash you out. Test different intensities to find the sweet spot. Built-in webcam sensors perform best with even, diffuse light. If using artificial lights, aim them at a wall or ceiling to bounce light gently onto your face. Proper front lighting isn’t just cosmetic-it reduces viewer fatigue and enhances communication clarity. For a seamless lighting solution designed specifically for monitors, consider a monitor light bar to provide consistent, glare-free illumination.
Position Your Monitor an Arm’s Length Away to Reduce Eye Strain
You’ll want to place your monitor about an arm’s length from your face to help reduce eye strain during long work sessions. This ideal monitor distance-roughly 20 to 30 inches-supports better eye comfort by minimizing glare and reducing the effort needed to focus. Sitting too close forces your eyes to work harder, while being too far strains neck and shoulder posture as you lean forward. Most users find this middle ground allows clear viewing without squinting or leaning. Keep in mind that screen size matters: a 24-inch monitor typically works best at this range, while larger screens may require slight adjustments. Always test different distances to balance sharpness and comfort. Remember, perfect eye comfort isn’t just about distance-it also depends on lighting, font size, and how often you take visual breaks. Adjust incrementally and trust your comfort over rigid rules.
Mount Your Webcam Above the Screen for the Best Angle
Why does a slightly elevated webcam angle make such a difference in video calls? Because it creates a natural, flattering perspective-leveling your eyes with the camera and reducing unflattering up-angles. For ideal camera placement, mount your webcam directly above your monitor, aligned with the center of the screen. This works whether you’re using a standalone webcam or a built-in laptop camera placed on a riser. Proper screen mounting, like using a monitor arm or a stand with height adjustment, makes this setup easier and more stable. Avoid placing the camera too high-over 15 degrees above eye level-as it can create a downward, distancing effect. While ceiling mounts exist, they often compromise image quality and framing. Most webcams aren’t designed for extreme angles, so stick to moderate elevation. Test the look in a quick preview to confirm eye contact and balanced framing-small tweaks make a measurable difference in engagement.
Arrange Multiple Monitors Without Blocking Your Camera View
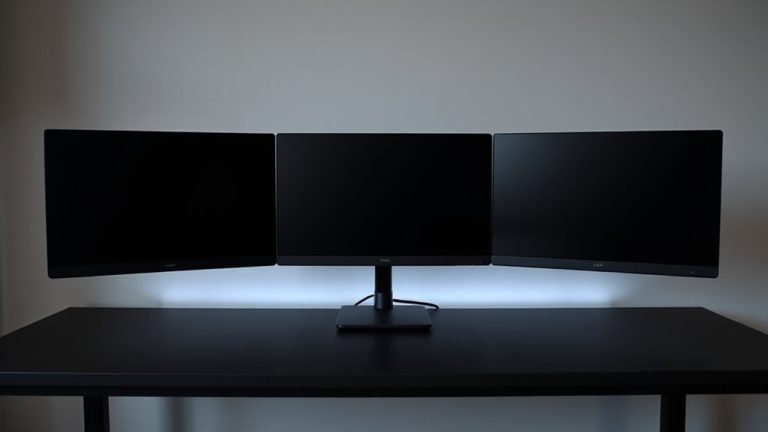
Placing multiple monitors correctly means keeping your camera in the right position without compromising your field of view. For ideal monitor placement, arrange screens side by side with the primary monitor centered on your desk. This keeps your gaze close to the camera, improving camera alignment and making eye contact feel more natural. Avoid stacking monitors too high or wide, as they can block the webcam mounted above your screen. A gap between monitors is acceptable, but guarantee the camera remains unobstructed and aligned with your eye level. Use monitor arms if you need flexible positioning, but test video framing first. Be mindful that extreme angles or oversized setups may force you to turn your head too much, reducing engagement. While dual monitors boost productivity, poor layout harms communication-balance function with visibility.
On a final note
You’ll get the best video call results by positioning your monitor at eye level and about an arm’s length away, reducing neck and eye strain. Mount your webcam above the screen so it captures a flattering, level angle. Use front lighting, like a desk lamp or natural light, to stay well-lit and professional. Just remember, built-in mics and cameras often lack range, so consider an external mic if background noise is an issue.