Setting up a Triple Monitor Configuration With Matching Mount Heights
You’ll need a desk at least 48 inches wide and 24 inches deep to fit three monitors comfortably without cramping. Pick a gas-spring triple monitor mount with strong aluminum arms and a 5-year warranty for reliable, wobble-free adjustments. Set the top edge of the center screen at eye level and match the other two exactly-use a tape measure for precision. Tilt all screens 10–15 degrees down to reduce glare and angle the side monitors inward for a natural field of view. Space arms evenly so screen centers align, minimizing neck strain. Make sure each arm supports your monitor’s weight and VESA pattern, and allow extra depth for cables and peripherals. Fine-tune positions while seated in your normal posture, and test lighting throughout the day. Small gaps in height or angle can disrupt focus over time, so take a moment to correct them now-you’ll see the difference in comfort and clarity right away, and learn how to optimize every detail for long-term use.
Notable Insights
- Measure desk width and depth to ensure at least 48 inches wide and 24 inches deep for proper triple monitor placement.
- Choose a triple monitor mount with strong, flexible arms and even spacing to support matching heights and smooth adjustment.
- Align the top edge of the center monitor at or slightly below eye level to minimize neck strain.
- Match the top edges of all three monitors precisely using VESA mount adjustments and a leveling tool for seamless viewing.
- Tilt all monitors downward 10–15 degrees and angle side screens inward to reduce glare and maintain visual consistency.
Measure Your Desk Space First
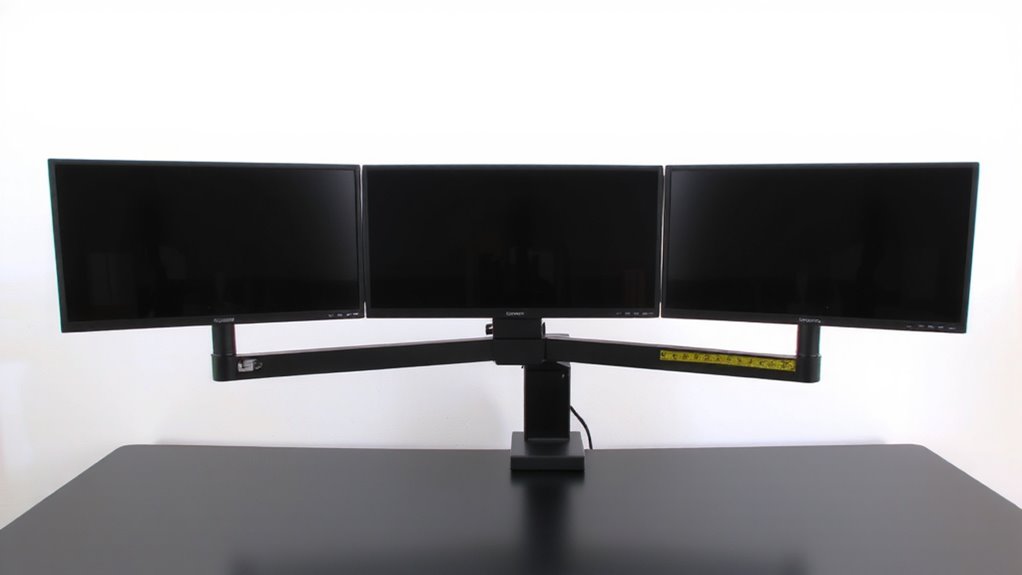
Start by measuring your desk’s depth and width-most triple monitor setups need at least 48 to 60 inches of width to fit three screens comfortably without crowding your workspace. You’ll also need about 24 to 30 inches of depth to maintain proper viewing distance and allow room for your keyboard and mouse. Your desk dimensions directly impact how functional and ergonomic your setup will be. Ignoring space constraints can lead to cramped workflows or forced compromises in monitor placement. Even if your desk seems large, built-in drawers, keyboard trays, or wall proximity might reduce usable space. Plan for cable management and any peripherals, too. Desks under 48 inches wide often can’t support three full-sized monitors side by side without awkward angling or bezels overlapping. If you’re tight on space, consider smaller bezel monitors or a slight inward tilt. Accurate measurements now prevent frustration later. A well-chosen desk can make all the difference, so consider investing in one of the best home office desks for optimal stability and workspace integration.
Pick the Best Triple Monitor Mount
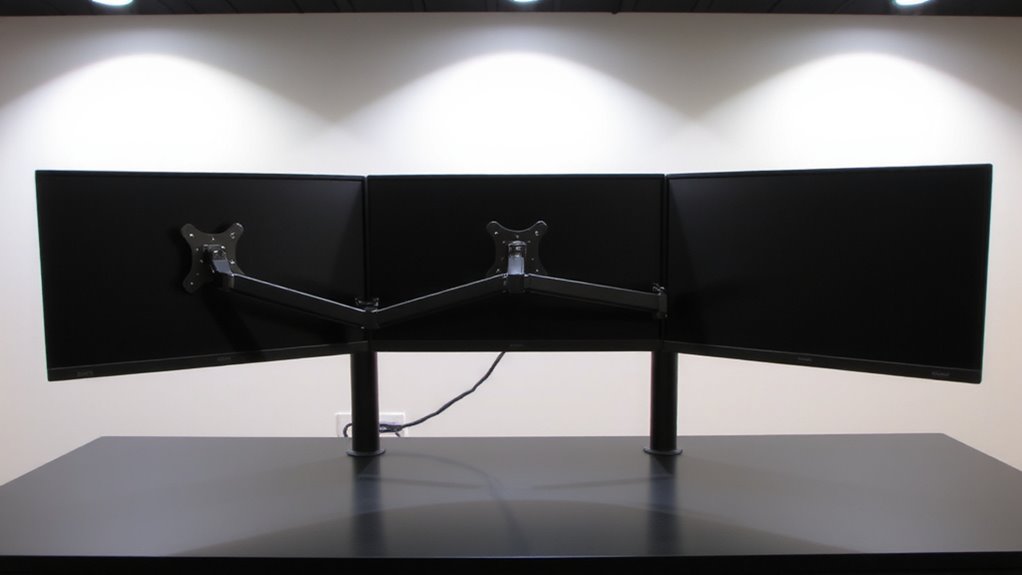
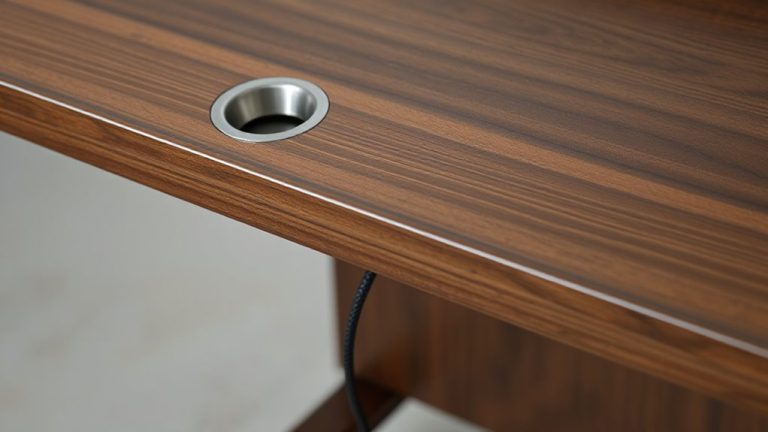
You’ve measured your desk and confirmed it can handle three monitors-now it’s time to pick a mount that keeps them stable, aligned, and easy to adjust. Look for one with strong arm flexibility so you can fine-tune angles, depth, and spacing without strain. A high-quality gas-spring design supports smooth motion and holds position under daily use. Monitor symmetry matters-choose a mount with evenly spaced arms to align screen centers and reduce neck rotation. Check weight capacity per arm; most support 17–30 lbs, but verify compatibility with your models. Aluminum builds last longer than plastic joints, and a 5-year warranty often signals reliability. Desk clamps should fit edges up to 3.5” thick, but grommet mounts offer more stability if your desk allows. Don’t sacrifice rigidity for price-wobbly arms ruin focus. Test tilt range: ±45° gives real-world adaptability. For optimal setup, consider a best triple monitor arm that balances durability, adjustability, and clean cable management.
Set All Screens at Eye Level for Comfort
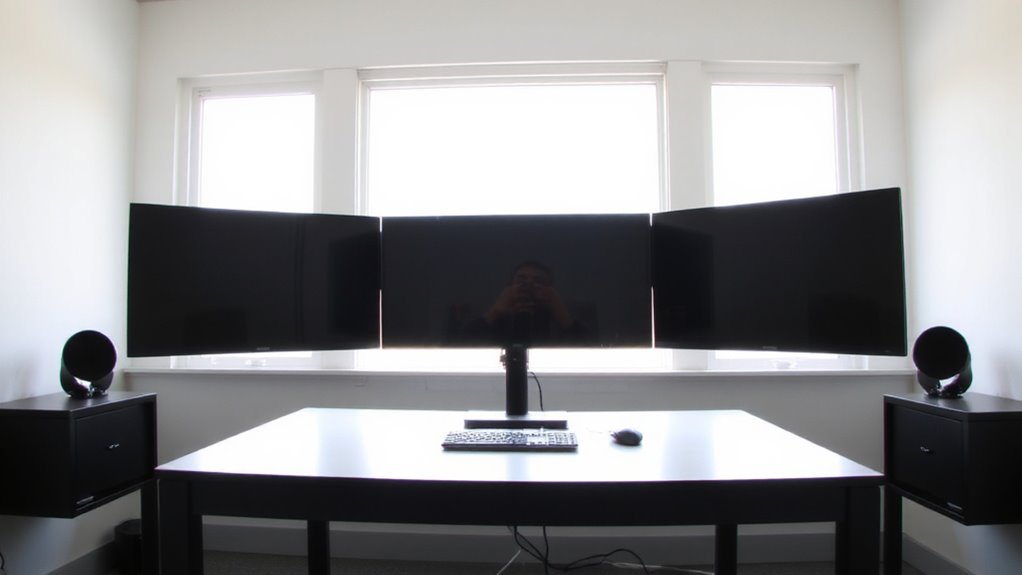
Aim to position the top edge of your central monitor at or slightly below eye level-this setup reduces neck strain and supports long-term comfort during extended work sessions. Proper ergonomic positioning guarantees your head and spine stay aligned, minimizing fatigue. For most people, the center of the screen should be about 15–20 degrees below horizontal gaze. This promotes natural eye movement and enhances visual comfort, especially when switching between monitors. Sitting too high or too low forces constant neck adjustment, which adds up over time. You’ll need to account for chair height, desk thickness, and whether you wear glasses-each affects ideal placement. While monitor arms offer fine-tuned adjustability, fixed stands often limit options. Test the height while seated in your usual posture, not when leaning forward. Small tweaks make a big difference, but don’t sacrifice stability for precision. Using a highly adjustable monitor arm can greatly simplify achieving optimal screen alignment across multiple displays.
Align Monitor Heights Across All Three Displays
Matching the height of all three monitors is non-negotiable for seamless viewing and long-term comfort-your eyes shouldn’t have to climb or dive when shifting focus from the center to the side displays. You need consistent monitor symmetry so each screen feels like a natural extension of the others. Start by adjusting each mount until the top edges are level-this edge alignment prevents visual jarring and reduces neck strain. Use a tape measure or a leveling tool for precision, especially if your monitors differ in size or stand design. Even a 1-inch gap can disrupt flow during extended use. Most VESA mounts allow fine-tuning, but check weight limits and pole length before locking positions. Keep in mind that thicker bezels or varying panel depths might affect perceived alignment. While perfect height matching boosts productivity, it can limit desk space or cable management options-plan accordingly.
Tilt and Angle Screens to Cut Glare
How often does glare turn your dual or triple monitor setup into a frustrating game of shadows and reflections? Tilt and angle your screens to cut screen glare and boost viewing comfort. Tilting each monitor slightly downward-about 10 to 15 degrees-helps block overhead and window light, especially if you’re seated farther back. Angle the side monitors inward so their planes align with your central line of sight, reducing reflections and eye strain. But don’t over-tilt; too steep a slope can distort colors and reduce clarity, especially on IPS panels. Adjustable monitor arms make this easy, letting you fine-tune positions without tools. If your mounts lack tilt, consider anti-glare screen filters, though they may slightly dull image quality. Results vary by room lighting, so test adjustments at different times of day. Good positioning balances glare reduction with consistent screen visibility.
Organize Cables So They Don’t Interfere With Viewing
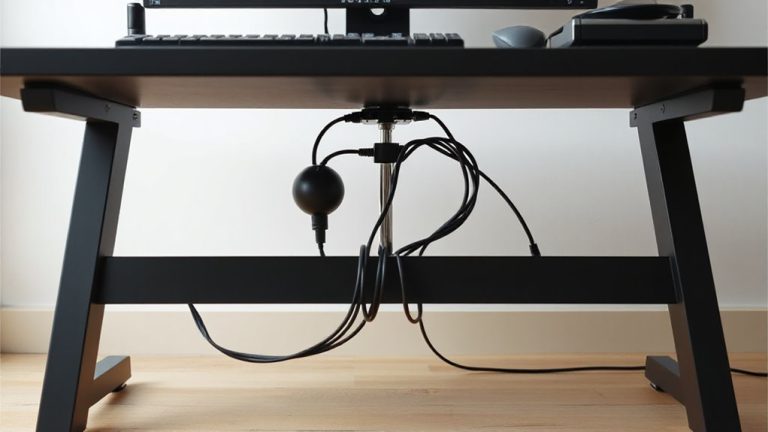
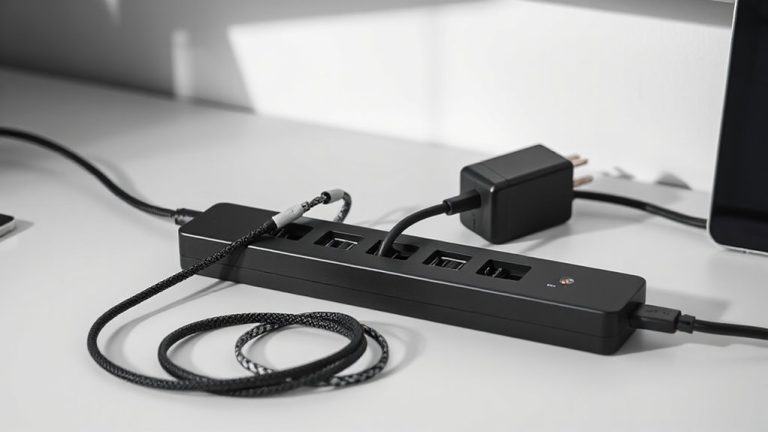
While clean cable management might seem like a small detail, it’s just as critical as screen alignment when you’re building a seamless triple monitor setup-because even the most carefully positioned displays can be ruined by cords dangling into your field of view or tangling around adjustable arms. You’ll want reliable cord concealment, like adhesive cable trays or mesh sleeves, to keep power and data lines flush along the desk and mounts. Label each connection with cable labeling tags-especially if routing HDMI, USB-C, or power cables behind multiple screens-so troubleshooting stays simple. Velcro straps work better than zip ties; they’re reusable and won’t damage wires. Some desks come with built-in raceways, but third-party kits can achieve similar results affordably. Poor organization leads to clutter and accidental unplugging. Do it right the first time, and you’ll maintain both functionality and focus.
Check Alignment and Make Final Adjustments
Now that your cables are secured and out of sight, it’s time to fine-tune how your screens line up. Stand at your usual viewing distance and assess screen symmetry-your eyes should move smoothly across all three displays without awkward jumps. Even minor height or angle mismatches break visual balance, causing eye strain over time. Adjust each arm until bezels align vertically and tilt angles match, typically 0° to 5° recline. Use on-screen reticles or a physical ruler across bezels for precision. Remember, perfect alignment depends on your seating position and desk flatness, so recheck after a full work session. While most premium mounts allow micro-adjustments, cheaper arms may drift or lack stability. Built-in VESA alignment markers help, but real-world testing matters more than specs. A few minutes of tweaking now prevents discomfort later-don’t assume it’s right the first time.
On a final note
You’ve made a smart move choosing a triple monitor arm with gas-spring height adjustment and 360° swivel-it gives precise control for matching screen heights. Keep all tops at or slightly below eye level to avoid neck strain. Align bezels perfectly using built-in bubble levels and calipers. Cable trays help, but routed lines still snag on movement. Even high-end mounts shift over time; check stability every few weeks. A solid setup saves posture, but only if you maintain it.