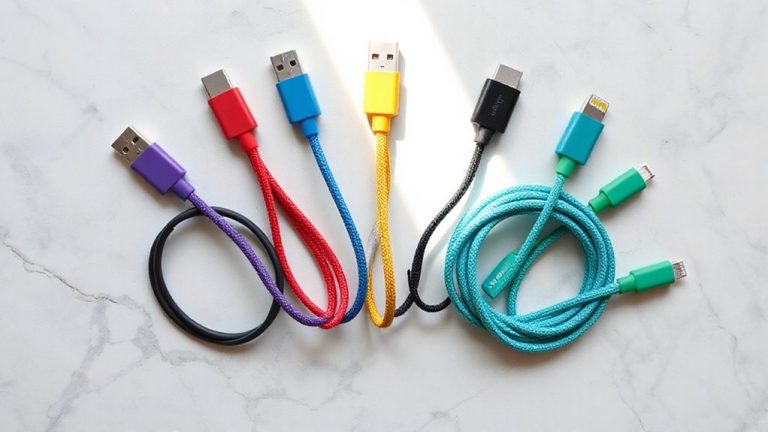
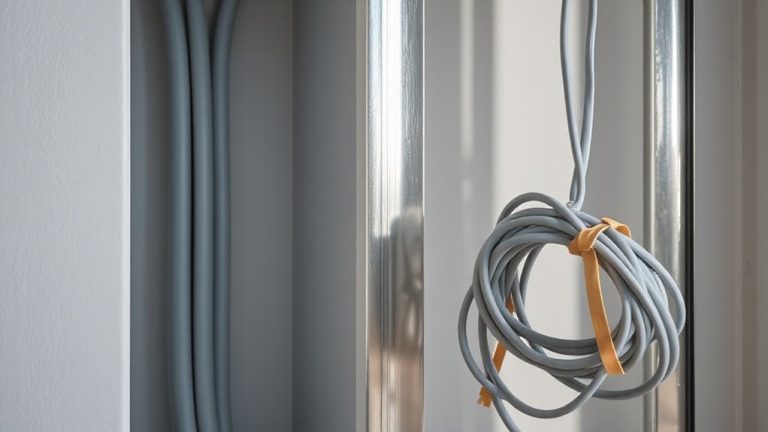
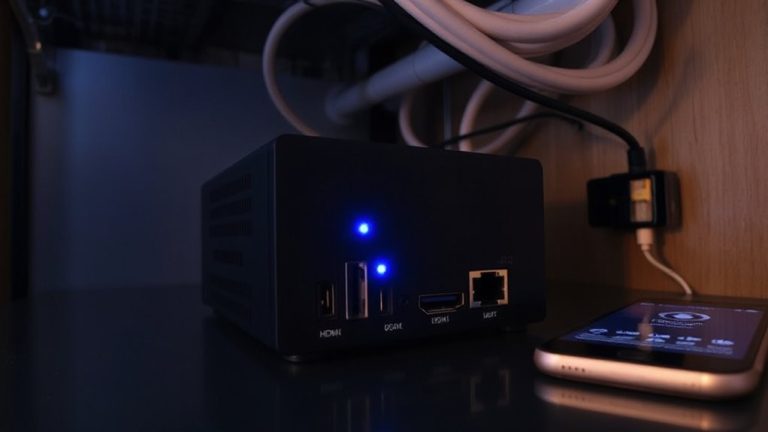
Routing All Cables Through a Single Central Hub for Easy Troubleshooting
Run all your cables through a single central hub-like a managed gigabit switch or shielded patch panel-to simplify troubleshooting and reduce clutter. This setup saves time during upgrades and supports future expansion without rewiring. Use labeled, shielded Cat6a cables and keep them separated from power lines by at least six inches to avoid interference. Mount your hub in a ventilated, accessible spot and use flexible raceways for easier adjustments. You’ll want to get the details right to avoid common installation pitfalls.
Notable Insights
- Centralize all network, power, and AV cables in one hub to streamline access and simplify troubleshooting.
- Use a managed gigabit switch in the hub to efficiently route data and prioritize network traffic.
- Install a patch panel with labeled shielded Cat6a cables to maintain signal integrity and ease diagnostics.
- Separate power and data cables by at least six inches to minimize interference and signal degradation.
- Label all cables clearly with durable tags and follow a consistent naming convention for quick identification.
Start With a Central Hub to Simplify Your Network
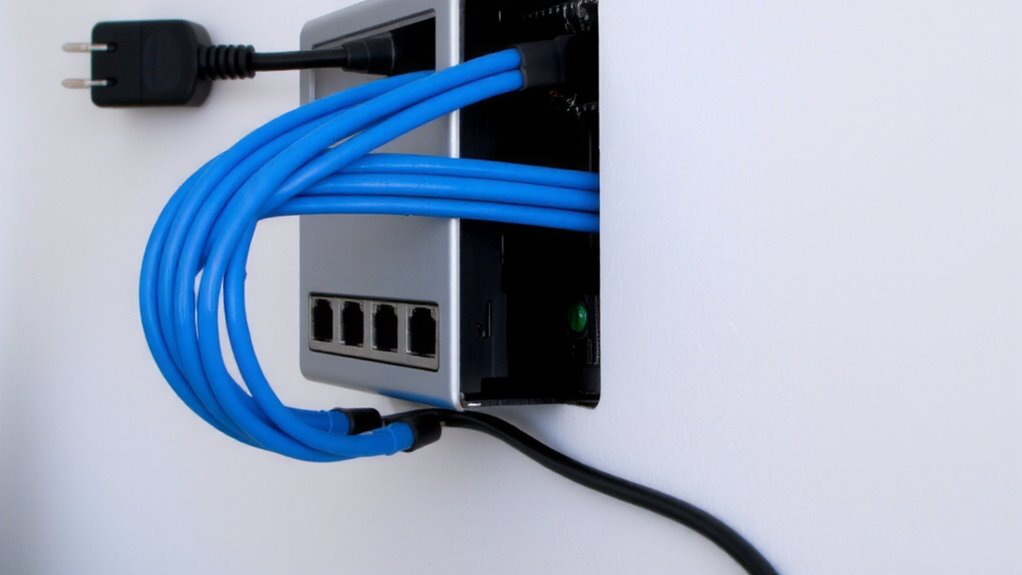
A central hub isn’t just convenient-it’s the backbone of a tidy, reliable network. You’ll save time troubleshooting and upgrades when all your cables route through one spot. Good cable management means using labeled, secured runs to prevent tangles and signal interference. Mounting a rack or enclosure keeps connections protected and organized. This setup supports network scalability-adding devices or expanding to new rooms becomes predictable, not chaotic. You can upgrade switches or routers without rewiring everything. But don’t skip planning: measure available space and expected cable volume early. Overcrowding leads to heat buildup and difficult access. Cheaper hubs may lack mounting rails or ventilation, hurting long-term reliability. Choose durable materials-steel enclosures last longer. While the initial effort is real, the payoff is fewer outages and faster diagnosis. Just remember, a central hub requires discipline. Neglect organization, and you’ll trade one mess for another. For optimal results, consider integrating a clean desk setup with cable trays and sleeves to maintain both aesthetics and functionality.
Choose the Right Hub: Switch, Patch Panel, or Power Center
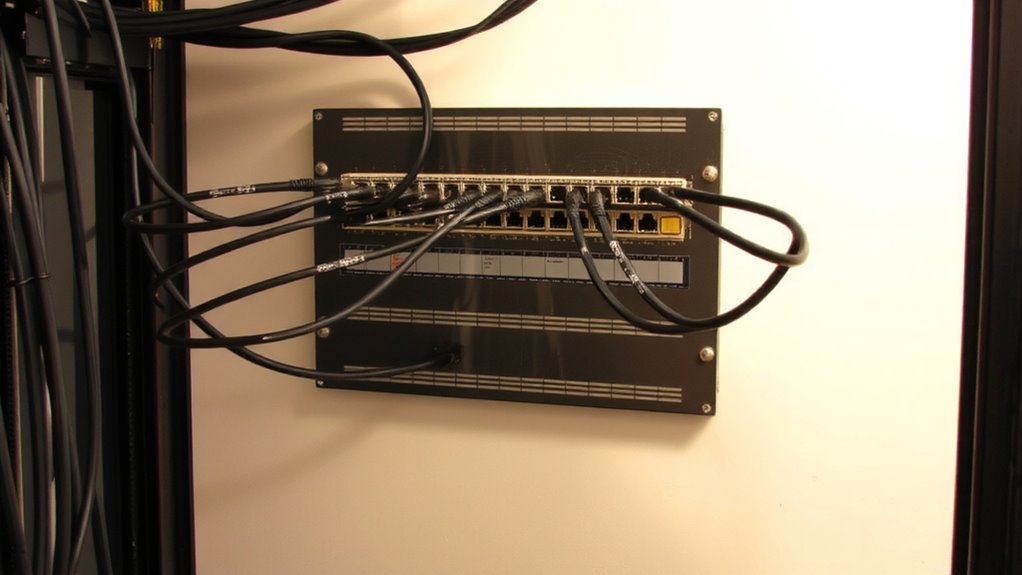
You’ll want to pick the right type of hub-your network’s performance and maintainability hinge on whether you choose a switch, patch panel, or power center. For active data routing, a managed gigabit switch delivers strong signal integrity and lets you prioritize traffic, but it’s overkill if you’re just organizing lines. A patch panel improves cable management and protects connections, preserving signal integrity across long runs, especially with shielded Cat6a cabling. It doesn’t power devices but pairs well with a switch. If you’re routing power, network, and HDMI, a power center with surge protection and filtered outlets keeps things tidy, though it won’t handle data switching. Each hub type sharpens cable management differently-choose based on function, not convenience. Test fit, port density, warranty length, and UL certification matter just as much as brand. Consider a high-quality best USB hubs to simplify peripheral connectivity when expanding your setup.
Run All Cables to Your Central Location
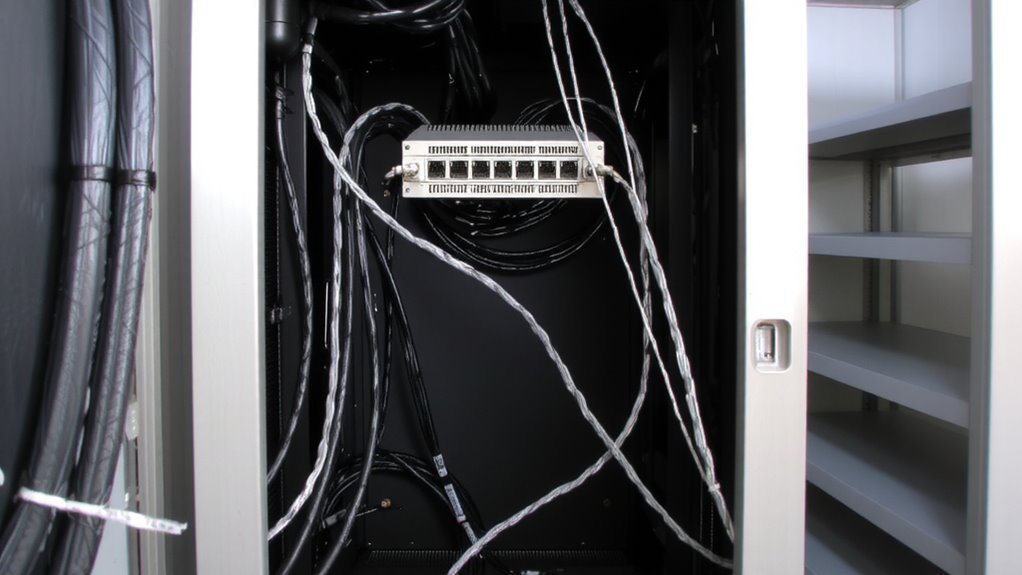
Think in terms of paths, not just cables-how you route each line to your central hub affects both setup longevity and future upgrades. You’ll want clean cable management from the start, using clips or conduits to secure lines along walls or under floors. This reduces clutter and makes swaps or expansions easier down the road. Keep power cables separated from data lines whenever possible to minimize signal interference, which can throttle network speeds or introduce lag. If you must cross cables, do it at 90-degree angles. Use shielded Ethernet (like Cat6a) in high-interference areas, as its design cuts noise by up to 80% compared to unshielded versions. Plan for extra length-adding 3–5 feet per run allows flexibility during repositioning without straining connections. Poor routing now creates headaches later, even with top-tier gear. For the most effective setup, consider using a cable management box to consolidate and hide all connections at your central hub.
Label Every Cable for Instant Troubleshooting
Labeling every cable isn’t just helpful-it’s essential for maintaining a reliable, scalable setup over time. You’ll speed up troubleshooting and avoid confusion during upgrades. Combine cable labeling with color coding for best results: different colors for devices, rooms, or signal types reduce errors. Use a consistent naming convention-like “Living Room TV HDMI” or “Office Desk LAN2”-so you know exactly what each line serves.
| Cable Type | Label Example |
|---|---|
| HDMI | Basement TV HDMI |
| Ethernet | Desk PC LAN2 |
| Power | Monitor Power |
| Audio | Studio Mic Line In |
Labels should be durable, legible, and heat-resistant. Avoid adhesive-only tags-they peel over time; go for flag-style or wraparound instead. While color coding helps visual sorting, don’t rely on it alone-colors fade, and mismatches happen. Use both methods together for dependable, long-term cable labeling.
Avoid These 5 Central Hub Setup Mistakes
A poorly planned central hub can turn a sleek setup into a tangled, unreliable mess-no matter how high-end your devices are. You risk cable redundancy when you run too many lines without organizing them, making upgrades and fixes harder than they should be. Bundling power, Ethernet, and AV cables too tightly invites signal interference, especially when unshielded wires run parallel over long distances. Keep data and power lines separated by at least six inches, or cross them at right angles if needed. Overloading a single power strip without surge protection increases failure risks. Mount your hub in a ventilated, accessible spot-never tucked behind furniture where heat builds. Skip rigid conduits; use flexible raceways for easier changes. Labeling helps, but poor routing undermines it. Always test connections before sealing walls or enclosures. These steps save time and maintain clean, reliable performance.
Upgrade Your Hub for Future Devices
You’re already avoiding the common missteps that turn central hubs into chaotic tangles, so now it’s time to build on that solid foundation by planning for what comes next. Upgrading your hub guarantees future scalability and smooth device compatibility as new tech emerges. Don’t wait until your ports are maxed out-anticipate needs and invest in a model with extra USB-C, HDMI 2.1, and Ethernet slots.
| What You’re Losing | What You’re Gaining |
|---|---|
| Outdated connections | Faster data transfer |
| Limited ports | Future scalability |
| Device compatibility issues | Smooth integration |
Choose hubs tested for real-world performance, with 3-year warranties and aluminum casings for heat dissipation. While pricier models offer better throughput, verify your actual usage-overbuying wastes money. Always check power delivery (PD) ratings; 60W+ supports most laptops. Plan wisely.
On a final note
You should run all cables through a central hub-it makes troubleshooting fast and keeps your network clean. Use a quality switch or patch panel, and label every cable clearly. Yes, it takes more upfront work, but you’ll save time later. Just don’t overload outlets or skimp on cable management. A good hub supports future upgrades, but only if you plan for extra ports and airflow. Test connections once, then stick with proven brands for reliability.