How to Label Charging Cables by Device Type and Amperage Rating
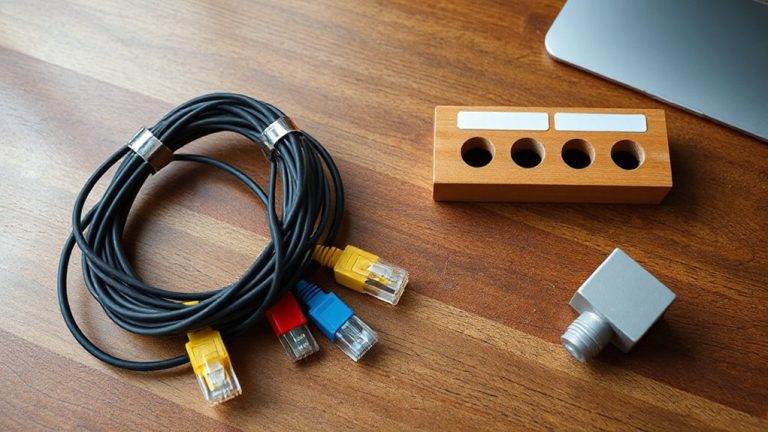
Label each cable with both the device name and amperage-like “iPad, 2.4A”-using permanent marker or removable vinyl tags to avoid confusion and mismatches. Use red for 3A and blue for 2.4A to quickly identify charging speed, but verify ratings on the cable itself since color isn’t always accurate. Store them in a divided tray or mesh bin for easy access, and check labels yearly-replace any that fade or peel. Strong polyacrylate-backed labels resist heat and moisture better over time.
Notable Insights
- Label each cable with its device name using permanent marker or removable printed tags for easy identification.
- Mark amperage ratings clearly on cables using color coding: red for 3A, blue for 2.4A, white for 1A.
- Use durable vinyl or polyester labels with laminated coating to withstand wear, UV exposure, and temperature extremes.
- Organize cables in labeled trays or pouches by device type and amperage to ensure quick, accurate access.
- Regularly inspect and update labels to replace faded or inaccurate ones and prevent charging mismatches.
Label Charging Cables by Device Name
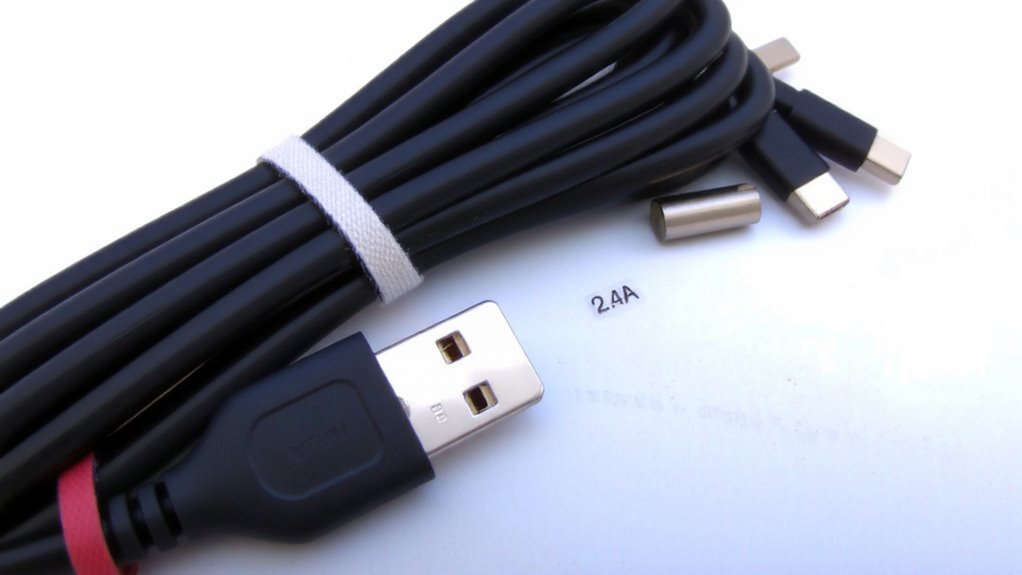
A simple label can save you from the daily frustration of guessing which charging cable powers which device. You’ll benefit most by using cable identification methods that assign each cord a clear, device specific tagging-like “iPad,” “iPhone 15,” or “Work Laptop.” This reduces confusion and speeds up charging, especially when multiple people share cables. Write names directly with a fine-tip permanent marker or use removable printed labels you can update. Just don’t place labels too close to the connectors, where bending may cause peeling. While cloth wraps or colored bands work, they’re less precise and harder to modify. Keep in mind that device specific tagging only helps if your setup stays consistent-swap phones or lend cables often, and you’ll need to relabel. Still, for most home or office setups, this method delivers reliable results with minimal effort and long-term cost.
Mark Each Cable’s Amp Rating
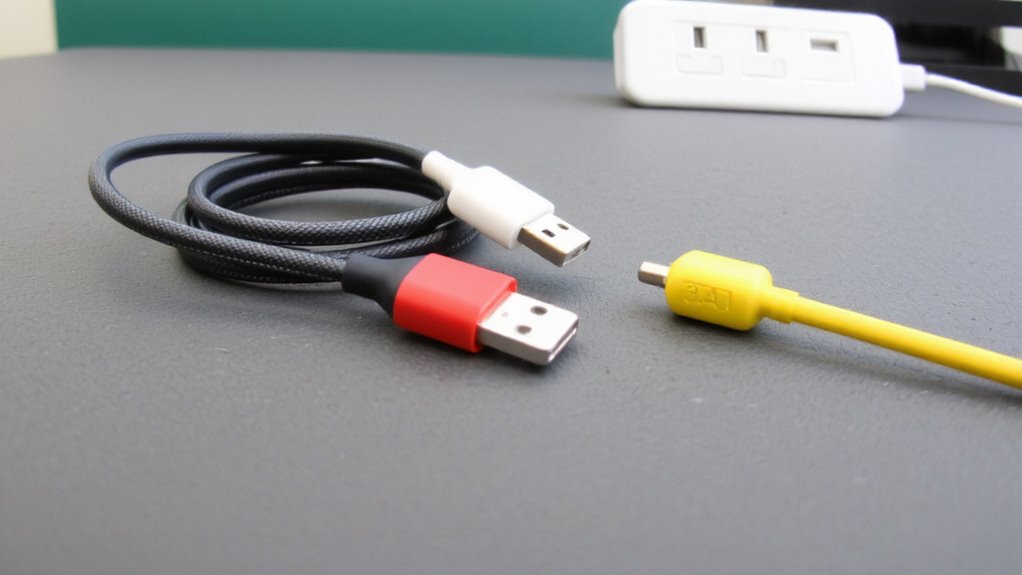
Knowing your cable’s amp rating isn’t just helpful-it’s essential for charging safely and efficiently. Using the wrong cable can lead to slow charging or even damage your devices. Match cables to their output using clear markings and color coding-red for 3A, blue for 2.4A, white for 1A-to avoid confusion and boost heat resistance under heavy loads. Here’s a quick guide:
| Amp Rating | Ideal Use |
|---|---|
| 1A | Low-power devices |
| 2.1A | Tablets, e-readers |
| 2.4A | Most smartphones |
| 3A | Fast-charging tech |
Higher amps generate more heat, so guarantee your cables have strong heat resistance. Always verify ratings on the cable or packaging-don’t assume. While color coding speeds up identification, confirm specs because standards vary by brand. Mislabeled cables can underperform or overheat.
Use Durable Labels That Last
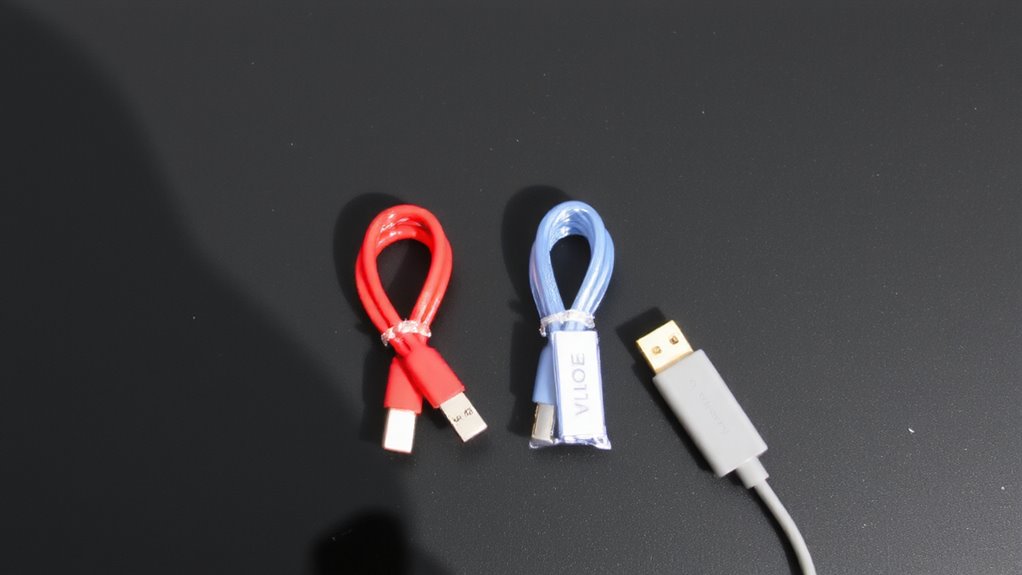
Don’t let your carefully color-coded charging cables lose their labels to daily wear-opt for durable, long-lasting ones that withstand friction, heat, and frequent handling. You’ll need weather resistance if cables are used near windows, in garages, or outdoors, even occasionally. Vinyl or polyester labels with laminated coatings outperform paper ones, especially those rated for 5+ years of label longevity under UV exposure and moisture. Look for labels tested to resist temperatures from -40°F to 220°F, which covers most indoor and borderline outdoor conditions. Adhesives matter too-polyacrylate-backed labels bond better over time than rubber-based ones. Just know, even the toughest labels can fail if applied to oily or dusty surfaces, so clean each cable first. Printers like Brother P-touch or label makers with heat-shrink tubes offer reliability, but they cost more upfront. The trade-off? Fewer replacements and less frustration long-term.
Keep Cables Sorted and Accessible
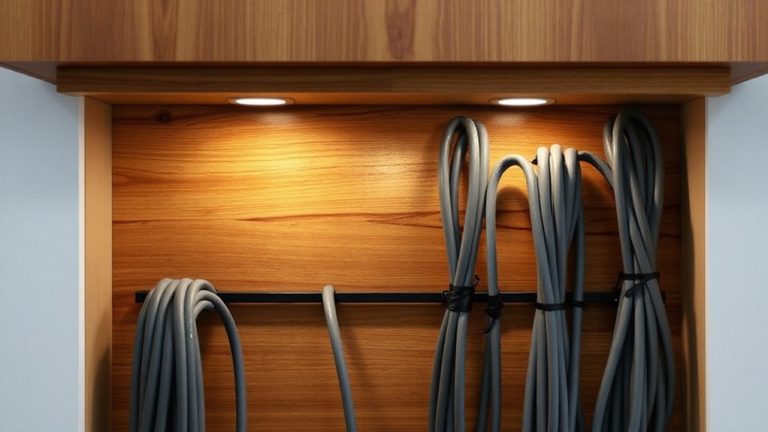
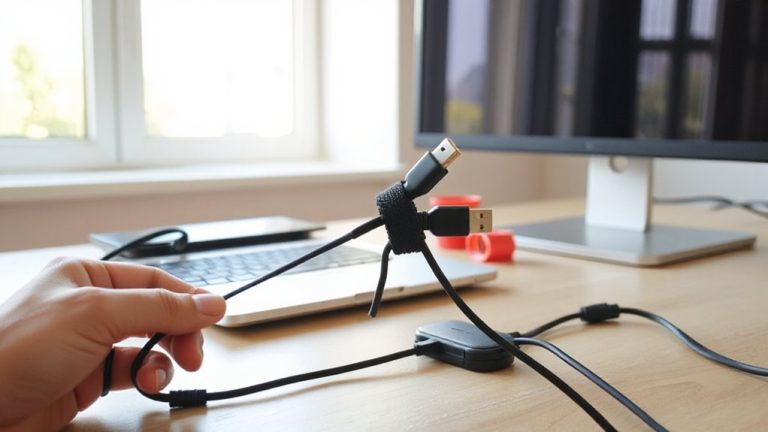
Keeping your charging cables sorted and accessible means choosing storage solutions that match how you actually use them-not just how they look on a desk. Cable color coding helps you grab the right one quickly-red for fast-charging cables, blue for low-power devices-so you’re not guessing amperage ratings. Pair this with smart storage bin organization: use divided trays or small containers labeled by device type to prevent tangling and reduce wear. Mesh bins let you see contents fast, while zippered pouches protect delicate connectors. Rigid cases add durability but take up more space. Just don’t over-organize-too many compartments can make retrieval slower. The best systems balance speed, protection, and simplicity. Cables you use daily should be within easy reach; occasional ones can go in drawer storage. Test setups for a week to confirm they fit your routine. A well-designed cable management system can significantly reduce desk clutter and improve daily efficiency.
Update Your Labels as Needed
Labels aren’t set in stone-your charging needs change, and your system should keep up. Over time, cable degradation can reduce performance, making once-suitable cables unsafe or inefficient for certain devices. When you swap out cables, outdated labels lead to confusion or mismatches in amperage. Likewise, label fading from sunlight or friction makes it hard to read essential specs like “2.4A” or “USB-C.” Replace labels whenever you upgrade devices, notice wear on cables, or find labels becoming illegible. Use weather-resistant adhesive labels or printed vinyl tags to resist fading and last longer. Though durable labels cost slightly more, they reduce long-term upkeep. Just don’t assume labels last forever-inspecting them yearly keeps your setup accurate. Staying current guarantees you’re not accidentally using a worn cable or underpowered adapter on a device that needs more.
On a final note
Labeling cables by device and amperage works well if you use durable, adhesive-backed tags or printed labels that won’t fade. Clearly mark each cable’s name and rating-like “iPad 2.4A” or “Android 3A”-to avoid mismatches. Keep them coiled and stored in a labeled pouch or tray for quick access. Just remember: labels can wear down over time, so check them every few months and replace as needed.