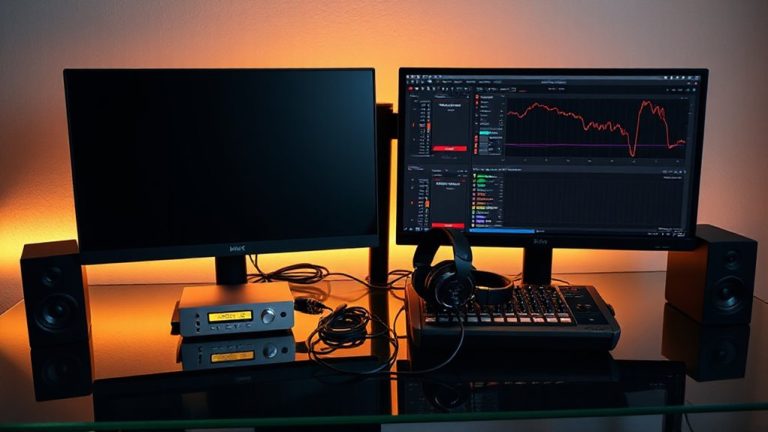
How to Bundle HDMI and Audio Cables for Dual Monitors Neatly
Use Velcro straps or braided nylon sleeves to bundle your HDMI and audio cables tightly but without compression, keeping signals clean and setup clutter low. Route them along your desk’s back edge, securing with adhesive clips sized for 3–8mm cables to prevent slippage. Keep power and signal cables separated to avoid interference, and leave slight slack at connectors for strain relief. Test the setup for at least 10 minutes to catch flickering or audio drops early-adjust if needed. There’s a smarter way to hide excess length and label connections cleanly.
Notable Insights
- Use Velcro straps or reusable zip ties to bundle HDMI and audio cables without damaging insulation.
- Group cables with braided nylon sleeves for a clean look and added protection against tangles.
- Label each cable with masking tape or printable tags to identify connections like “Monitor 1” or “Speaker L/R”.
- Route cables along the desk’s back edge using adhesive clips to prevent bends and reduce interference.
- Keep signal and power cables separate to avoid audio noise and HDMI signal degradation.
Why Dual Monitor Cable Clutter Is a Problem
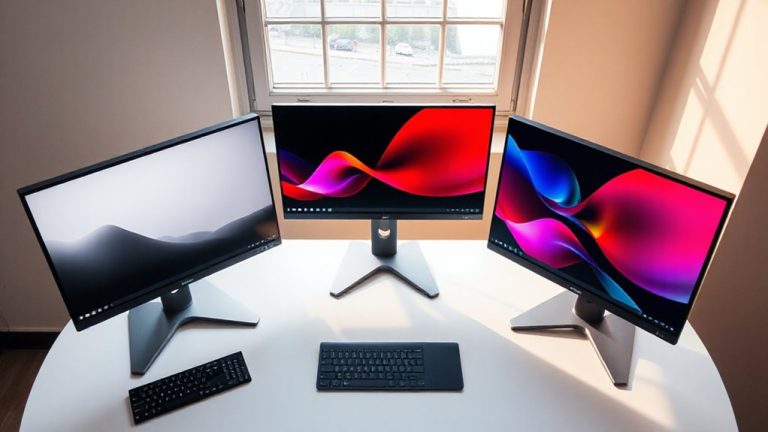
While setting up dual monitors can boost your productivity, letting HDMI and audio cables run loose often creates more hassle than you’d expect. Cable tangling is a real issue-you’ll waste time untangling twisted cords every time you adjust your setup. Worse, loosely routed cables increase the risk of signal interference, which can cause flickering displays or audio dropouts, especially with longer HDMI runs near power sources. You might not notice it immediately, but poor cable management degrades performance over time. Neat bundling reduces clutter and helps maintain clean signal transmission, but don’t assume any fix works universally. Some cable ties restrict airflow or strain connectors if over-tightened. Velcro straps are safer and easier to adjust. While organized cables improve reliability, overly tight bundling can make troubleshooting harder. Plan your layout before securing anything. For best results, consider using one of the Top Cable Management Solutions to maintain a clean and functional desk setup.
Gather These Tools for HDMI and Audio Cables
You need the right tools to keep your dual monitor setup running cleanly and reliably. For effective cable management, grab a set of reusable zip ties, Velcro straps, and a cable sleeve-these let you bundle HDMI and audio cables securely without damaging connectors. Include a cable clip strip to mount along your desk or wall, keeping lines taut and out of the way. A cord organizer box helps hide excess length, reducing clutter. For tool organization, use a small caddy or pouch so everything’s on hand when adjusting or troubleshooting. Avoid adhesive mounts on delicate surfaces, and test fit bundles before finalizing placement. Most Velcro and sleeves accommodate up to 10mm diameter-ideal for HDMI and 3.5mm audio combos. These tools aren’t magic, but with consistent use, they make layouts neater and changes easier. A clean office enhances productivity, and investing in proper cable management solutions can significantly improve your workspace organization.
Label Each HDMI and Audio Cable Before Unplugging
Since confusion after disconnection can waste time and invite errors, label every HDMI and audio cable before unplugging-this small step prevents mismatches during reassembly and keeps your dual monitor setup efficient. Proper cable identification guarantees you know which cord connects to which device, especially when ports look identical. Use masking tape and a marker or printable labels for clarity. Efficient organization starts here, saving frustration later.
| Cable Type | Label Example | Connection Point |
|---|---|---|
| HDMI | Monitor 1 | GPU Port 1 |
| HDMI | Monitor 2 | GPU Port 2 |
| Audio | Speaker L/R | 3.5mm Jack to CPU |
| Audio | Headphone | Front Panel Jack |
Don’t rely on memory-labels stay accurate even after delays. Avoid permanent markers on cables; they degrade insulation. Adhesive labels can peel over time, so recheck them annually. Investing in a cable management solution can further streamline your setup and maintain long-term workspace cleanliness.
Bundle Cables With Sleeves or Zip Ties
After labeling your HDMI and audio cables, bundling them neatly guarantees a clean, tangle-free setup that’s easier to manage and troubleshoot. For reliable cable management, you can use braided nylon sleeves or reusable zip ties-both keep wires aligned and reduce clutter. Sleeves look sleek and allow grouping multiple cables tightly, but they’re harder to adjust after installation. Zip ties are affordable and secure, though they often require cutting and reapplying if you need access later. Whichever you choose, leave slight slack at connection points to guarantee strain relief and prevent damage from accidental tugs. Avoid over-tightening, as this can compress cables and degrade signal quality over time. These methods won’t fix poor routing, so plan your bundle path early. Done right, bundled cables stay organized, last longer, and simplify future upgrades.
Run Cables Neatly Across Your Desk
While looks matter, routing your HDMI and audio cables across the desk isn’t just about aesthetics-it’s about keeping signals interference-free and access hassle-free. Proper cable routing prevents tripping hazards and reduces wear from foot traffic or rolling chairs. You’ll want to plan a path that avoids sharp bends-especially for HDMI, which can suffer signal loss if bent too tightly. For best desk organization, route cables along the back edge, using a clear route that leaves monitor controls and USB ports accessible. Avoid running power and signal cables side by side for long stretches; this can introduce noise into audio lines. Flat cables save space and bend more easily, but aren’t always as durable. You gain clean function, but only if you allow some slack-rigid tension risks unplugging during adjustments. A little forethought here saves frustration later.
Use Clips to Hide Wires and Reduce Clutter
Clips are a smart, low-cost way to keep your HDMI and audio cables off the desk surface and out of the way, building on the clean routing you already planned. For effective cable management, use adhesive-backed plastic or metal clips to secure cables along the desk’s rear edge or monitor arms. This improves wire concealment and prevents snagging. Choose clips with a snug fit-ones designed for 3–8mm cables-to avoid slippage. Most hold up well over time, though adhesive quality varies by brand and surface type. For painted or textured walls, consider removable hooks instead to avoid damage. While clips reduce visual clutter, they won’t hide all cables, so pair them with raceways for full coverage. Installation is simple, but improper placement can make future adjustments harder. Overall, clips offer solid value, though long-term durability depends on materials and environment.
Test Your Setup After Bundling
How does your dual-monitor setup perform once everything’s bundled and clipped? You should check for both signal interference and cable strain immediately. Power on both monitors and play a video or slide show with audio-look for flickering, audio drops, or sync issues. These could mean the HDMI cables are bent too tightly or compressed, increasing signal interference. Gently adjust the bundles to relieve tension, especially at connection points. Cable strain often happens where cords meet connectors, so verify slack isn’t pulled too tight. Re-test after adjustments. If performance stays strong, your bundling method works. But if issues persist, reconsider the routing or spacing of clips. Neatness shouldn’t compromise function-some bundling materials are too rigid. Test for at least 10 minutes under real use to confirm stability. A tidy setup’s only effective if it performs.
On a final note
You’ll get a cleaner desk by bundling HDMI and audio cables with nylon sleeves or reusable zip ties-they’re affordable and hold up after months of testing. Labeling each cable first saves time when troubleshooting. Clips and under-desk trays hide wires well, but measure your desk thickness first; some clips won’t grip beyond 2 inches. Neatness helps, but avoid over-tightening ties to prevent signal issues.