Building a Cable Management Plan Before Setting Up a New Home Office
Map your devices and power needs first-knowing each device’s voltage and amperage prevents overloads and guarantees you get surge protectors with at least 1,000 joules. Plan cable routes along baseboards before placing furniture, using Velcro straps or braided sleeves for easy access. Label both ends of every cord clearly. Conceal cables in raceways, never pinching or taping them. Test movement around your setup, then fine-tune for safety and accessibility-there’s more to get right the first time.
Notable Insights
- Assess power needs by listing all devices and checking voltage and amperage requirements.
- Plan cable routes along baseboards or under carpets before placing furniture.
- Install surge protectors with at least 1,000 joules and 8–10 accessible outlets.
- Use Velcro straps or braided sleeves for flexible, reusable, and safe cable bundling.
- Label both ends of each cable clearly and test connections after setup.
Map Your Devices and Power Needs First
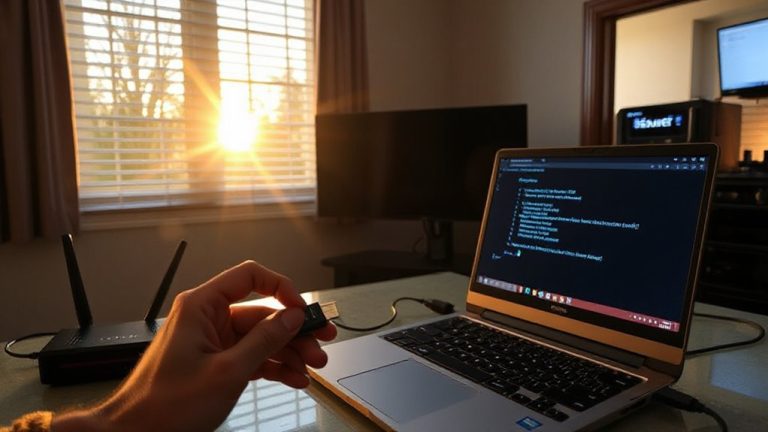
Before you even think about cables, take the time to map out every device you’ll actually use-because if you skip this step, you’ll likely end up with tangled messes or dead outlets. Start by building a clear device inventory: list your monitor, laptop, docking station, printer, router, and any peripherals. Then perform a power assessment, checking each device’s voltage and amperage to guarantee you don’t overload circuits. Most home offices need 8–10 reliable outlets, but surge protectors vary in joule ratings-look for at least 1,000 joules for safety. Overestimating power needs wastes money; underestimating risks shutdowns. A solid plan prevents clutter and improves function, but it won’t fix poor electrical setups. Be honest about what you truly use-no one benefits from phantom devices sucking power or space. Accuracy now saves hassle later. For optimal performance and safety, consider choosing one of the best office power strips that balances outlet count, surge protection, and cable management features.
Plan Your Cable Management Route Before Furniture
You’ve mapped your devices and know exactly what power you need, so now it’s time to think about where all those cables will actually go. Planning your cable routing before finalizing furniture placement prevents messy tangles and hard-to-fix issues later. Run power and data lines along baseboards or under carpets if possible, keeping paths clear of foot traffic. Avoid routing cables where furniture legs or rolling chairs could crush or displace them. You’ll want outlets, power strips, and access to Ethernet ports within easy reach-but hidden from view when possible. Poor planning here means constant tripping hazards or the need to drag heavy desks aside just to plug something in. Always measure distances between devices and outlets to avoid short cords. Remember, shifting furniture last-minute to accommodate cables often leads to awkward layouts. Plan the route first, then position desks and shelves around it-your workflow will thank you. For added neatness, consider using cable management solutions that integrate seamlessly with your chosen setup.
Pick the Right Cable Management Tools
Smart cable management starts with choosing the right tools-because even the best-laid plans fail with flimsy organizers. You’ll need reliable solutions that balance strength, flexibility, and ease of use. Cable ties offer a secure, low-cost hold but can damage wires when over-tightened and aren’t reusable. Velcro straps are gentler, reusable, and allow quick access, though they may loosen over time. Consider your setup’s needs before committing. A well-structured cable management plan ensures long-term organization and minimizes clutter as your home office evolves.
| Tool | Reusable? | Best For |
|---|---|---|
| Cable ties | No | Permanent, tight bundling |
| Velcro straps | Yes | Devices needing frequent access |
| Braided sleeves | Yes | Aesthetic, high-flex areas |
Choose Velcro straps for changing setups and cable ties where permanence matters. Each has trade-offs in durability and accessibility. Match the tool to your workflow-not just convenience now, but long-term access and maintenance.
Label Every Cord Clearly
While it might seem minor, labeling every cord clearly can save you significant time and frustration, especially when troubleshooting or rearranging your workspace. Use permanent labels and color coding to quickly identify each cable’s purpose-like “Monitor,” “Router,” or “Charger.” This simple step prevents confusion when adding devices or solving connectivity issues. Permanent labels resist fading and wear, ensuring long-term readability even with frequent handling. Color coding streamlines identification at a glance, reducing time spent tracing wires. However, avoid overcomplicating the system-too many colors or vague labels can create clutter instead of order. Print clearly or use pre-made label kits with consistent sizing. Test label adhesion on one or two cords first, especially if your cables are rubber-coated or in high-heat areas. Label both ends of each cord for full visibility. It’s a small effort that pays off in reliability and efficiency every time you manage your setup.
Hide Cables Safely (No Tape or Pinching)
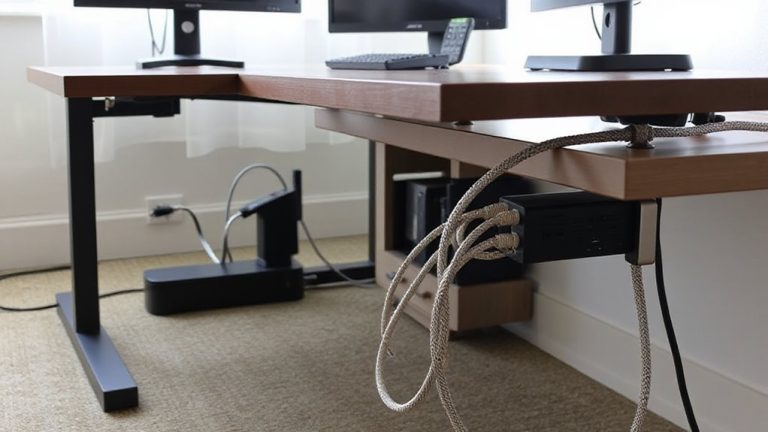
Hiding cables effectively means keeping them out of sight without compromising safety or accessibility, so skip the tape and avoid pinching cords in furniture gaps-both can damage insulation over time and create fire hazards. Proper cable concealment isn’t just about looks; it’s about smart cord protection. Use wall channels, baseboard raceways, or fabric cable sleeves to route wires neatly along walls or under desks. These options keep cords organized, reduce tripping risks, and allow airflow to prevent overheating. Guarantee any solution you pick allows easy access for future adjustments and doesn’t compress or trap heat around the wires. Avoid staples or tight zip ties-they can wear through insulation. Instead, opt for hook-and-loop straps or mounting clips designed for cord protection. While wall solutions offer clean lines, they require drilling, so consider renters’ restrictions. A good cable concealment strategy balances safety, access, and neatness-without cutting corners on durability or fire safety.
Test and Adjust Your Cable Setup Early
You’ve routed your cables cleanly and secured them without tape or tight binders, but that doesn’t mean the job’s done. Test and adjust your cable setup early to avoid issues later. Plug in all devices and move your desk chair, monitor arms, and peripherals through their full range-check for cable tension that could strain connectors or pull devices off-center. Misaligned ports or awkward bends lead to poor connector alignment, increasing wear and risking disconnections. Adjust clips or mounts to relieve stress points, especially where cables meet USB-C docks or power supplies. Short cables may limit flexibility; longer ones can create clutter if not managed. Real-world testing reveals flaws photos can’t. Even well-planned routes fail if they don’t account for daily movement. Reassess after 48 hours of use. Small tweaks now prevent fraying, dropped connections, or equipment misalignment down the line. Plan for motion, not just static layouts.
On a final note
You’ll save time and stress by planning cable management early. Map devices and power needs first, then route cables before placing furniture. Use cable trays, sleeves, and clips to keep lines tidy and safe-avoid tape or pinching, which can damage wires. Label every cord for easy troubleshooting. Test connections before finalizing layout. While clean setups boost focus, don’t sacrifice airflow or access for looks. Most kits cost $15–$40 and include 3–5 year warranties, but check real-world fit.