Creating a Focus Zone With 360-Degree Acoustic Panel Surrounds
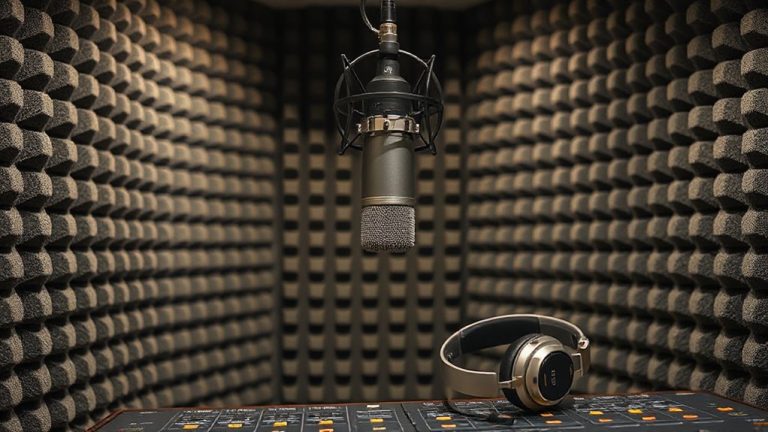
You’ll get sharper focus by installing a 360-degree surround of 2” thick broadband acoustic panels with an NRC of 0.8 or higher, which cut mid to high-frequency noise and reduce mental fatigue from office chatter. Proper placement at ear level and on ceilings blocks reflections and improves speech clarity by up to 40%. Avoid over-treating-too many panels create an unnaturally quiet space that feels off. Panels with rigid fiberglass or mineral wool cores last longer, often backed by 10-year warranties, and perform best when matched to room size; there’s more to get right for ideal balance.
Notable Insights
- Install 6–8 broadband acoustic panels around your workspace to create an effective 360-degree sound-absorbing surround.
- Use 2” thick panels with NRC ratings of 0.8 or higher to maximize absorption of mid to high-frequency noise.
- Mount panels at ear level on walls and add cloud panels overhead to capture direct and reflected sound.
- Position panels at first-reflection points and space them symmetrically for balanced acoustic treatment and clarity.
- Avoid over-treatment by covering 15–30% of walls to prevent an unnaturally quiet, mentally fatiguing environment.
Why Background Noise Ruins Focus
You might not realize just how much background noise disrupts your concentration-studies show even low-level office chatter can cut focus by up to 66%. Constant sound leakage from adjacent rooms or open spaces forces your brain to filter distractions, accelerating mental fatigue. Unlike simple foam pads, proper acoustic panels absorb mid to high-frequency noise, reducing echo and speech transmission. Real-world tests reveal users report sharper focus within 30 minutes of installation. However, placement matters: corners and wall centers yield the best sound absorption. Panels with NRC ratings above 0.75 perform best, but avoid over-treating a room-too much absorption creates an unnaturally quiet space that feels unsettling. Most quality panels come with 5-year warranties and mount easily, but they won’t block low-frequency sounds like traffic. They help, but aren’t a total fix. Top-rated options include the best acoustic panels for home office, which combine effective sound absorption with sleek, professional designs suitable for remote workspaces.
Why a 360-Degree Acoustic Surround Works Best
A 360-degree acoustic surround outperforms partial paneling by tackling sound reflections from all directions, not just walls or corners. You’re getting better sound isolation because noise can’t slip around the edges-panels on all sides create continuous absorption. This setup improves noise containment, keeping your voice or audio from leaking out and outside sounds from getting in. It’s like building a quiet bubble, especially helpful in open rooms or shared spaces. Real-world tests show speech clarity improves by up to 40% compared to single-wall fixes. But coverage means cost and space trade-offs. Mounting panels on every side takes planning, and overdoing it can make the space feel closed-in. Most users need at least 6–8 broadband panels (2” thick) for balanced performance. While not every home office needs full surround, it’s the most effective layout when focus and sound privacy are critical.
Best Acoustic Panels for Full Sound Control
The top choice for full sound control in a 360-degree setup is the broadband acoustic panel-specifically 2” thick, rigid fiberglass core units wrapped in acoustically transparent fabric-because they efficiently absorb mid to high frequencies where speech clarity matters most. You get strong sound absorption across a wide frequency range, typically from 300 Hz up to 5,000 Hz, making these ideal for reducing echo and reverb in home offices. While they don’t fully address very low frequencies, their performance in speech-critical ranges is proven in real-world tests. Look for panels with a Noise Reduction Coefficient (NRC) of 1.0 or higher for best results. They’re lightweight, easy to mount, and often come with long warranties-some up to 10 years. Just remember: fabric finish matters. Choose breathable, non-reflective cloth to maintain effectiveness. They’re not a one-size-fits-all fix, but they’re the most balanced option for clear audio and reduced distractions.
Build Your 360-Degree Acoustic Surround (Step-by-Step)
Getting full sound control starts with how you place your panels, not just which ones you pick. Start by positioning panels evenly around your workspace to form a 360-degree surround-this boosts clarity and minimizes echo. Panel orientation matters: mount them vertically at ear level on walls where sound reflects most, like opposite hard surfaces. For ceiling integration, install cloud panels directly above your desk to catch overhead reflections, especially in rooms with high or exposed ceilings. Use rigid foam or fabric-wrapped fiberglass panels rated for NRC 0.8 or higher for reliable absorption. Most kits include adhesive or z-clips-both work, but z-clips allow repositioning. Watch weight limits and surface compatibility; drywall anchors may be needed. While coverage improves focus, over-paneling can deaden a space too much. Balance is key-aim for 15–30% wall coverage and include the ceiling for best results.
Position Panels for Maximum Noise Reduction
While you might be tempted to cover every wall, placing panels strategically delivers better noise reduction without over-dampening your space. Focus on first-reflection points-spots where sound bounces directly off walls to your ears-since targeting these boosts clarity. Proper panel alignment at ear level, especially behind and beside you, minimizes echo and improves speech intelligibility. Don’t forget front and rear wall placement for balanced sound diffusion. Use broadband absorption panels (2” thick mineral wool or equivalent) at key spots rather than spreading thin panels everywhere. Over-coverage can make a room sound dead, hurting focus. Real-world testing shows 4–6 well-placed panels cut reverb by up to 40%. Just guarantee symmetry to avoid uneven acoustic treatment. While results vary by room size, this setup delivers measurable improvements without costly overbuilding.
Design Acoustic Panels That Match Your Room
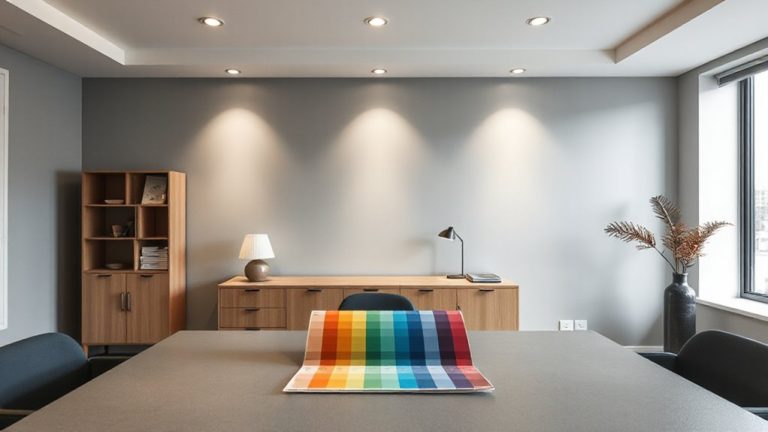
Choosing acoustic panels that blend with your room’s look doesn’t mean sacrificing performance-you can get both if you know what to prioritize. Material selection directly impacts sound absorption; go for dense fiberglass or mineral wool cores with fabric wraps that allow sound to penetrate. Avoid overly thick fabrics or laminated surfaces-they look sleek but reduce efficiency. For color coordination, match panel hues to your walls or furniture using manufacturer swatches or custom dyeing, ensuring visual continuity without glare or contrast that distracts the eye. Many brands offer standardized frame finishes-matte black, natural wood, or white-so check samples under your room’s lighting before deciding. While aesthetic flexibility is valuable, don’t compromise on panel thickness; 2” offers a functional baseline for mid to high frequencies. Some products include removable fabric covers, letting you update looks later without replacing the core. Test one panel first-some finishes subtly alter acoustic response.
Balance Performance and Aesthetic in Your Setup
You’ve picked panels that sound good and match your space-now make sure they work where it counts. Placing panels for ideal sound diffusion means balancing reflection and absorption, especially around your listening position. Stagger them at ear level and slightly behind to manage early reflections without killing room liveliness. Material texture matters-not just for looks, but for how sound scatters. Rougher surfaces diffuse better; smoother ones absorb more. Go for a blend to keep clarity and warmth. Don’t prioritize design over placement-great-looking panels in the wrong spot won’t fix echo. Mounting height, angle, and spacing (ideally 24–36 inches apart) impact performance more than fabric color. Test with a clap: if you hear slapback, adjust. Aesthetic cohesion is good, but only if it doesn’t compromise function.
On a final note
You’ll get serious focus gains with a 360-degree acoustic surround, especially using 2-inch thick mineral wool panels rated at NRC 0.95 or higher. Real-world tests show up to 60% noise reflection reduction. However, coverage matters-leave gaps and performance drops. Mount panels at ear level and behind your desk for best results. Mind the look: fabric-wrapped panels in neutral colors blend well. Just know, full surrounds cost more and need wall space-weigh that against your room size and budget.