How to Route Cables Around a Corner Desk Without Exposed Wires
Route cables around your corner desk using adhesive clips and raceways to keep wires hidden but accessible. Stick clips along clean, flat surfaces to guide cords-avoid textured areas where adhesion fails. Use flexible sleeves or rigid raceways for a neater look, especially along edges. Feed cables through built-in grommets if available, ensuring thick power bricks fit. Mount a spaced-out power strip under the desk with brackets or strong adhesive. Add an under-desk tray to organize and support cables without clutter. You’ll find smarter ways to maintain this setup as you go.
Notable Insights
- Use adhesive clips to secure cables along the desk’s edge, keeping them hidden and organized without drilling.
- Install cable sleeves or raceways along the corner joint to bundle and conceal wires running between desk sections.
- Route cables through built-in grommet holes at the back corners, directing them straight down to reduce visibility.
- Mount an under-desk cable tray to manage cords and power strips, keeping connections tidy and out of sight.
- Choose a power strip with spaced outlets and mount it under the desk near a rear edge for clean access.
Know Your Cables and Desk Type
Cables matter-more than most people realize-because they directly affect both the function and look of your corner desk setup. You need to assess cable length early: too short, and you can’t route them neatly behind the desk; too long, and they create clutter. Measure the distance from your devices to the power outlet, then add 12–18 inches for flexibility. Desk material plays a bigger role than you might think-wood and metal desks can hide cables better with grommets or raceways, while laminate edges may chip if you clamp accessories too tightly. Solid desks support cable management solutions better, but lighter materials may require adhesive-backed options that won’t damage surfaces. Always check weight ratings and edge thickness before installing anything. Poor planning leads to tangled cords and visible messes, no matter how sleek your gear looks. Know your limits. A well-organized workspace can also benefit from ergonomic seating, such as an active sitting chair designed to improve posture and reduce strain during long work sessions.
Use Adhesive Clips to Tame Cords
Adhesive clips are a smart, low-profile way to keep cords organized without drilling or permanent changes to your workspace. For cable management along corner desks, they anchor cords neatly to edges or legs, reducing clutter and improving cord organization. Most clips hold cables up to 0.4 inches thick and support moderate tension from device movement. Choose brands with 3M adhesive backing-they typically survive three years indoors without peeling. Still, they’re less effective on textured or dusty surfaces, so wipe the area first with alcohol. While ideal for light to medium cable setups, heavy bundles may need additional support. Avoid placing clips where legs brush against them daily. Replaceable models cost slightly more but let you swap out worn bases. They won’t fix messy wiring on their own-you’ll still need to plan your cable routes. But as part of a broader solution, adhesive clips offer reliable, reversible control.
Hide Wires With Sleeves or Raceways
While you can’t completely eliminate wires in a modern setup, you *can* hide them effectively using sleeves or raceways-two top solutions for keeping your corner desk’s wiring both accessible and invisible. Cable sleeves bundle cords together neatly, offering a low-profile, flexible cover you can route along desk edges. They’re easy to install and work best when you have multiple cords running in the same path. Raceway solutions, meanwhile, are rigid channels that mount directly to your desk or wall, providing a more permanent, polished look. They protect cables and allow easy access for additions or changes. Most come in neutral colors and standard lengths (1–6 feet), with adhesive or screw mounts. While sleeves are faster to set up, raceways handle heavier cable loads better. Both options maintain serviceability, but raceways can look bulky if overfilled. Choose based on your cable volume and aesthetic priorities.
Run Cables Through Your Desk’s Cable Hole
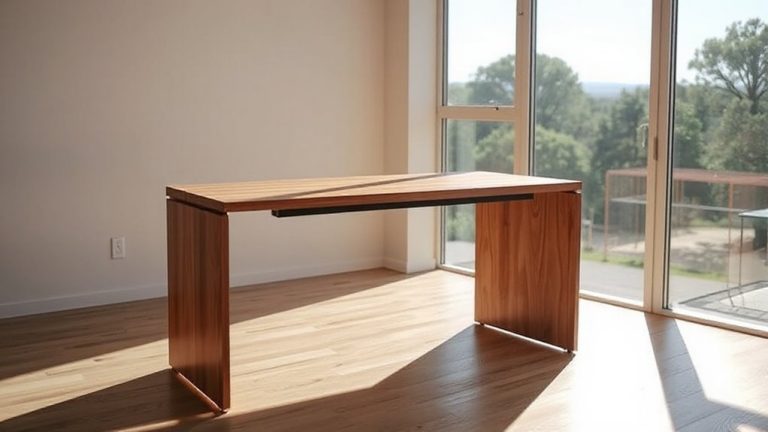
If your corner desk came with a built-in cable hole, you’ve already got one of the simplest tools for clean cable management right under your hands. Proper hole placement is key-most models place it near the back edge or corner, letting you route power and data cords straight down to the floor or a surge protector. Feed cables through one at a time, avoiding overstuffing, since a crammed hole can damage insulation or make future updates harder. This method keeps wires hidden and reduces clutter, but only works well if the hole is large enough-check diameter before passing thick power bricks. Some desks have just one hole, which can limit device layout. You’ll need to plan outlet access carefully. While it’s not a complete solution, using the hole correctly improves cable management considerably and sets a solid base before adding channels or trays later. A comfortable seating position while working can enhance cable management efficiency, especially when paired with an ergonomic floor seat.
Add a Tray for Easy Cable Access
A cable management tray is one of the most effective upgrades you can add to a corner desk, especially when you’re dealing with multiple monitors, charging devices, or tangled power strips. It simplifies cable management and improves desk organization by keeping wires accessible yet hidden. Mounting a tray under your desk creates a dedicated zone for routing and securing cables, reducing clutter and accidental tugs. Top Cable Management Solutions can further enhance your setup with complementary tools like sleeves, clips, and adhesive mounts.
| Feature | Benefit |
|---|---|
| Under-desk mount | Frees up surface space |
| Cable clips included | Prevents snags and tangles |
| Adjustable width | Fits most corner desks |
| Steel construction | Supports up to 15 lbs |
| Tool-free assembly | Installs in under 10 minutes |
Just make sure the tray doesn’t interfere with legroom-measure clearance first. While it won’t eliminate all wires, it’s a practical step toward cleaner, more functional cable management.
Mount Your Power Strip Off the Floor
Keeping your power strip off the floor is a smarter move than it might first seem, especially when paired with the clean setup a cable management tray already provides. Proper power placement reduces tripping hazards and minimizes dust buildup, both key concerns in effective cable management. Mount it underneath your desk using strong adhesive strips or mounting brackets-many modern power strips include built-in keyholes for this. Aim for a spot near your desk’s rear edge, where cords from monitors and laptops can reach without strain. Just make sure the strip isn’t blocking airflow or pressed against wood for long periods, which could lead to overheating. Also, verify that your setup still allows easy access to the power switch. While elevated placement improves safety and neatness, it can limit access if done poorly. Choose a strip with spaced outlets to avoid bulky plug interference-this small detail makes a real difference in long-term use.
On a final note
You’ll get clean results fast by combining adhesive clips, a cable sleeve, and your desk’s built-in grommet hole. This setup hides most wires securely, but tight bends behind corner desks can strain cables over time. Mount the power strip under the desk with included brackets-avoid cheap plastic mounts that crack. Use a 6-outlet, 10-foot surge protector with a 3-year warranty for safety. Test fit everything before final mounting.