Adding Ventilation Slits to DIY Wooden Desktop Cable Enclosures
Cut horizontal ventilation slits in your wooden cable enclosure to prevent overheating-wood traps heat, so 3/8-inch-spaced, 1/4-inch-deep slots on the top and upper sides let hot air escape while maintaining strength. Place intake vents low at the front, exhaust high at the back for airflow. Use a sharp carbide-tipped blade for clean cuts without splintering. Aim for 20–30% total vent area and align slits with the grain to blend function and style. Try a small fan test first to confirm circulation works. There’s more to get right for long-term performance.
Notable Insights
- Cut horizontal ventilation slits 3/8 inch apart on top and upper sides for optimal heat dispersion.
- Place intake vents low at the front and exhaust vents high at the back to promote convection airflow.
- Use a table saw or sharp jigsaw with a carbide-tipped blade for clean, precise slit cuts.
- Space slits 3–5 mm apart and keep each 8–10 mm wide for balanced airflow and structural strength.
- Aim for 20–30% total vented surface area to prevent overheating while maintaining enclosure integrity.
Cut Ventilation Slits to Prevent Overheating
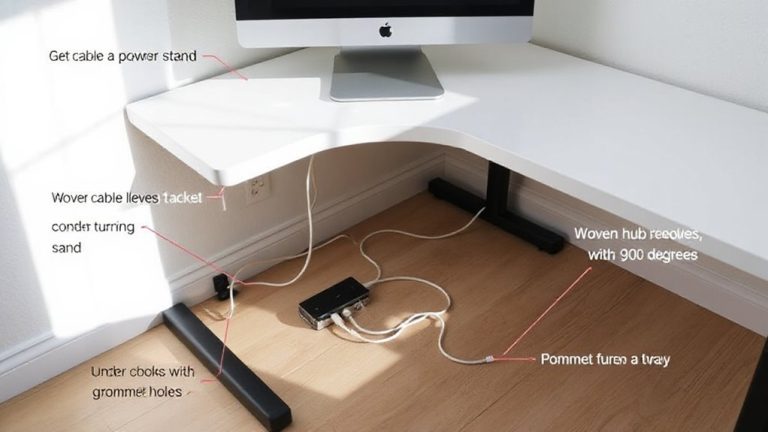
While you might be tempted to seal your DIY cable enclosure completely for a clean look, cutting ventilation slits is a smart move to avoid overheating, especially if you’re routing multiple power or data cables that generate heat over time. Proper thermal management keeps internal temps stable, preventing damage to sensitive electronics. Ventilation aids heat dispersion, allowing warm air to escape and cooler air to circulate. Without it, trapped heat can degrade cable insulation or affect device performance. You don’t need large openings-narrow, evenly spaced slits along the top or sides work well. Just make sure they’re sized to deter dust buildup while still promoting airflow. Keep in mind that too many slits may weaken the structure or disrupt aesthetics. Balance function and form. While vents add minimal effort to your build, they markedly improve long-term reliability-especially with high-wattage adapters or densely packed cords. For a polished finish that also simplifies cord access, consider integrating a cable hiding option into your design.
Choose the Best Slit Pattern for Cable Boxes
A well-designed slit pattern makes a real difference in how effectively your cable enclosure manages heat, and the best choice for most setups is a series of horizontal slots spaced 3/8 inch apart along the top and upper sidewalls. Slit orientation matters-horizontal cuts resist dust buildup better than vertical ones and promote natural convection airflow. You’ll want to balance ventilation and structural integrity based on your wood’s material thickness; for standard 3/4-inch plywood, 1/4-inch-deep slits preserve rigidity while allowing solid airflow. Too many or poorly placed slots can weaken the box or create gaps that expose wiring unevenly. Keep patterns symmetrical and test airflow with a small fan before finalizing. While horizontal slits work well in most cases, tight spaces with limited rear clearance might need adjusted layouts. Always consider how the design affects both cooling performance and enclosure durability.
Use the Right Tools for Clean Wood Slits
Clean, precise ventilation slits start with the right cutting tool-your choice directly affects both the airflow efficiency and the enclosure’s finished look. Your tool selection matters: a sharp jigsaw or circular saw works well for straight or curved cuts, while a table saw delivers the cleanest edges for uniform slots. Dull blades tear the wood, leaving splinters and uneven edges, so blade sharpness is critical-replace blades if they hesitate or burn the wood. For hardwood enclosures, carbide-tipped blades maintain sharpness longer and handle repeated cuts without fraying edges. While multitools offer control for small slits, they often lack the stability for long, straight lines. Even with the best tool, go slow to avoid overheating. Test cuts on scrap wood help gauge performance. Remember, clean cuts improve aesthetics and function, but they demand the right tool paired with maintained blade sharpness-don’t compromise either.
Place Slits for Maximum Airflow
Since airflow efficiency depends on both slit placement and enclosure design, you’ll want to position vents where hot air naturally rises and exits-typically near the top rear of the enclosure. This aligns with basic thermal dynamics: heat builds up inside enclosures, and proper vent placement improves heat dispersion by allowing convection to move warm air out. You should place intake slits low on the front and exhaust slits high on the back to create a steady airflow path. Avoid clustering all slits on one side-this disrupts balanced circulation. While wood adds warmth to your desk setup, it traps heat more than metal or plastic, so strategic venting is essential. Test airflow by running devices under load and feeling for warm spots. Over-ventilating can weaken the structure, so aim for 20–30% open area across surfaces.
Design Vents That Look Good and Work
When it comes to ventilation, function doesn’t have to come at the expense of form-well-placed vents can keep your gear cool while blending into your enclosure’s design. You should aim for aesthetic integration by aligning vent patterns with the grain or edges of your wood, using clean lines like horizontal slits or geometric laser-cut designs that match your desk’s style. Choose hardwoods like birch or maple for better material durability, since they resist warping and hold sharp cut details longer than softwoods. Space slits 3–5 mm apart and keep them 8–10 mm wide to balance airflow and structural integrity. While decorative grilles look sleek, they can restrict airflow if too dense, so test fit before final assembly. Relying solely on end-panel vents may limit circulation, so combine side and top placements. Avoid overly large openings-they weaken the frame and expose cables.
Test Airflow to Avoid Heat Buildup
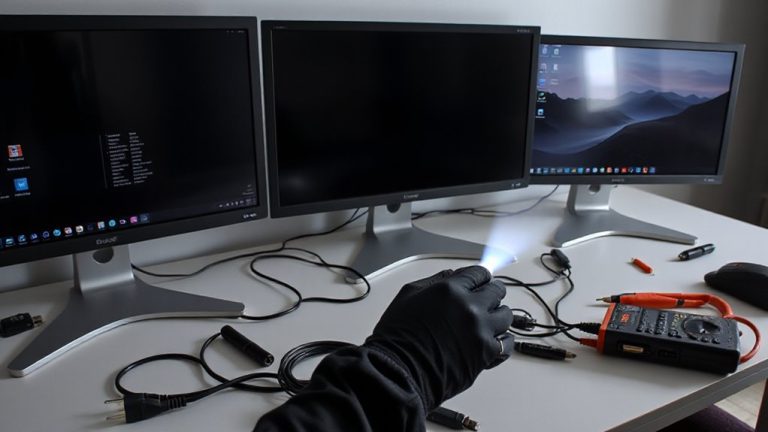
Though your slits might look sharp on paper, you won’t really know if they work until you test airflow under real load-because even a well-designed vent pattern can fall short if the intake and exhaust aren’t balanced. Run your gear at full capacity for at least an hour, then check air velocity near the vents with a handheld anemometer; aim for at least 1.5 m/s to guarantee active heat removal. Use thermal imaging to spot hot zones-devices over 45°C suggest poor circulation. You’ll likely find trade-offs: narrow slits hide wires well but restrict flow, while wide gaps improve cooling but expose clutter. If temps stay steady and air moves freely, your design works. But don’t assume one test is final-dust buildup and seasonal temps affect performance. Recheck every few months to stay safe.
On a final note
You should add ventilation slits to your DIY wooden cable enclosure-they prevent heat buildup from power bricks and USB hubs. Cut 1/4-inch slots every 3 inches along the sides or top using a jigsaw for clean edges. Align slits opposite each other to boost airflow. While mesh backing reduces dust, it slows cooling slightly. Test with a small prototype first; too many cuts weaken the frame. Balance function and design, and your box will manage heat without sacrificing clean looks.