Color-Coordinating Ethernet and Audio Cables With Assorted Colored Zip Ties
You should color-code your Ethernet and audio cables with matching zip ties-blue for network, green for audio, red for power-to cut clutter and boost efficiency. Use 3.2mm UV-resistant nylon ties to bundle without over-tightening, leaving ¼ inch of slack to prevent damage. Pair colors with clear, weather-resistant labels for lasting clarity, and group by function. Over time, update faded ties or reassign colors as needed. Consistency and proper strain relief make the system work-especially when equipment changes. You’ll see how small upgrades add up.
Notable Insights
- Assign blue zip ties to Ethernet cables and green to audio cables for clear, consistent identification.
- Match cable lengths to device distances to reduce clutter and prevent connection strain.
- Use durable, UV-resistant nylon zip ties (3.2mm x 8″) to maintain color integrity and strength over time.
- Label each cable with weather-resistant tags that match the color-coded zip tie system for quick recognition.
- Group Ethernet and audio cables separately and inspect ties annually for wear or fading.
Why Color-Code Your Cables?
Why should you bother sorting cables by color? It improves visual consistency and gives your workspace better aesthetic appeal. When every Ethernet, audio, or power cable has a distinct hue-matched with colored zip ties-you can spot the right one fast. That reduces clutter and saves time during setup or troubleshooting. Most people see a cleaner desk and feel more in control, which helps focus. But don’t overdo it-too many colors create chaos instead of order. Stick to a simple system: blue for network, red for audio, black for power, and so on. High-quality zip ties (like UV-resistant nylon, 8 inches long) last longer and won’t fade. Cheap ones may crack in months. Color-coding won’t fix poor cable management, but paired with proper routing and labeling, it works. It’s a small step with real benefits, as long as you stay consistent and keep your needs practical. Effective cable management solutions can transform a chaotic workspace into an organized, functional environment.
Map Cables by Type and Device
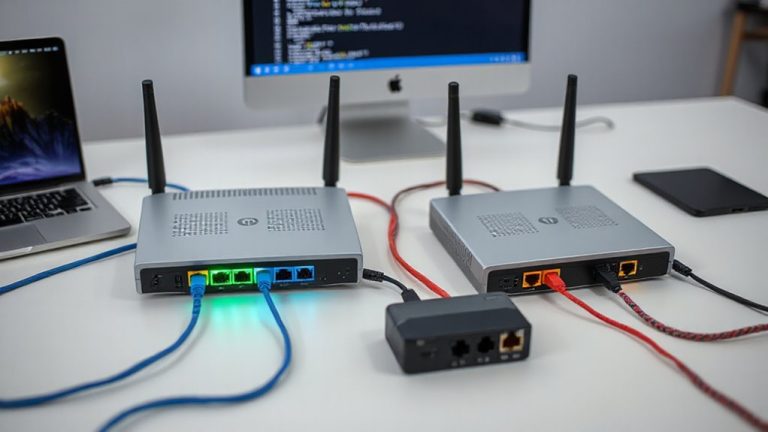
Once you’ve settled on a color scheme, start mapping each cable to its type and device to build a system that’s both logical and easy to maintain. You’ll want to label Ethernet, audio, power, and video cables by function, matching each to the hardware it connects-like labeling all computer Ethernet cables blue and audio snakes green. This step guarantees quick troubleshooting and clean re-racks. Cable length matching matters: too short and you strain ports; too long and you create clutter. Measure distances between devices carefully. Don’t ignore connector compatibility-verify whether you need HDMI, XLR, TRS, or Cat6 ends, since mismatches can damage gear or degrade signals. While color-coding simplifies identification, incorrect connections or poorly fitted cables can still cause failures. A well-mapped setup saves time, but only if physical specs match your equipment’s requirements exactly. For optimal network performance, consider using best Ethernet cables that support high-speed data transfer and durable connectivity.
Pick Colored Zip Ties for Each Function
You’ve mapped your cables by function and device-now it’s time to lock in that organization with colored zip ties that match each cable type. Choosing the right colors boosts both cable aesthetics and maintenance efficiency. Use consistent hues so you can spot Ethernet, power, or audio cables at a glance. Tie durability matters-opt for UV-resistant nylon ties (3.2mm thick) to avoid brittleness over time. Cheap ties may crack within months, especially in temperature-variable spaces. Below is a simple guide:
| Function | Recommended Color |
|---|---|
| Ethernet | Blue |
| Audio | Green |
| Power | Red |
| Data Backup | Yellow |
Color coding works best when paired with long-lasting ties that won’t sag or fade. While it improves clarity, remember that overcrowding with ties can compress cables, risking damage. Use just enough to secure, not constrict.
Label and Group by Use
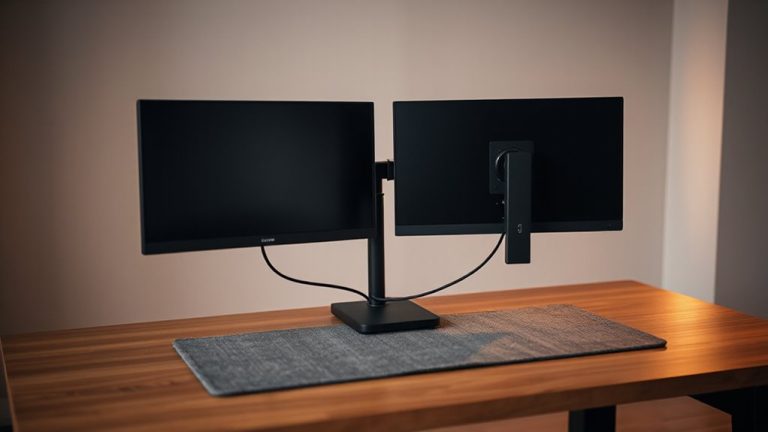
How do you turn a tidy bundle of color-coded cables into a system that anyone can troubleshoot in minutes? You label and group by use-clearly tagging each cable with its purpose using durable, printed labels or color-coded flags. Matching your zip tie trends with functional labeling boosts both clarity and cable aesthetics. Group Ethernet, audio, power, and data lines separately, so a glance reveals exactly what goes where. Use consistent naming, like “Studio Monitor L” or “Uplink to Switch,” printed on weather-resistant label tags secured near connectors. While this adds only minutes to setup, it prevents hours of confusion later. Just avoid over-labeling-too many tags create clutter, undermining the clean look. Labels can fade or peel over time, so check them annually. When done right, this method supports fast diagnostics without sacrificing organization or professionalism. For even greater visual harmony, consider a clean desk aesthetic approach that integrates cable management with overall workspace design.
Bundle Cables Without Damage
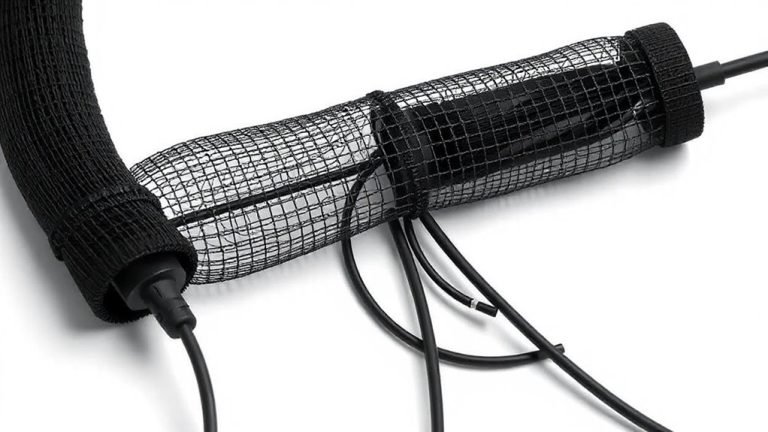
Tying cables too tightly is the fastest way to ruin a clean setup, even after perfect labeling and grouping. You risk damaging internal wires or weakening connections, especially with frequent movement. Always leave a bit of slack-about a quarter-inch gap between the bundle and the cable sheath-to maintain cable strain relief and prevent long-term wear. Use soft, reversible fasteners like Velcro when possible, but if you’re using zip ties, don’t cinch them down hard. Opt for wide, low-profile ties to reduce pressure points. For future adjustments, plan for easy zip tie removal by leaving accessible tails or using releasable ones. Cutting zip ties too close makes maintenance harder and increases the chance of nicking a wire. A clean setup shouldn’t sacrifice serviceability-balance neatness with practical access so adjustments don’t undo your work or damage gear over time.
Update Your Color-Coding Over Time
While your initial color-coding system might keep things running smoothly at first, it’s bound to need updates as your setup evolves-new devices get added, cables shift functions, or wear starts to blur color distinctions. You’ll notice color fading over time, especially with prolonged exposure to light or heat, making labels harder to distinguish. Cable aging also affects flexibility and outer jacket integrity, so inspect regularly. When colors dull or meanings change, don’t hesitate to reassign hues using fresh zip ties-consistency matters more than sticking to outdated choices. Match updates to actual usage, not just aesthetics. Be practical: label at both ends, use high-contrast ties, and avoid over-tightening. Remember, a good system adapts. While zip ties are inexpensive and reliable, they’re not foolproof-fading means eventual maintenance. Plan for it.
On a final note
You should color-code your cables-it cuts setup time and errors. Matching ethernet, audio, and power lines with colored zip ties helps you identify connections fast, especially during changes or troubleshooting. Use 6-inch nylon zip ties for secure, damage-free bundling. Label each group clearly, and stick to a consistent scheme. Just don’t over-tighten ties; leave a millimeter of slack to avoid signal interference. Update colors as needs shift-this system works long-term only if it stays flexible.