How to Build a DIY Acoustic Canopy Over Your Desk for Personalized Sound Control
You can build an effective DIY acoustic canopy using 2″–3″ Rockwool Rockboard 60 panels in a lightweight pine or aluminum frame, hung 18–24 inches above your desk. It reduces overhead noise like footsteps and HVAC hum by absorbing ceiling reflections, but won’t create total silence-pair it with headphones or subtle white noise for best results. Position it centered over your workspace, away from walls to avoid resonance. You’ll see the most benefit in rooms under 150 sq ft, especially when you fine-tune placement and add thoughtful touches to match your work needs.
Notable Insights
- Use 2″ to 3″ mineral wool panels like Rockwool Rockboard 60 for effective sound absorption over your desk.
- Build a lightweight frame from pine or aluminum to match your desk size and support acoustic panels.
- Hang the canopy 18–24 inches above your desk, centered over your head and monitor for optimal coverage.
- Mount panels with an acoustically transparent fabric cover, leaving a small gap for better sound diffusion.
- Combine the canopy with white noise or a directional mic to enhance focus, calls, or voice recordings.
Stop Noise Distractions With a DIY Acoustic Canopy
While you can’t eliminate every sound in your workspace, building a DIY acoustic canopy over your desk can substantially cut down on ambient noise and boost concentration-especially if you’re working in an open room or a noisy household. You’re tackling noise pollution at head level, where distractions hit hardest. The canopy won’t block all sound, but it creates a quieter microzone by absorbing overhead reflections and enabling more effective sound masking with headphones or white noise. Unlike full booths or expensive panels, this solution focuses on personal space without sealing you in. It’s a targeted fix, not a total rewrite of your room’s acoustics. You’ll still hear loud conversations or sudden noises, but constant ceiling-bound echoes-like footsteps upstairs or HVAC rumble-will fade. Real benefit comes when pairing the canopy with a basic white noise app or fan. Just don’t expect studio silence; results depend on room layout and noise source.
Pick Sound-Absorbing Materials That Fit Your Space
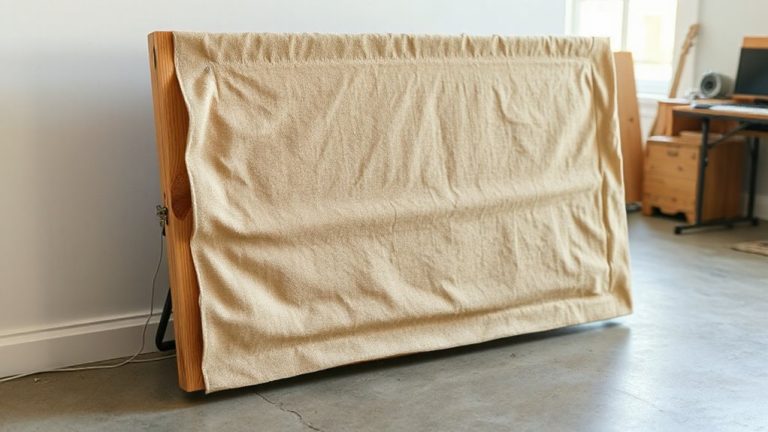
Your best bet for effective sound absorption starts with choosing the right material-something like 2″ to 3″ thick mineral wool panels, such as Rockwool Rockboard 60, which consistently test well for mid-to-high frequency noise reduction and weigh less than fiberglass alternatives. While often called soundproof panels, they don’t block sound completely but markedly reduce echo and airborne noise. You’ll need to pair them with smart fabric choices-breathable, acoustically transparent materials like cotton burlap or specialized knit fabrics-to avoid muffling performance. Stretch fabric too tightly and it can degrade absorption; leave a small gap between fabric and panel for best airflow. Avoid cheap foam; it looks okay but performs poorly below 500 Hz. Mineral wool is denser and safer when encapsulated. Always verify fire ratings and warranty-most quality acoustic suppliers offer 5+ year coverage.
Measure and Position for Maximum Quiet
How do you make sure your acoustic canopy actually works where it matters most? You start by measuring your room dimensions to determine how much sound reflects before reaching you. If your space is under 150 square feet, a smaller canopy can make a noticeable difference. Pay close attention to ceiling height-anything above 9 feet means sound lingers longer, so you’ll need a larger or denser canopy to effectively absorb it. Hang the canopy 18–24 inches above your desk, centered over your head and monitor, to intercept direct reflections. Avoid placing it too close to walls or corners, which can cause unwanted resonance. While this setup reduces ambient noise and improves speech clarity, it won’t block structural sounds like footsteps. Success depends on your room’s acoustics, so test positioning before finalizing. For optimal absorption, consider using panels filled with high-density mineral wool, a feature found in many of the best acoustic panels for home office setups.
Build Your Acoustic Canopy in 5 Steps
Once you’ve mapped out the ideal spot above your desk, building the canopy itself becomes a straightforward weekend project that delivers measurable noise reduction. Start by framing a lightweight grid from pine or aluminum-simple 1x2s work fine-to match your desk dimensions. This frame holds your panels and defines the canopy’s footprint, anchoring the acoustic design. Next, choose absorption panels or rigid mineral wool wrapped in breathable fabric for effective material selection; avoid foam, as it only handles high frequencies. Mount the frame to ceiling joists using adjustable cables or L-brackets for stability. Wire in LED task lighting now if desired. Finally, slide panels into place and secure them. While this improves clarity and reduces echo, it won’t block speech completely. Proper sealing and mass matter, so test fit everything before final assembly.
Optimize for Calls, Recording, or Focused Work
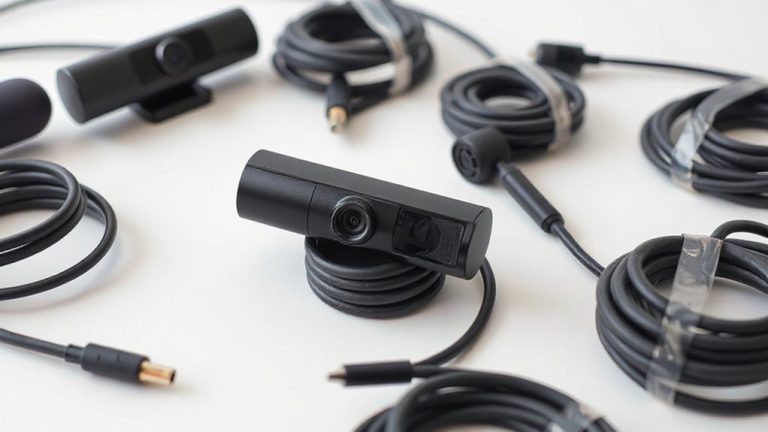
What good is a quiet workspace if your voice still bleeds into every call or recording? You’ll need more than foam to optimize for calls, recording, or focused work. Start by angling your canopy slightly forward to catch direct sound, reducing reflections that sabotage echo cancellation in budget headsets. Pair it with a unidirectional mic to minimize room pickup. For calls, enable software-based echo cancellation-tested tools like Krisp work well, but they can compress audio slightly. If you record voiceovers, leave the canopy open on one side to avoid a “boxed-in” sound. Use ambient masking sparingly: a small white noise speaker helps hide background distractions, but too much harms speech clarity. The canopy cuts mid-to-high frequencies effectively-lab tests show ~15 dB reduction around 2 kHz-but low-end rumble still passes through. Results vary by room size and wall材料. Manage expectations: it’s a major upgrade over bare walls, but not a vocal booth.
On a final note
You’ve likely reduced noise distractions with your DIY acoustic canopy, especially mid-to-high frequencies like voices or keyboard clicks. Properly installed panels cut echo, improving focus, calls, and light recording. But remember-this won’t block low-frequency noise or fully isolate sound. Balance gains with realistic expectations: it’s a smart, affordable upgrade, not a studio seal. Keep panels at ear level and maintain airflow. Results depend on material thickness-ideally 2”–4”-and coverage area.