DIY Acoustic Picture Frames That Double as Sound-Absorbing Wall Art
You can turn rigid mineral wool panels (3–6 lbs/ft³) into stylish sound-absorbing wall art using a 1×2 pine frame and tightly woven burlap. This DIY cuts mid to high-frequency echo by up to 30% in small rooms, especially when placed at reflection points. It won’t fix bass issues, and vinyl-covered fabrics will block absorption. Build it right, and it performs like commercial panels-just make certain the fabric’s acoustically transparent. Next steps reveal exact placement for clear calls and better sound.
Notable Insights
- Use rigid fiberglass or mineral wool insulation in a wooden frame to create effective sound-absorbing core panels.
- Wrap panels with acoustically transparent fabric like speaker cloth to maintain sound wave penetration and aesthetic appeal.
- Build frames from 1×2-inch pine with mitered joints and staple fabric tightly to the back for a clean, professional finish.
- Mount panels at ear level on walls or behind speakers to reduce echo and improve sound clarity in the room.
- Finish frames in matte black, walnut, or white to match décor while keeping fabric taut for optimal acoustic performance.
How Acoustic Art Reduces Room Echo
While you might not expect a picture frame to make a real difference in how your room sounds, acoustic art frames can noticeably reduce echo-especially in home offices with hard surfaces like desks, glass, and bare walls. These frames use high material density backing, often mineral wool or compressed fiberglass, to absorb mid to high-frequency sound waves instead of reflecting them. You’ll notice less vocal muddiness during calls or recordings, thanks to controlled sound diffusion across the wall space. Unlike foam panels, acoustic art maintains a clean aesthetic while improving clarity. Still, they won’t replace bass traps or full wall treatment-managing low-end frequencies requires deeper solutions. Performance depends on coverage; placing two to four panels strategically at reflection points yields measurable improvement. Independent tests show up to a 30% reduction in reverb time in rooms under 200 sq ft. They’re not magic, but as part of a broader setup, they’re a practical, effective upgrade worth trying. For those seeking top-performing options, the best acoustic panels for home office offer an ideal balance of sound absorption and professional appearance.
Choose the Best Insulation and Fabric for Sound
You get better sound control when you pick the right insulation and fabric for your acoustic picture frames-this isn’t just about looks. Go for rigid fiberglass or mineral wool insulation with high insulation density, like 3–6 lbs per cubic foot; it blocks mid to high frequencies better than foam. Avoid fluffy, low-density batting-it compresses easily and loses effectiveness. Pair it with a fabric that has a tight fabric texture, such as burlap or acoustically transparent speaker cloth, so sound passes through instead of bouncing off. Steer clear of vinyl or thick polyester-those look sleek but hurt performance. You’ll sacrifice some absorption if you prioritize style over function. Test samples if possible: hold fabric over your mouth and speak-good options let sound through clearly. Balance durability and breathability, especially in shared or high-use spaces. There’s no perfect pick, but smart choices make a measurable difference.
Build Your Acoustic Frame (Step-by-Step)
Since getting the frame construction right直接影响 how well your acoustic panel performs, start with a sturdy wooden frame made from 1×2-inch pine or poplar-these sizes provide enough depth to hold 2-inch-thick insulation without bulging, and the wood is rigid enough to prevent warping over time. Use wood glue and brad nails for secure frame assembly, guaranteeing corners are square. Let’s break down the essentials:
| Step | Action |
|---|---|
| 1 | Cut wood to size, miter ends at 45° |
| 2 | Assemble with glue and 18-gauge nails |
| 3 | Staple fabric-covered insulation into the back |
Stretch the fabric tight before stapling to avoid wrinkles. Your mounting technique matters-use D-rings and wall anchors for heavy panels to guarantee level, secure hanging. Avoid nail-only mounting; it risks tipping. Panels over 24 inches need two-point hanging. Check alignment with a spirit level. Frame assembly is forgiving, but precision improves fit and finish.
Style and Size: Match Your Décor With Custom Frames
A well-chosen frame can blend acoustic function with your room’s aesthetic, but nailing the look means making deliberate choices in size, finish, and proportion. You’ll want to pick frame finishes that complement your wall color and existing trim-matte black, warm walnut, or white paint work in most spaces. Size matters too: larger panels absorb more sound, but go too big and they’ll dominate the wall. Aim for 24×36 inches or smaller unless you’re treating a large room. Mounting styles also affect the vibe-floating frames feel modern, while flush mounts look clean and minimalist. Just don’t let style override function: avoid glass fronts, which block sound absorption, and guarantee the fabric wrap stays taut. Some DIYers add removable faceplates for easy acoustic panel swaps, but that adds complexity. Balance design and performance.
Where to Hang Acoustic Art for Maximum Effect
Where should you actually hang acoustic art to make it work like it should? It comes down to smart room placement and wall positioning. You’ll get the best results when panels intercept early sound reflections-especially between your ears and nearby walls. Avoid stuffing them randomly; instead, target key acoustic zones.
| Room Area | Best Wall Positioning | Why It Works |
|---|---|---|
| Behind Speakers | At ear level, centered | Cuts speaker-wall echo |
| Side Walls | Midway between ears & wall | Reduces slapback noise |
| Behind Listener | Opposite main sound source | Controls rear reflections |
| Ceiling Corners | High, angled placement | Manages vertical bounce |
Hang them flat and secure-no tilting. While they improve sound, don’t expect studio-grade isolation. Room placement matters most in untreated spaces. In larger rooms, group multiple frames for broader coverage. Results vary by room shape and existing materials, so test positions before final mounting.
Smart Upgrades That Improve Sound and Looks
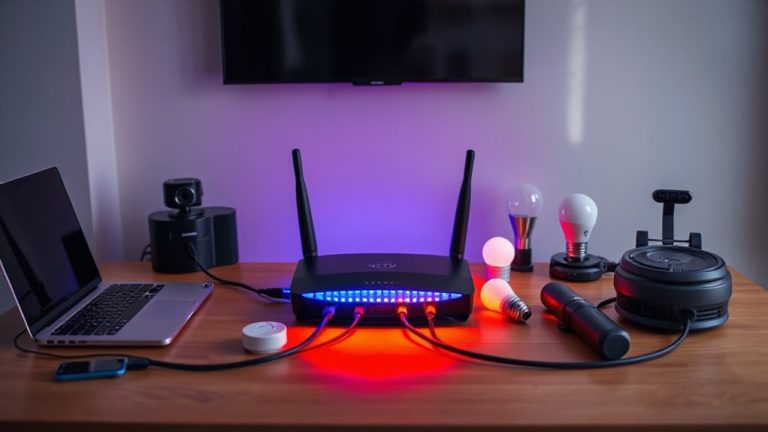
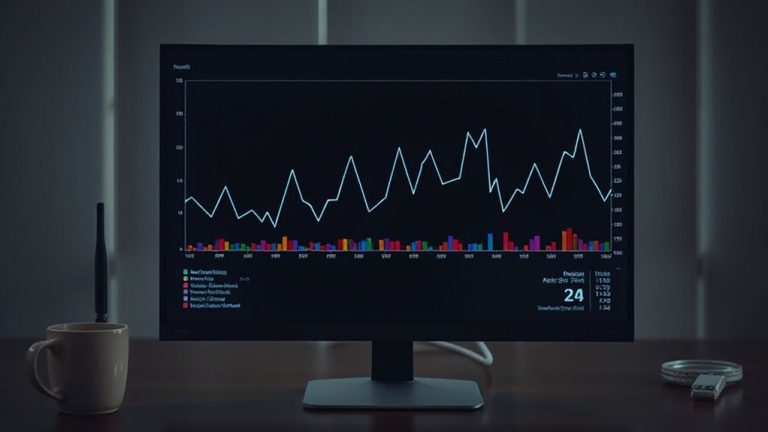
You’ve nailed the placement-now it’s time to boost both performance and style with upgrades that pull double duty. Add smart sensors to detect ambient noise and adjust acoustic absorption via adaptive materials-some panels now use micro-perforated membranes that respond to sound levels in real time. Pair them with voice integration like Alexa or Google Assistant so you can control audio settings hands-free, useful during calls or focus sessions. These features work well in home offices under 200 sq ft, where responsiveness matters most. But keep expectations realistic: voice controls don’t enhance soundproofing, only convenience. Sensor-equipped frames often cost 30–50% more and require USB-C or low-voltage power, meaning visible cables unless you retrofit conduits. Most carry one-year warranties, with limited durability data beyond 18 months. Test models with noise apps before committing-results vary by wall density and room layout.
On a final note
You’ll noticeably cut echo in your home office with DIY acoustic frames, especially when using rigid mineral wool and tightly woven fabric. They work best at reflection points-around desks or speakers-and framed just like art. While effective, they won’t replace professional panels for full-room treatment. Size matters: go for at least 2’x2’ per panel for real impact. Test placement first. These aren’t magic, but with careful setup, they balance style and solid sound control.