Building a DIY Bass Trap for Low-Frequency Noise Control in Small Home Offices
You can effectively control low-frequency noise in your small home office by building a DIY bass trap using rigid mineral wool like Rockwool RW-15 or Owens Corning 703. Place them in wall-ceiling corners where bass builds up, using a snug wooden frame and breathable burlap wrap to maintain performance. These traps improve vocal clarity by damping resonances below 200 Hz, though they won’t match commercial units below 50 Hz-knowing this helps set realistic expectations. You’ll find smarter ways to optimize placement and materials.
Notable Insights
- Use dense mineral wool like Rockwool RW-15 for effective low-frequency absorption in small rooms.
- Build a snug wooden frame to fit corner spaces where bass pressure naturally accumulates.
- Place traps in wall-ceiling and wall-floor corners to maximize control of low-frequency buildup.
- Wrap traps with acoustically transparent fabric like burlap to maintain performance and safety.
- Avoid over-trapping to prevent overly deadened sound that reduces speech clarity and balance.
What Is a Bass Trap and Why You Need One
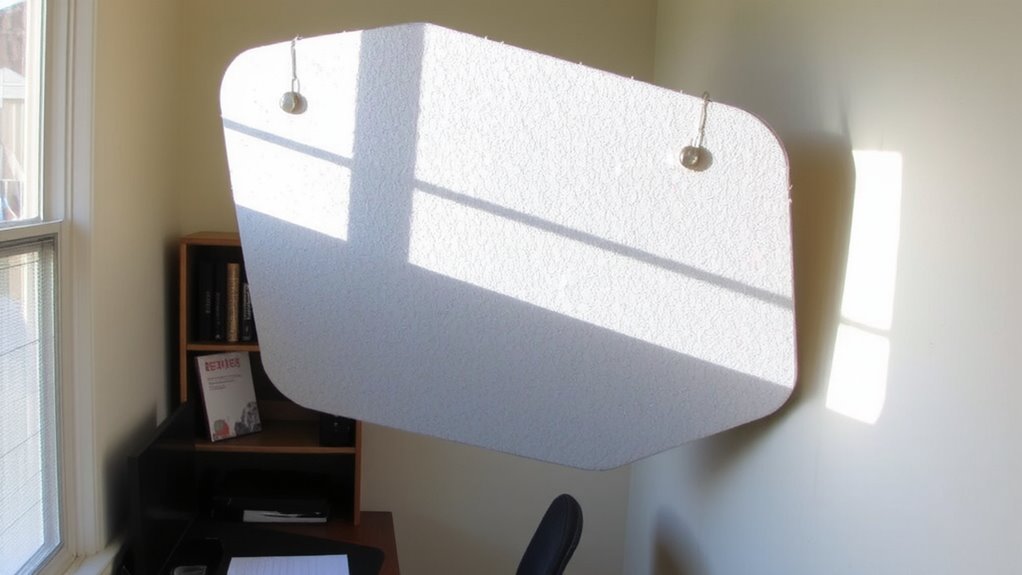
Acoustics matter more than most people think-especially if you’re recording voice calls, podcasts, or music in your home office. A bass trap helps control low-frequency sound buildup in room corners, where pressure accumulates. Without one, you’ll get muddy audio due to unchecked acoustic reflections, especially below 200 Hz. These traps increase sound absorption, improving clarity and making your recordings sound more professional. They work by damping bass resonances that standard foam can’t handle. While they won’t replace full room treatment, they make a measurable difference in small spaces. Look for designs using dense mineral wool, at least 4 inches thick, for effective low-end control. You can build one yourself affordably, but make certain of proper framing and fabric covering to avoid fiber release. Performance varies by room size and construction quality, so don’t expect studio-grade results in untreated spaces.
Best Budget Materials for DIY Bass Traps
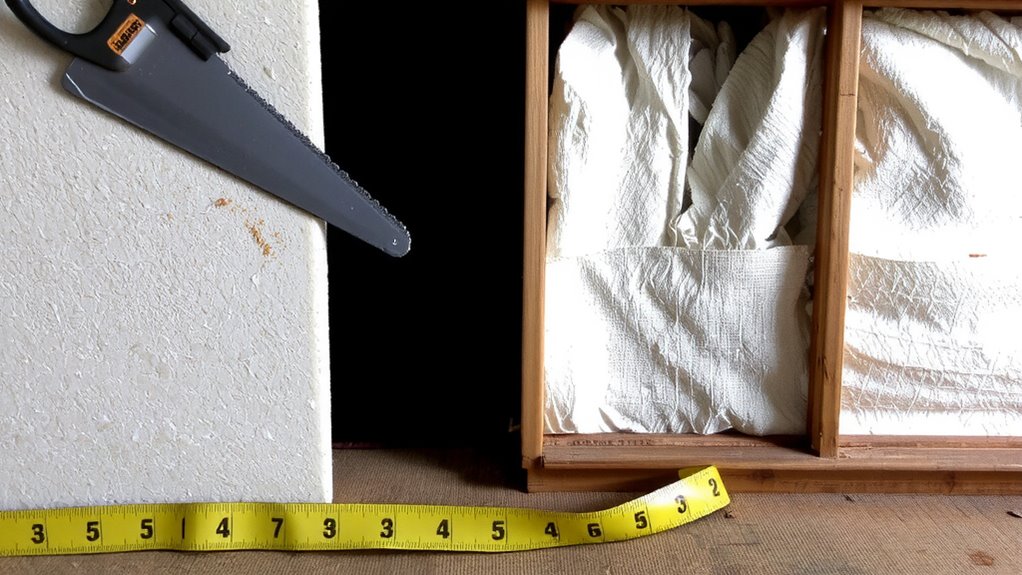
A few smart material choices can get you effective bass trapping without breaking the bank. Rockwool RW-15 or Mineral Wool 40 lb/ft³ insulation panels are top picks-high density guarantees solid low-frequency absorption, while their fire resistance and moisture tolerance boost material durability. Owens Corning 703 boards work great too, though slightly pricier. Wrapping them in breathable fabric like burlap maintains acoustic transparency without dampening performance. These materials offer strong cost effectiveness, often under $1 per square foot when bought in bulk. Lightweight wood frames (1×2” pine) provide sturdy support and easy mounting. Still, mineral wool itches-wear gloves and a mask. Avoid fiberglass unless sealed properly; it degrades over time and has weaker material durability. These options won’t match high-end commercial traps, but in small home offices, they deliver noticeably tighter bass at a fraction of the cost.
Build a Corner Bass Trap: Step-by-Step
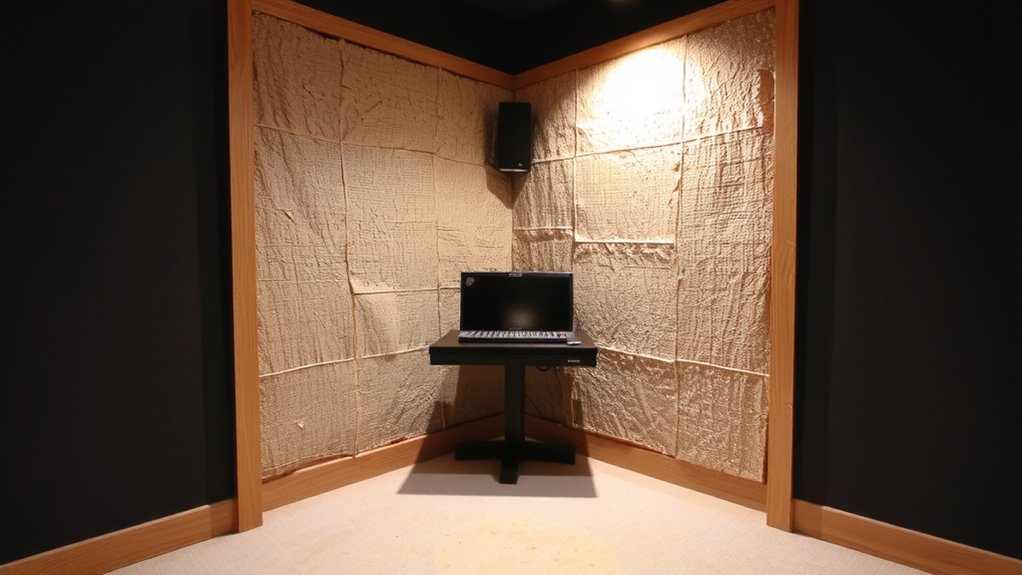
You’re ready to build a real corner bass trap that’ll cut low-end boom and tighten up your room’s sound-no fancy tools or engineering degree needed. Start by framing a rigid box from wood or PVC to fit snugly in your room’s rear corners. Use insulation with high density-aim for 3–6 lbs/ft³ like rigid mineral wool-to effectively absorb low frequencies. Corner placement is critical: traps work best where pressure builds most, so prioritize top and floor corners. Wrap the frame securely, but don’t seal it yet-that step’s next.
| What You Feel | What’s Real |
|---|---|
| Instant clarity in vocals | Results depend on insulation density |
| Room feels “tighter” | Needs proper corner placement |
| Less fatigue during long calls | Not a magic fix for bad layout |
| Pride in DIY win | Requires careful measuring |
How to Wrap Your Bass Trap Frame
With the frame built and mineral wool secured, wrapping it properly is what keeps the insulation effective and the trap safe to handle. You’ll want to use a breathable fabric like burlap or acoustically transparent cloth-it lets sound pass through while protecting the insulation. Pull the material snug over each side to maintain consistent fabric tension, which guarantees a clean look and prevents sagging over time. Staple it firmly to the back of the frame using a staple gun, spacing fasteners every 2–3 inches. This also boosts frame durability by reinforcing joints and edges. Avoid stretchy or plastic-based covers-they can reflect mid-frequencies and degrade in sunlight. A well-wrapped trap lasts years, but remember, no DIY unit matches commercial low-frequency absorption below 50 Hz. Check staples yearly; loose ones reduce tension and expose fibers.
Where to Place DIY Bass Traps for Maximum Effect
For ideal low-end control, position your DIY bass traps in the corners of your home office, especially where walls meet ceiling or floor-this is where bass pressure builds most. These spots are prime locations because they align with natural pressure zones, giving you the most impact per square foot. Placing traps there minimizes acoustic shadowing, ensuring deeper sound waves actually interact with the absorptive material instead of sneaking around it. If corners are unavailable, use vertical wall-ceiling junctions or place traps behind your listening position-just expect slightly reduced performance. Keep in mind that while corner trapping offers strong results, it won’t fix every room mode, especially in irregularly shaped rooms. You’re managing pressure zones, not eliminating low-end issues entirely. Balance coverage across all room corners for even response. Over-trapping can deaden a space, so stick to two or four units depending on room size.
Avoid These DIY Bass Trap Mistakes
Placing bass traps in corners gives you the strongest return on investment, but even well-positioned units fail if built or installed wrong. Using thin soundproofing insulation won’t absorb low frequencies effectively-go for dense, 6-inch mineral wool panels instead. Don’t mistake acoustic panel placement for simple wall mounting; traps need full contact with ceiling and floor in corners to work. Avoid soft fabric covers that compress the material, reducing performance. Seal all seams between panels and walls-gaps leak bass. Also, don’t assume more is better; over-trapping can deaden speech clarity. DIY traps help, but they’re not magic-you won’t eliminate room modes, just tame them. Test results show measurable dips in 50–150 Hz when traps use proper density and corner coverage. Balance cost and effort: precise construction beats haphazard overuse every time.
On a final note
You’ll get solid low-end noise control with a DIY corner bass trap using rigid fiberglass or mineral wool-6-inch thickness handles frequencies down to 80 Hz. Place them floor-to-ceiling in room corners for best results. They’re cheaper than commercial panels and effective when properly sealed and covered. But they take up space and need careful framing. No solution is perfect; manage expectations based on room size and noise type.