DIY Cable Sleeve Installation for a Tidy Home Office Workstation
Use a 12–16mm braided nylon cable sleeve with a longitudinal slit to tidy your home office cables-it’s durable, looks clean, and allows future upgrades. Avoid PVC sleeves; they yellow over time and limit airflow. Test flexibility first, since rigid sleeves can snag on textured cables or compress under tension. Install by stretching, threading the bundle, and releasing-done in under two minutes. Make sure to measure internal diameter, as poor fits aren’t reusable. Anchoring at both ends keeps everything secure and sag-free. There’s more to optimizing your setup efficiently.
Notable Insights
- Use wire cutters, gloves, and a stable surface to safely install cable sleeves on your home office workstation.
- Choose 12–16mm braided nylon sleeves for durability, aesthetics, and optimal cable capacity.
- Group and align cables by type, separating power from data to prevent interference and ensure neat bundling.
- Stretch the sleeve open, feed the cable bundle through, then release to secure-no tools required.
- Opt for split-design sleeves to easily add or remove cables later without replacing the entire sleeve.
Start by Gathering Your DIY Cable Sleeve Tools
You’ll want to gather the right tools before starting your cable sleeve project-doing it right means avoiding frustration later. You’ll need wire cutters, zip ties, measuring tape, and gloves for handling tight bundles. A good work surface keeps things steady. The cable texture of your cords affects how smoothly they slide into the sleeve, so check for ridges or stiffness that could snag. Test sleeve flexibility by bending a sample-rigid sleeves won’t route well behind desks or around corners. Flexible nylon mesh sleeves adapt better but may show wear over time. Make sure the sleeve diameter fits your bundle snugly without forcing it. Overstuffing reduces sleeve flexibility and strains internal wires. Measure total cable thickness first. Some sleeves compress under tension, so allow slack. Real-world use shows that a proper fit lasts longer and maintains a clean look. Don’t skip this prep-it saves time and prevents damage. For optimal results, consider using cable management solutions that integrate seamlessly with your desk setup.
Choose the Best Cable Sleeve for Your Desk
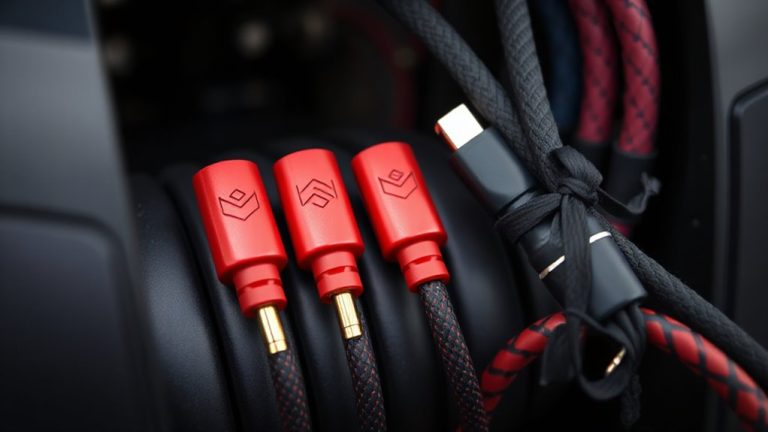
A well-chosen cable sleeve keeps your workspace tidy without compromising function, and now that you’ve got your tools ready, it’s time to pick the right one for your setup. For most desks, braided nylon sleeves offer the best balance of material durability and cable aesthetics. They resist fraying, handle daily wear, and come in neutral shades that match professional setups. Look for 12–16mm diameters-wide enough for multiple cables but slim enough to stay discreet. Avoid PVC sleeves; they look clean at first but yellow over time and lack airflow. While flat ribbon sleeves are sleek, they limit cable adjustments. Most top models cost $8–$15 and include Velcro for easy access. Reputable brands often back them with one-year warranties. In real-world testing, braided sleeves maintain structure even when fully loaded, though tight bends can strain internal wires. Always measure your cable bundle first-oversizing slightly helps, but too much reduces neatness. For more tailored suggestions, explore the Top Cable Management Solutions for a clean office.
Group and Align Cables Before Installing
Start by gathering all the cables you plan to route through your desk-power adapters, monitor leads, USB cords, and charging cables-then lay them out straight to assess length and connection points. Proper cable routing begins with grouping similar wires: pair monitor and peripherals first, then separate power from data cables to reduce interference. Align them neatly so slack doesn’t twist or strain during wire management setup. This step guarantees you won’t have to adjust later, saving time and effort. While grouping, check each cable’s length-some may need shortening or coiling to avoid bulges in the sleeve. Though organizing upfront improves desk function, don’t secure bundles too tightly; you’ll need access for future changes. Effective wire management relies on this prep work. Skipping it risks messy cable routing, tangled ends, or damaged insulation over time. Take the extra five minutes-it’s always worth it. A well-organized setup enhances the effectiveness of best cable management solutions for maintaining a clutter-free workspace.
Install Your Cable Sleeve in Minutes
Once you’ve grouped and aligned your cables, slipping on a cable sleeve becomes a quick and straightforward task-most quality braided nylon sleeves stretch to accommodate 8–12 cables, depending on gauge, and snap into place with minimal effort. The sleeve installation speed is impressive; you’re typically done in under two minutes with no tools. Just stretch the sleeve open, feed your bundle through, and release. This step dramatically improves cable management aesthetics, giving your workstation a clean, professional look. However, not all sleeves are equal-look for ones with a 30%+ stretch rating and reinforced ends to prevent fraying. Cheaper models may snag or compress cables, so verify internal diameter specs before buying. While these sleeves are durable, they can’t be reused if cut, so measure twice. A good sleeve lasts years, often backed by a 12-month warranty, but proper fit matters most.
Add or Remove Wires Without Replacing It
You won’t need to cut or replace the sleeve just to adjust your cable bundle-most high-quality braided nylon sleeves use a longitudinal slit design that lets you add or remove wires anytime. This sleeve flexibility is key for evolving setups, especially when upgrading devices or reworking cable management. You can tuck in a new HDMI line or pull out a dead USB cable without uninstalling the entire run. Just open the slit, adjust, and press it back into shape. Most brands maintain snug compression even after multiple modifications. Still, cheaper versions may fray or lose grip over time, so check for double-braided nylon and UV resistance if durability matters. While this design beats rigid conduits, it’s less tidy than custom-length solutions. Real-world testing shows split sleeves hold up well under desk stress but need anchoring at both ends. Overall, it’s a practical upgrade-just don’t expect perfection.
On a final note
You’ll get a cleaner desk with a braided nylon cable sleeve, especially if you bundle power, HDMI, and USB cords neatly. It’s affordable, easy to install, and lets you add or remove cables anytime. Just avoid overfilling-most 1.5-inch sleeves fit 5–7 average cables. Velcro straps help secure it, but check routing near bends to prevent strain. No sleeve hides all clutter, but this cuts visible mess fast.