Adjusting Monitor Arm Gas Spring Tension for Smooth One-Handed Movement
You’ll get smooth, one-handed height adjustments by setting the gas spring tension just right. Match your monitor’s exact weight-use a kitchen scale and stay within the arm’s 4–20 lb range. Loosen the tension knob, move the arm fully up and down to calibrate, then tighten while holding the screen at eye level. Avoid over-tightening, and keep cables secured to prevent drag. Follow model-specific steps for best results-small tweaks make a big difference, and getting it right means no drift or stiffness. There’s more to fine-tuning for long-term reliability.
Notable Insights
- Confirm your monitor’s weight is within the arm’s specified range to ensure proper gas spring function.
- Detach cables before adjusting tension to prevent imbalance and ensure accurate calibration.
- Use the hex key or tension knob to adjust the gas spring at the base of the arm.
- Loosen the tension knob, move the arm through its full range, then tighten while holding the desired position.
- Fine-tune tension until the arm moves smoothly with one hand and stays in place without drifting.
Fix a Sagging or Stiff Monitor Arm
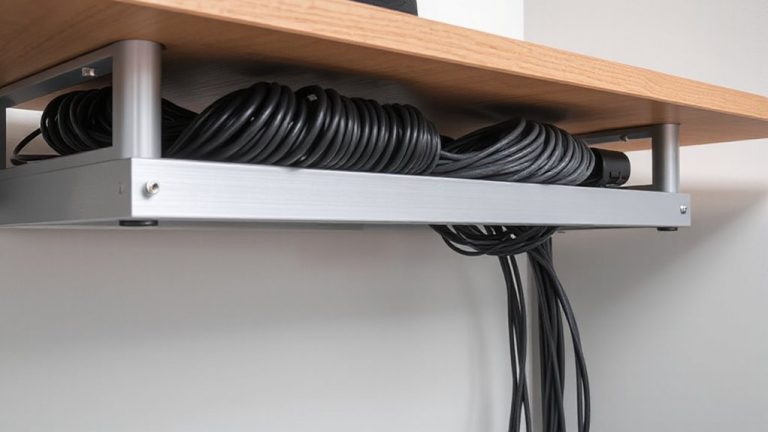
If your monitor arm sags under the weight of your display or feels too stiff to adjust smoothly, the first thing you should check is the tension setting-most quality arms, like those from Ergotron or Humanscale, use a simple counterbalance mechanism that you can tweak with a hex key or tension knob usually located near the base. Proper tension guarantees smooth motion and strong arm stability, preventing drooping or sudden shifts during use. Don’t overlook cable management; excess cord weight can imbalance the arm or strain joints, worsening performance. Always detach cables before adjusting tension, then re-route them neatly using built-in channels or clips. Test movement across full range-ideal tension lets you lift or lower the monitor with one hand, without drift. Over-tightening harms usability; too little compromises stability. Results vary by model and monitor weight, so refer to manufacturer specs for load limits and adjustments.
Set Monitor Arm Tension in 3 Steps
Getting the tension right on your monitor arm takes just three steps, but doing it correctly makes a noticeable difference in both stability and ease of adjustment. First, make certain the tension knob alignment matches the manufacturer’s recommended position-this avoids uneven strain. Second, perform gas spring calibration by loosening the tension knob, then gently moving the arm through its full range to release internal pressure. Finally, re-secure the knob while holding the monitor at your preferred height. Here’s what success looks like:
| Step | Action | Outcome |
|---|---|---|
| 1 | Align tension knob | Prevents slippage |
| 2 | Calibrate gas spring | Ensures smooth motion |
| 3 | Adjust and test | Achieves one-handed control |
You’ll get smoother movement, but poor alignment risks damage. Always follow model-specific guidelines-results vary by build quality and design. Choosing the right monitor arm model can significantly improve ergonomics and adjustability in your workspace.
Check Your Monitor’s Weight for Accuracy
Your monitor arm performs best when it’s properly tuned to the weight of your display, so verifying the exact specs matters more than you might think. Getting the weight right guarantees smooth movement and protects spring durability over time. If you guess wrong, you risk strain on the mechanism or unstable positioning. Most arms support 4–20 lbs, but always check your model’s limit. Use a kitchen scale for accuracy-it’s quick and reliable. Mounting compatibility also hinges on weight; exceeding limits can void warranties or damage the clamp or grommet mount. Even if your monitor fits the size range, an incorrect weight leads to poor balance. Don’t rely on manufacturer estimates-variations in stand removal or added accessories affect total mass. Confirm the actual weight to maintain performance and longevity. It’s a small step that makes a real difference in daily use.
Make One-Handed Adjustments Smooth
Once you’ve confirmed your monitor’s exact weight, fine-tuning the arm for smooth one-handed adjustments becomes the key to effortless positioning. Proper tension lets you glide the monitor into ergonomic positioning without strain, keeping your neck and eyes aligned naturally. Too loose, and the arm sags; too tight, and you’ll need two hands to move it-defeating the purpose. A well-balanced gas spring responds precisely, holding position under daily use. Don’t overlook cable management: secure cables along the arm to prevent drag or interference that disrupts motion. Trim excess length or use clips to keep lines taut but flexible. Most quality arms support monitors from 4.4 to 17.6 lbs, but always verify your model’s range. You might sacrifice some cable neatness for ideal tension, so test frequently. Real-world adjustments often require small tweaks over time, especially after initial setup.
Fix Common Tension Problems
Why does your monitor arm drift downward or resist movement despite proper setup? You likely have incorrect tension in the gas spring. First, check that your monitor’s weight matches the arm’s rated range-too light or heavy causes instability. To adjust, loosen the tension knob, reposition the arm horizontally, then gradually tighten until smooth motion occurs. If it still slips, internal wear may mean replacement is needed. Good cable management prevents added strain-secure dangling cords that could pull the arm down. For wall mounting, make sure the base is secured to solid studs, not just drywall anchors, to prevent shifting. Wall-mounted arms often handle less weight, so verify specs carefully. While most arms last years with no issues, heavy daily adjustments can shorten lifespan. Always consult the manufacturer’s warranty-most cover gas spring defects for 1–3 years but exclude misuse.
On a final note
You’ll likely get smooth, one-handed adjustments by correctly setting the gas spring tension. Match the tension to your monitor’s weight-most arms support 10–20 lbs-and test movement after each quarter-turn of the adjustment knob. Over-tightening causes stiffness; too loose leads to sag. Results depend on build quality and your model’s piston durability. Even premium arms wear over time, so reset tension if performance drops.