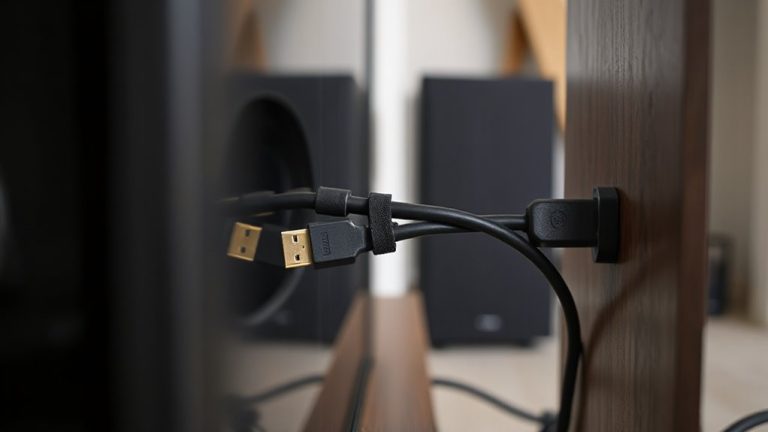
Using Custom-Printed Labels for AV Cables in Home Theater Installations
You should use custom-printed labels to keep your AV cables organized and prevent signal interference from clutter. Labels like Brother P-Touch Cube’s 12 mm matte tapes stay legible for years and reduce crosstalk by enabling clean routing. Apply them within six inches of each connector, using clear names like “PS5 to AVR” for quick ID. While vinyl and nylon last 24–60 months, test adhesion first-cloth tape may lift insulation. Keep styles consistent and avoid high-heat zones. You’ll find smarter fixes the deeper you go.
Notable Insights
- Custom-printed labels clearly identify AV cables, reducing confusion during setup or troubleshooting in home theater systems.
- Use durable, smudge-resistant tapes like Brother TZ or vinyl laser labels for long-lasting, readable identification.
- Label both ends of HDMI, power, and audio cables with source and destination details for easy tracking.
- Maintain consistency with naming conventions like “HDMI-1” or “PS5 to AVR” to streamline system organization.
- Apply color coding and sequential numbering alongside text to enhance visual sorting and future maintenance.
How Cable Clutter Hurts Your Home Theater Experience
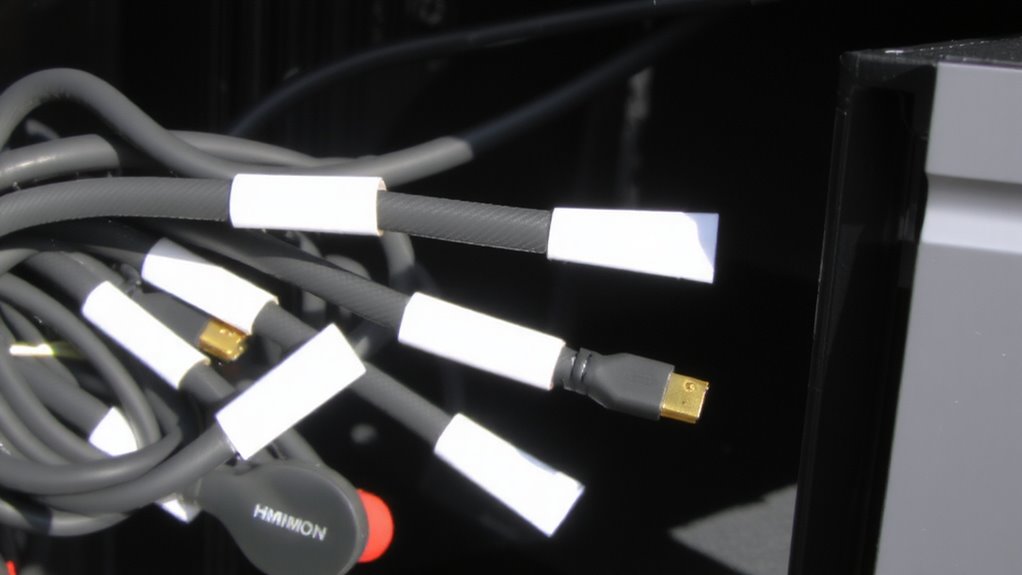
While you’re trying to lose yourself in a movie, tangled cables behind your AV setup can break the moment. Cable tangling isn’t just messy-it leads to real performance issues like signal interference, which degrades audio and video quality. HDMI, optical, and coaxial lines packed too close or twisted together are prone to crosstalk, introducing flickers or audio dropouts. You might not notice it at first, but over time, disorganized runs increase resistance and reduce signal integrity. Neat routing helps, but without clear identification, troubleshooting becomes a guessing game. Managing clutter improves airflow around components and reduces wear on connectors. However, even a clean layout can fail if cables are low-quality or improperly shielded. Labels help, but they’re only one part of a broader fix. Proper cable management matters-not just for looks, but for reliable, high-fidelity performance you can actually see and hear. Implementing cable management solutions can significantly enhance both the functionality and appearance of your home theater system.
Why Custom-Printed Labels Are the Best Solution
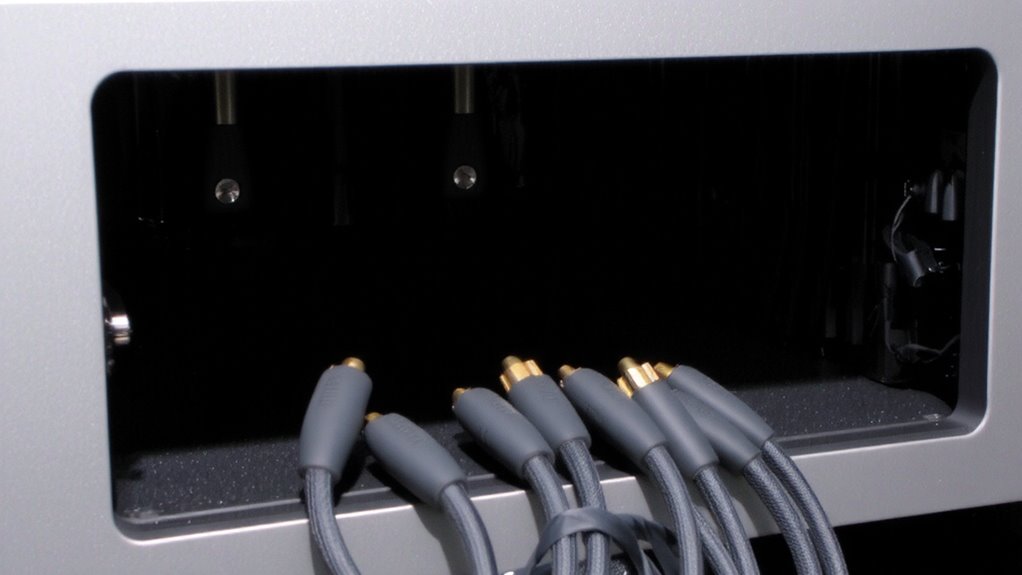
When it comes to managing your AV setup, custom-printed labels stand out as the most effective way to identify and organize cables-without overspending or overcomplicating things. They offer clear identification at a glance, reducing errors during setup or troubleshooting. You also get a boost in aesthetic appeal, with clean, uniform text that makes your system look professional. If you’re integrating gear for clients or a media room with branded components, maintaining brand consistency through matching label fonts and colors strengthens the polished look. Most label makers use smudge-resistant, matte-finish tape that lasts years, though cheap printers may fade over time. Print quality varies by model-tested units like the Brother P-Touch Cube offer sharp 12 mm text ideal for HDMI or optical cables. Just avoid overly small fonts; 8 mm min guarantees readability. Labels aren’t permanent, so reconfiguration stays simple-no residue, no damage.
Best Durable and Removable Labels for AV Use
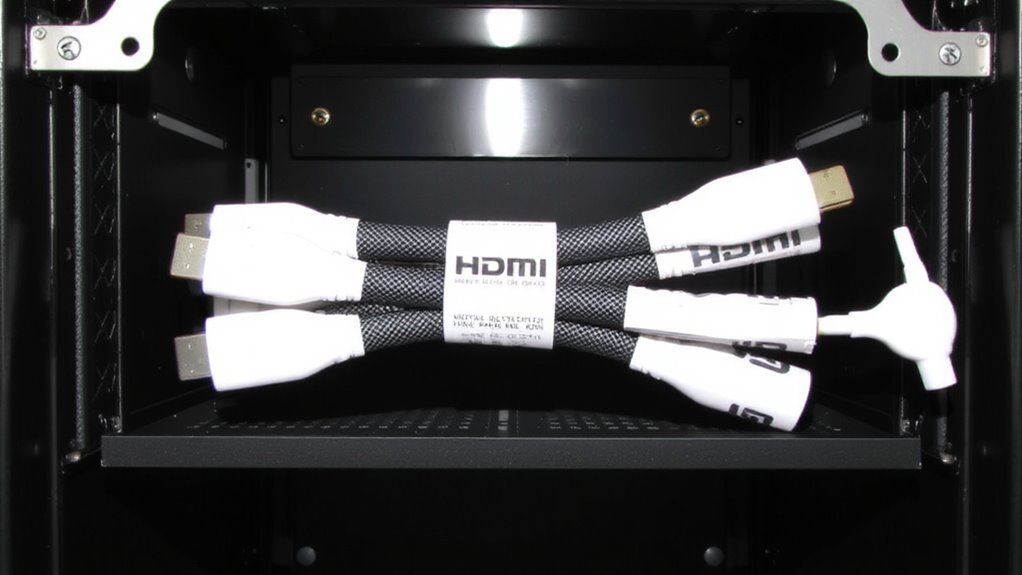
You get the best mix of durability and ease of removal with synthetic-label tape formats like Brother’s TZ series or Nylon-reinforced tapes from P-touch models. These maintain strong adhesive longevity under temperature shifts and low light, critical in entertainment centers. They also offer excellent material compatibility with rubber, PVC, and braided cable sheaths without residue. For long-term setups, consider these tested options:
| Label Type | Adhesive Longevity (months) |
|---|---|
| Brother TZ Tape | 60+ |
| Nylon P-touch | 48 |
| Vinyl Laser Labels | 36 |
| Polypropylene | 30 |
| Cloth Tape | 24 |
While synthetic tapes last longer, they cost more upfront. Always test adhesion on a small section first-some coatings react poorly. High humidity can reduce performance, even with top choices. You’ll balance cost, cleanup, and lifespan based on use.
How to Label HDMI, Power, and Audio Cables Step by Step
Since clean cable management starts with clear identification, labeling HDMI, power, and audio cables properly can save hours of troubleshooting down the line-especially in setups with multiple displays or pro-grade audio gear. Start by powering down all devices. Use a consistent labeling system: attach custom-printed labels within six inches of each connector end. For HDMI, label both source and destination (e.g., “PS5 to AVR”). Power cables should note device type and voltage requirements. Audio cables-like optical or RCA-need source and channel IDs. Always double-check connections before reassembly. This makes cable testing faster and simplifies signal troubleshooting if sync or audio dropouts occur. Avoid adhesive labels near high-heat areas like power supplies. Laminated or polyester labels withstand wear better. Poor labeling leads to longer diagnostics, so invest time upfront-just don’t rely on labels alone during critical system changes. A reliable best label maker ensures professional, durable results for demanding home theater environments.
How to Name Cables for Instant Recognition
Clear cable names are your first defense against setup chaos. Use simple, consistent labels so you know exactly what each AV cable does at a glance. Combine color coding and sequential numbering to avoid mix-ups-like matching red labels to front speakers and blue to rear. This system works fast during setup or troubleshooting. A well-organized workspace benefits from proper cable management solutions to maintain both functionality and aesthetics. Here’s a quick reference:
| Cable Type | Label Example |
|---|---|
| HDMI | HDMI-1 (Source to AVR) |
| Power | PWR-AMP |
| Audio | AUDIO-FR-SURR |
Color coding helps with visual sorting, while sequential numbering keeps identical cables organized. Just don’t rely solely on color-some people have trouble distinguishing hues under low light or over time. Labels should include both a function and position when possible. Test your naming scheme on one device first. It might take a few tries to get it right.
How to Apply Labels Safely Without Damaging Cables
Proper labeling beats tangled confusion every time, but a messy application can harm your cables or leave adhesive residue behind. Always apply labels to clean, dry surfaces, using isopropyl alcohol to wipe the cable first. This prevents dirt from getting trapped under the label and reduces the risk of peeling later. Wrap the label snugly, but not too tight-excessive tension can compress the cable insulation and affect performance over time. Use only high-quality, removable vinyl labels designed for low surface energy materials; they stick well but come off cleanly. Avoid rubber-based adhesives, which are more likely to leave residue. Apply at room temperature, since heat can activate adhesives too aggressively. Never stretch the label during application, as this increases the chance of curling. With careful technique, you protect both signal integrity and cable longevity.
Updating and Replacing Old Custom Cable Labels
Why keep wrestling with faded or peeling labels when a quick update could restore order to your AV setup? Over time, label fading and cable degradation can make it hard to identify connections, especially in dimly lit spaces. Replacing old custom labels isn’t just about looks-it’s about maintaining a functional system. Use weather-resistant vinyl labels with strong adhesive to resist future wear.
| Cable Type | Old Label Issue | New Label Fix |
|---|---|---|
| HDMI | Faded text | Laser-printed, UV-resistant |
| Optical | Peeling off | Wrap-around vinyl |
| Speaker | Cracked adhesive | Self-laminating tag |
| Ethernet | Smudged ink | Thermal-transfer print |
Ensure cables aren’t degraded before re-labeling-check for stiffness or fraying. Re-labeling takes minutes but improves accuracy during future updates or troubleshooting. Avoid cheap printers; invest in one with smudge-proof output for lasting clarity.
On a final note
You’ll save time and stress by using custom-printed labels on AV cables-clear, durable labels make troubleshooting fast and setup clean. Choose polyester or vinyl labels with permanent adhesive for long-term use, or removable vinyl for flexible changes. Print legible text using consistent naming like “HDMI TV” or “PS5 Power.” Avoid cheap labels that fade or peel. Test adhesives on one cable first, and expect to relabel every 3–5 years with heavy handling.