DIY Guide to Building a Dust-Proof Cable Hub Enclosure for Entertainment Centers
You can build an effective dust-proof cable hub enclosure in under four hours using breathable materials like perforated metal or fine-weave mesh with 1–2mm holes to block 90% of dust while ensuring airflow. Choose an aluminum box with powder-coated finish for durability and heat dissipation, and include removable panels and top/back vents for maintenance and cooling. Measure from outlet to farthest device, add extra length, and account for plug angles to avoid strain. Position near the desk edge for access, keep cords clear of foot traffic, and install filter covers you can clean monthly. Use compressed air every three months and check connections regularly to prevent overheating. Strategic vent placement balances protection and performance-especially if your gear runs hot-so prioritize airflow when in doubt. A well-built enclosure stays functional and low-maintenance for years with routine checks. Better results depend on precise measurements and material choices that match your setup’s heat output and space limits.
Notable Insights
- Measure cables and power strips accurately to ensure proper fit and prevent strain on connections.
- Use fine-weave mesh or perforated metal panels to block dust while maintaining airflow.
- Build a box-style enclosure with removable panels for easy access and cable management.
- Position vents on top and back with mesh covers to reduce heat and dust buildup.
- Place the enclosure near the desk edge or under a shelf for accessibility and safety.
Measure Your Cables and Power Strips First
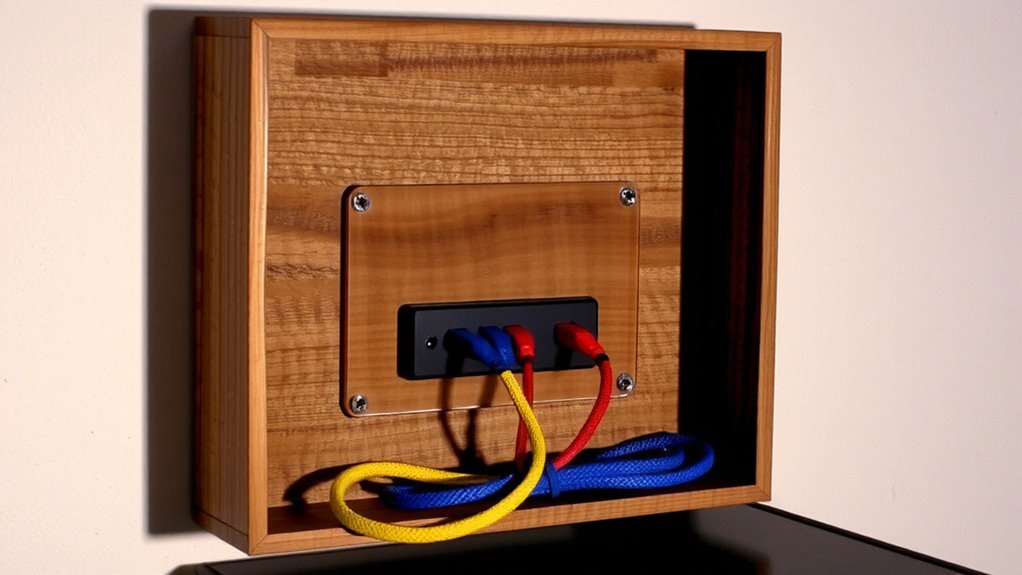
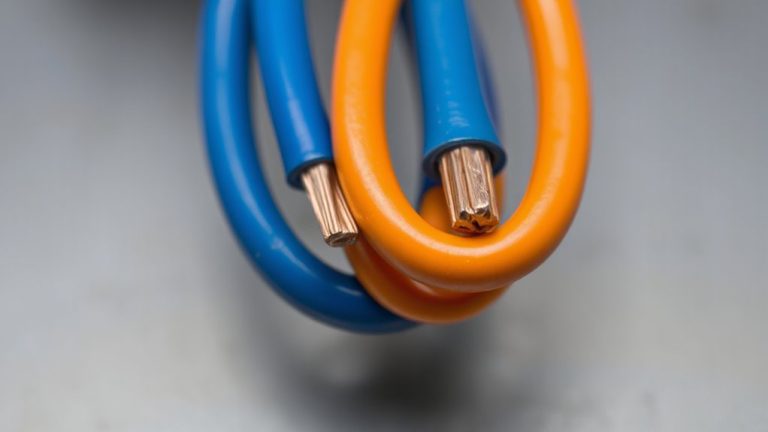
Getting the fit right starts with accurate measurements-skip this step, and even the best enclosure will miss the mark. You need to account for both cable length and power strip size to avoid tight, strained connections or awkward bulges. Measure from the wall outlet to the farthest device, adding a few inches for movement-short cable length leads to tension, which risks damage over time. Lay out your power strip and check its dimensions; bulkier models with surge protection take more space. Don’t forget angled plugs or USB ports that extend beyond the main body. If the enclosure’s too snug, you’ll struggle to close it or block ventilation paths. Oversizing slightly helps, but too much space makes the build inefficient. Accuracy guarantees everything fits cleanly, operates safely, and stays dust-free without sacrificing access or creating clutter. A well-organized setup begins with proper cable management solutions to ensure long-term functionality and aesthetics.
Pick Materials That Block Dust But Allow Airflow
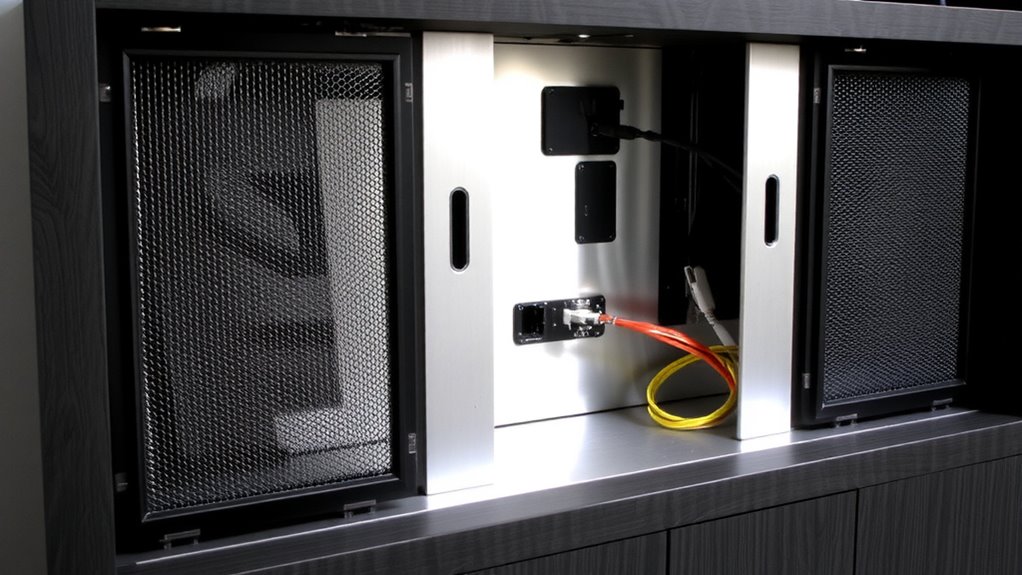
While keeping dust out is the main goal, you still need to let heat escape-so picking the right material means balancing protection with airflow. Your material selection directly affects both dust resistance and thermal performance. Go for fine-weave mesh panels or perforated metal sheets with hole diameters between 1–2mm; they block most household dust while sustaining solid airflow balance. Avoid solid plastic or wood unless vented, since they trap heat and encourage component wear. Aluminum enclosures with powder-coated finishes offer durability and some thermal conductivity, but only if designed with strategic vent placement. Test airflow by running your setup at peak load and checking for warm spots. If components overheat, you’ve tipped the airflow balance too far toward sealing. Prioritize materials that are easy to clean and non-static, like anodized aluminum, to reduce dust attraction without sacrificing function.
Build Your Dust-Proof Cable Enclosure
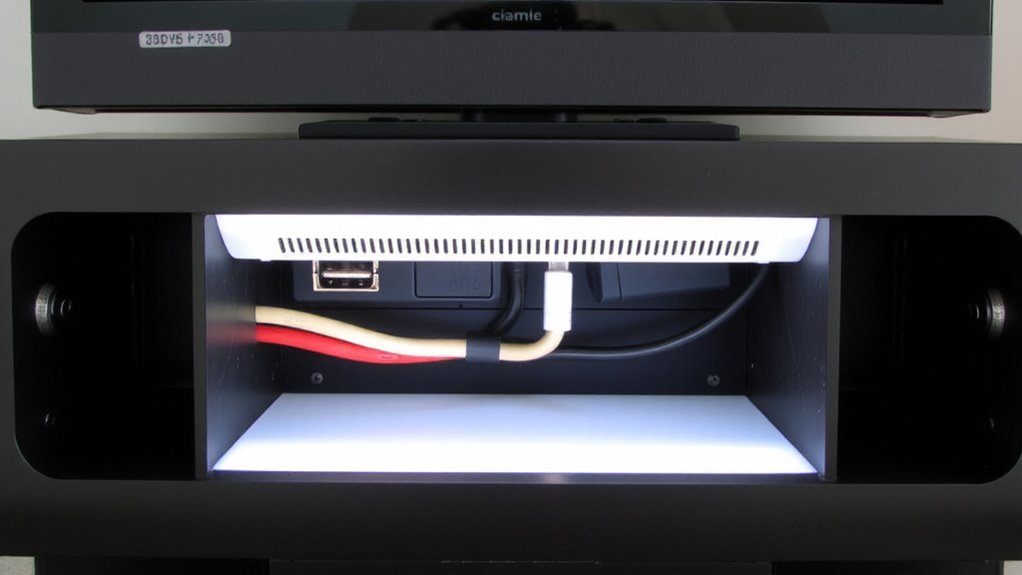
A well-built dust-proof cable enclosure keeps your connections clean and functional without overheating sensitive gear. Use your chosen dust-resistant, breathable materials to construct a snug, box-style housing with removable panels for quick access. Prioritize enclosure ventilation design by adding mesh-covered vents on the top and back-this prevents heat buildup while blocking particles. Keep cable management aesthetics clean by pre-measuring port placements and grouping cords with low-profile ties. A well-organized setup enhances both functionality and visual appeal, especially when incorporating best cable management solutions into your design. Here’s a quick reference:
| Feature | Benefit |
|---|---|
| Mesh ventilation panels | Guarantees steady airflow, reduces heat |
| Removable rear plate | Simplifies updates, boosts accessibility |
| Beveled edges & seamless corners | Enhances look, traps less dust |
Build it slightly larger than your gear stack to allow airflow, but not so big that it spoils visual neatness. Test the fit before final assembly.
Place It for Easy Access and Cleaning
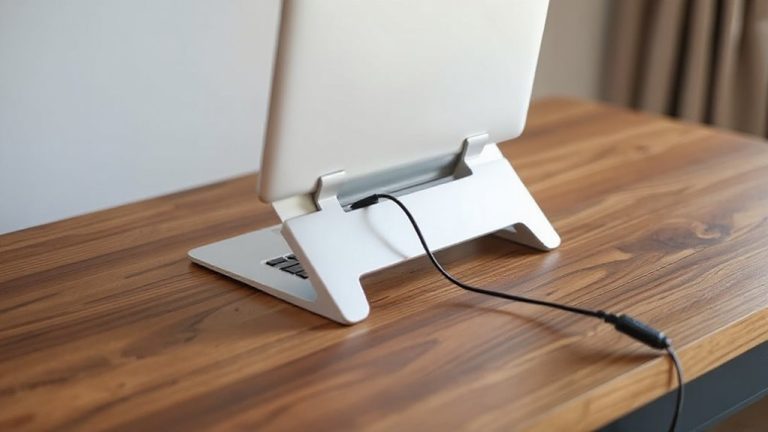
You’ll want to position your dust-proof cable hub enclosure where it’s both accessible and easy to maintain-think near your desk’s edge or mounted under a shelf, so you can quickly plug in devices without straining cables. Good placement improves cable management by reducing tangles and wear, especially if you frequently swap chargers or peripherals. If you’ve got a home office setup, integrating tool storage nearby-like a slim drawer or wall-mounted organizer-keeps screwdrivers or cable testers within reach for quick fixes. Avoid cramming the enclosure behind heavy furniture; while it saves space, it hampers cleaning and makes access frustrating. Mounting it at eye level or slightly below guarantees visibility and ease of use. Just remember: easy access shouldn’t sacrifice safety-keep cords clear of foot traffic and water sources. Proper positioning balances function, safety, and long-term usability. For optimal results, consider using cable management solutions designed for professional office environments to enhance organization and aesthetics.
Keep Your Enclosure Dust-Free and Functional
Dust is the silent enemy of your cable hub enclosure, creeping in through tiny gaps and settling on connectors, which can lead to overheating or poor connections over time. You’ll need routine enclosure maintenance to keep things running smoothly-wipe down vents monthly and use compressed air every three months to clear internal buildup. Good cable management isn’t just about neatness; it prevents airflow blockages and makes cleaning faster. Use removable filter covers over intake vents, but remember: they reduce airflow slightly, so balance protection with cooling needs. If your gear runs hot, prioritize ventilation over absolute dust resistance. Test the enclosure every few weeks-feel for heat, check connections. No solution is perfect; even well-sealed boxes need attention. Smart planning and consistent care mean your setup stays functional long-term, without surprises or hidden downtime.
On a final note
You’ll reduce dust buildup and keep cords organized with this simple enclosure. Use perforated metal or ventilated plastic to maintain airflow while blocking debris. Secure cables with velcro straps and allow slack for access. Test fit all power strips first-measure depth, height, and plug spacing carefully. Clean vents monthly to prevent overheating. While it won’t stop all dust, it substantially cuts cleaning time and improves safety. Just avoid sealing units tightly; trapped heat damages electronics.