DIY Under-Desk Cable Tray Build for a Clutter-Free Home Workstation
Use powder-coated steel or aluminum for a durable, clean-looking cable tray that resists dents and corrosion-avoid plastic, as it warps over time. Measure your desk’s underside width and depth, leaving 1–2 inches of clearance on all sides. Build the base from ¾-inch plywood or extruded aluminum, add 1.5-inch side walls, and mount it securely with 15-lb-rated brackets. Keep cables grouped, labeled, and loosely tied to prevent strain. A well-built tray stays stable and accessible for years, but only if you plan for airflow, maintenance, and future upgrades. The next steps reveal how to get it exactly right.
Notable Insights
- Choose powder-coated steel, aluminum, or reinforced ABS plastic for durability and a clean, professional look.
- Measure desk width, depth, and height accurately, leaving 1–2 inches of clearance for fit and airflow.
- Build the tray base from ¾-inch plywood or aluminum, with 1.5-inch side walls for cord containment and ventilation.
- Secure the tray using load-rated brackets and pre-drilled screws, avoiding over-tightening to prevent damage.
- Organize cables with labels and straps, allow slack, and maintain the tray every few months.
Choose Materials for Your DIY Cable Tray
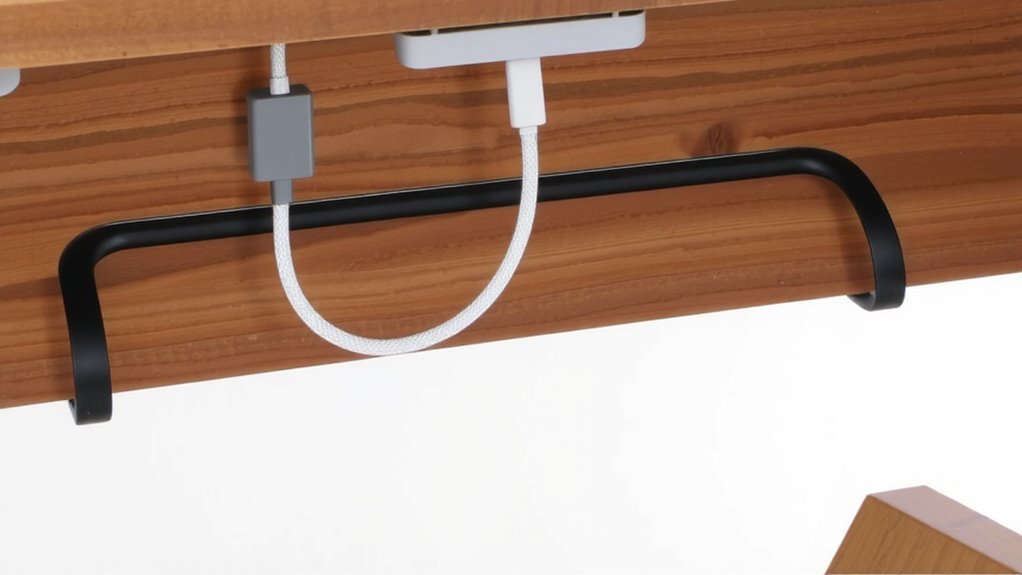
A sturdy, well-chosen cable tray makes a noticeable difference in both function and looks under your desk, and metal trays like powder-coated在玩家中 steel or aluminum usually deliver the best mix of durability and clean appearance. You’ll want to prioritize material durability, especially if you run multiple heavy cables or move equipment often-powder-coated steel resists dents and corrosion better than plastic, while aluminum offers strength with less weight. Both materials hold up well under daily stress, tested to support 15+ lbs without sagging. For aesthetic finish, these metals provide a smooth, professional look that hides fingerprints and scratches better than glossy plastics. Matte gray or black coatings blend easily with most desk setups. Just note: metal trays cost more and require simple tools for mounting. If you’re on a tight budget, reinforced ABS plastic is a fair backup-but expect lower long-term material durability and a less refined aesthetic finish. Proper cable management solutions can significantly reduce visual clutter and improve workspace efficiency.
Measure Your Desk for a Perfect Fit
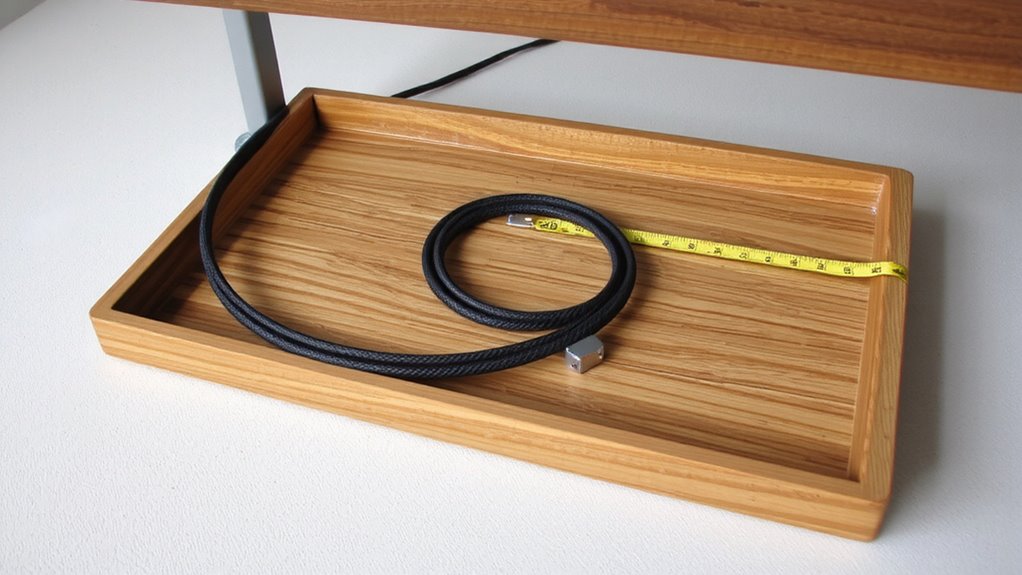
While it might seem like a small step, measuring your desk correctly is what keeps your cable tray from wobbling, overhanging, or blocking drawer use down the line. You’ll need the exact width and depth of your desk’s underside, leaving at least 1–2 inches of clearance on each side. Check the desk height from floor to bottom edge-most sit between 28–30 inches, but always confirm. This guarantees your tray won’t interfere with legroom or chair movement. While you’re at it, consider cable length: if your devices need to reach the floor or a nearby outlet, a longer run may require more slack than expected. Trim too much, and you limit flexibility. Measure twice, cut once-mismeasurement here compromises everything, no matter how sturdy your materials. Accuracy now prevents headaches later. A well-fitted tray complements the ergonomics of your best home office desks.
Build the Under-Desk Cable Tray
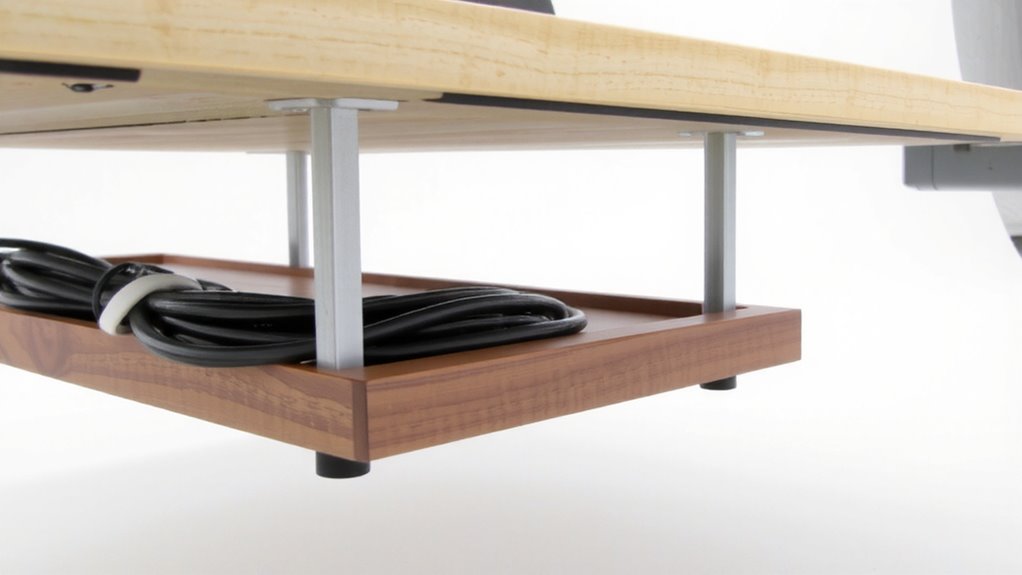
Since you’ve measured your desk accurately, you’re ready to build a cable tray that fits cleanly and functions reliably. Use ¾-inch plywood or extruded aluminum for durability and clean cable aesthetics. Cut the base to match your desk’s underside width, leaving a ½-inch gap on each side for airflow and access. Add 1.5-inch side walls to contain cords and improve tray ventilation-this also prevents dust buildup and overheating. Pre-drill holes for easy assembly with #6 screws, and sand edges smooth to avoid snags. While aluminum offers better heat dissipation and a sleeker look, plywood is easier to cut at home. Keep tray depth between 2 and 3 inches-any deeper makes accessing cables awkward. Remember, a well-built tray hides cords effectively but only works if you route them neatly. Poor organization ruins cable aesthetics, no matter how good the tray looks. For optimal results, consider integrating cable management solutions that complement your tray design.
Attach the Tray Securely Under Your Desk
Under your desk, the tray needs to stay put without risking damage to the surface or long-term stability. Use mounting brackets rated for at least 15 lbs and position them near the desk’s front and back edges for balanced support. Set your drill depth just deep enough to seat screws fully without breaking through the desk underside-typically 1/2 inch works for most laminate or solid wood tops. Apply moderate screw torque to avoid stripping threads or cracking materials, especially on particleboard. Over-tightening can warp the tray or weaken joints over time. Use washers to distribute pressure and prevent pull-through. Check alignment before final tightening. Re-tighten screws after 48 hours to account for initial settling. While metal brackets offer durability, they may require pilot holes to prevent splitting. Make sure all hardware is compatible with your desk’s thickness.
Route and Organize Cables Efficiently
Once you’ve secured the tray, routing and organizing your cables comes down to planning and using the right tools to avoid tangles and stress over time. Start by grouping power, data, and peripherals separately-this makes troubleshooting easier and reduces clutter. Use zip ties or Velcro straps to bundle cables neatly along the tray, but leave some slack for movement. Apply strain relief at connection points, especially for USB and power cords, to prevent fraying and extend cable life. Cable labeling is essential-use pre-printed tags or a label maker so you can quickly identify each cord. Don’t force sharp bends or over-tighten fasteners, as that can damage internal wiring. While most cable trays simplify access, poor routing can still cause snags when adjusting your desk. A well-planned layout pays off, but remember: neatness requires consistency, not just setup.
Maintain and Upgrade Your Cable Setup
A well-maintained cable setup can save you hours of frustration down the road, but it doesn’t just happen on its own. Regularly check your cable management for wear, loose ties, or tangles-especially if you unplug devices often. Every few months, quickly reorganize to keep desk organization effective and efficient. Label cables if you add new tech, so swaps or troubleshooting stay simple. If you upgrade gear, like switching to a docking station or wireless peripherals, reevaluate how cables route through your tray. Some upgrades might need adjustments in length or layout, so allow 2–3 inches of slack for movement. Don’t overstuff the tray-clutter returns fast if capacity is exceeded. While most under-desk trays handle standard power and USB cords well, heavier cables like thick HDMI or locked connectors may strain clips. Stay proactive, and your system stays functional, scalable, and clean.
On a final note
You’ll get a clean, functional workspace by building your own under-desk cable tray-it’s cost-effective and customizable. Use sturdy materials like plywood or extruded aluminum for lasting support. Measure precisely to match your desk’s underside and avoid interference with drawers or legs. Secure it with lag bolts or heavy-duty brackets to handle cable weight. Routing cables neatly saves time and reduces tangles. Just remember: overloading the tray risks sagging, so keep weight balanced and check mounts annually.