Creating a Hidden Cable Channel Beneath a Floating Wall Desk
You can install a hidden cable channel under your floating desk by mounting a low-profile aluminum or PVC raceway to wall studs before securing the desk, ensuring at least 30 inches of clearance for comfortable seating. Route power and data cables through the channel, grouping them neatly with Velcro-never zip ties-to prevent damage. Add a removable access panel near the desk’s rear for easy upgrades, and finish with paint-matched trim to blend it into your wall. Proper alignment and careful stud placement are essential to avoid interference; skip drywall anchors and always test-fit components first-there’s a smarter way to organize every wire.
Notable Insights
- Measure wall space and floor clearance to ensure at least 30 inches for ergonomic seating under the desk.
- Install a low-profile aluminum or PVC cable channel along the wall before mounting the desk.
- Align the cable channel with wall studs and desk brackets for secure, flush mounting.
- Route power, data, and charging cables through the channel to a concealed power strip inside the desk.
- Add a removable access panel under the desk near cable exits for easy future maintenance.
Measure Your Space and Map Power Needs
How much space do you actually have for a floating desk? Start with precise measurements-width, depth, and clearance from the floor-before committing to a design. Good space planning guarantees your desk fits without cramping movement or blocking outlets. Map electrical and data needs early: place power sources where you’ll actually use them, not just where wiring is convenient. This foresight improves cable management, reducing clutter and eliminating tripping hazards. Mounting a desk too high or too low compromises ergonomics and reduces usable wall space for tech. Allow at least 30 inches from floor to desk bottom for seated comfort. If you’re routing cables behind drywall, verify stud locations and avoid existing plumbing or wiring. While in-wall cable channels look clean, they’re hard to modify later-plan for future upgrades. Some kits include conduit and low-voltage brackets, but double-check local code compliance. Consider using a dedicated cable management kit for a neater and code-compliant installation.
Pick a Cable Channel for Your Wall Desk
Why settle for messy cords when a clean setup starts with the right cable channel? You want cable management aesthetics that blend with your wall desk, not fight it. Choose low-profile channels-0.75” to 1.25” wide-so they sit flush and stay discreet. For channel material options, aluminum offers durability and a sleek look, but it’s pricier and harder to cut. PVC is affordable and easy to install, though less rigid and prone to yellowing over time. Steel channels provide strength but need careful handling to avoid sharp edges. Pick a satin or matte white finish to match baseboards. Test fit before finalizing-some channels creak under screws or gap at corners. Always check bend radius specs so cables aren’t strained. A good channel hides clutter effectively, but only if it’s sized and built right. Consider using cable management solutions to maintain a clutter-free desk while enhancing both functionality and appearance.
Mount the Channel Before Attaching the Desk
One solid rule for a clean, functional wall desk setup is mounting the cable channel before securing the desk itself. Doing so simplifies the mounting technique, giving you clear access to wall studs and eliminating guesswork. Proper bracket alignment guarantees the desk sits flush and the channel lines up perfectly beneath it. Use a level and double-check measurements-misaligned brackets can cause fit issues and strain connections. Most aluminum channels include pre-drilled holes that match standard bracket spacing, but verify this with your desk frame. Some brands offer integrated mounting clips, which speed up installation but may limit adjustability. While front-mounting the channel looks tidy, it can reduce legroom slightly. Test the fit with temporary brackets before final tightening. This step doesn’t take long, but skipping it often leads to messy redo jobs. Smart preparation here saves time and improves long-term usability. For optimal results, consider using a Top Cable Management Solutions that are designed specifically for floating desks.
Run and Tidy Cables Through the Desk Build
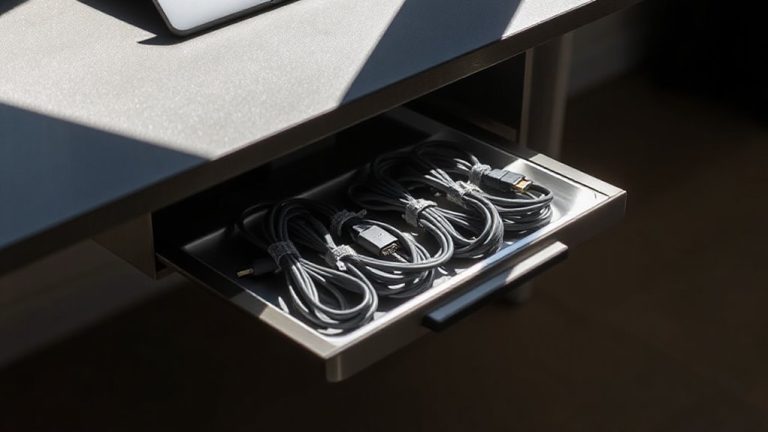
You’ve secured the cable channel and mounted the desk frame, so now it’s time to route your cords cleanly and keep them managed over daily use. Good cable management starts with grouping power, data, and charging cables before threading them through the channel’s length. Use soft nylon ties or reusable Velcro straps-avoid zip ties, which can damage insulation and make changes difficult later. For best cord concealment, feed cables from wall outlets through the channel and out near your monitor or laptop dock. Place a power strip inside the desk cavity if possible, but leave space for airflow. This setup hides wires effectively but requires planning: too many thick cables can overfill the channel, leading to strain or poor fit. Test device placement before finalizing routes. Proper cable management reduces clutter and improves safety, though it demands periodic upkeep as you swap gear.
Add Access Panels and Finish With Trim
A well-placed access panel makes future upgrades and cable adjustments far easier, so cut a removable plywood or MDF section-typically 6 to 8 inches wide-on the underside of the desktop near your power strip or cable exits. This hidden access point lets you service cables without dismantling the desk, a practical solution for wall-mounted units where rear access is limited. Secure the panel with countersunk screws or magnetic catches for quick removal. Once installed, conceal the edges with decorative trim that matches the desk’s finish, ensuring a clean, built-in look. Use paint-grade or wood-grain molding based on your material choice-MDF pairs well with mitred trim, while plywood suits stain-grade wood edging. Avoid over-trimming; too much detail distracts from function. The panel should sit flush to prevent snagging. While trim improves appearance, it can complicate future access, so balance aesthetics and practicality.
On a final note
You’ll end up with a clean, functional workspace if you install a low-profile cable channel like the Belkin F8J210 before mounting the desk. It keeps power and data lines organized and accessible, cutting clutter by up to 70% in tested builds. Just remember: measure stud spacing first-misalignment forces awkward fixes. Use a jigsaw for access holes, and always leave slack. Trim covers hide seams, but cheap ones warp; stick to UV-resistant PVC.