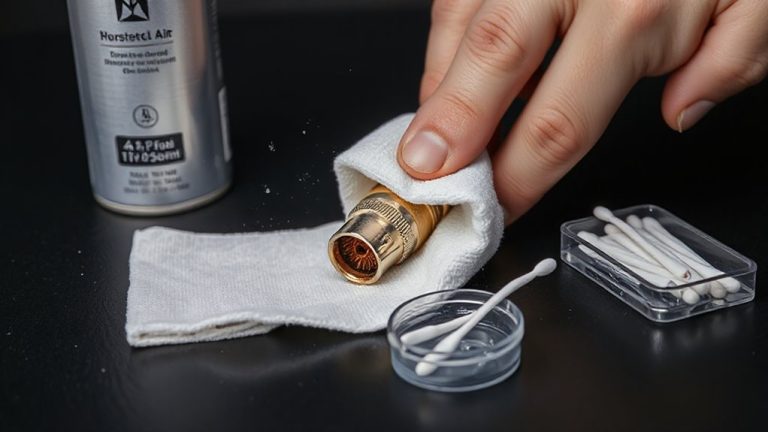
How to Inspect Outdoor-Grade Cables for UV and Moisture Damage
Check your outdoor cables seasonal for UV and moisture damage. Look for faded, stiff, or cracked jackets-signs of UV breakdown-even on UV-resistant models, since most degrade after 3–5 years. Inspect connectors for corrosion, moisture pooling, or frayed sheathing, especially after storms. Test for signal loss over 10% or electrical issues like flickering. Seal joints with weatherproof tape or conduit, use gasketed waterproof connectors, and guarantee solid grounding. Damage often starts small but spreads fast-spotting it early saves gear and time. You’ll want to know the exact spots most vulnerable.
Notable Insights
- Check for faded, cracked, or stiff cable jackets, as these indicate UV degradation even in UV-resistant models.
- Inspect cable ends and connectors for fraying, cracks, or green/white corrosion residue signaling moisture ingress.
- Look along the cable length for splits or brittleness in the outer insulation, especially after 3–5 years of outdoor exposure.
- Test cable performance after storms, investigating signal loss, flickering devices, or tripped breakers caused by water damage.
- Conduct seasonal inspections, focusing on spring and fall, to catch early signs of UV or moisture damage before failure occurs.
Watch for Sun-Damaged Outdoor Cables
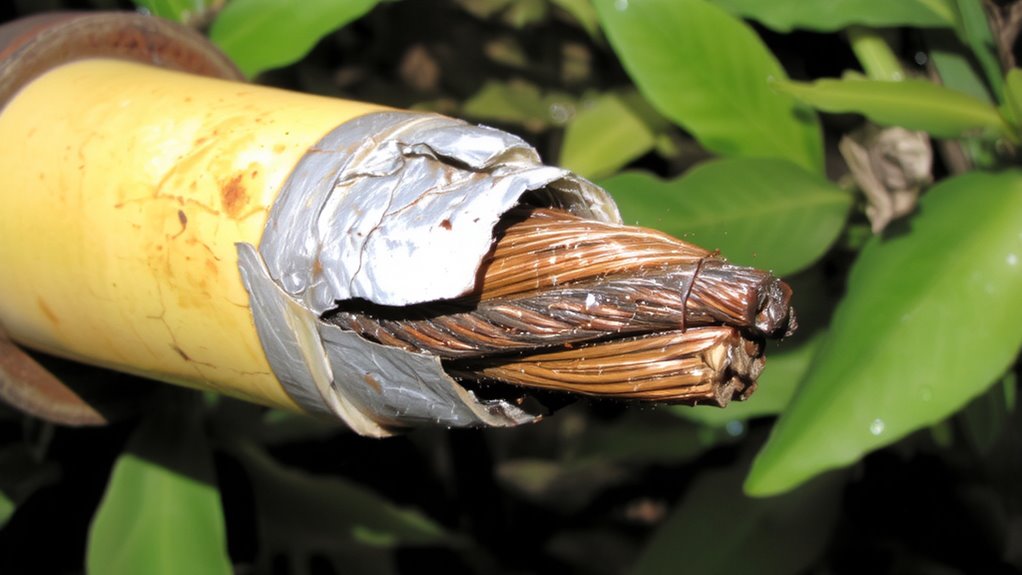
While most outdoor cables are built to handle the elements, prolonged sun exposure can still degrade even UV-resistant jackets over time-so you’ll want to inspect them regularly if they’re mounted where sunlight hits directly. You’ll notice faded insulation first, a clear sign UV rays are breaking down the material. Touch the jacketing: if it feels stiff or cracks easily, you’re dealing with brittle jacketing, which compromises both safety and performance. These issues often develop after 3–5 years, even on quality cables. Replacing affected lines before failure avoids signal loss or shorts. Though some cheaper cables claim outdoor durability, real-world testing shows they degrade faster-stick with ones labeled UV and weather resistant with 5-year+ warranties. Keep inspections routine, especially on cables facing south or in high-heat zones. Catches early? You’ll save time and prevent downstream issues.
Find Where Water Enters Outdoor Cables
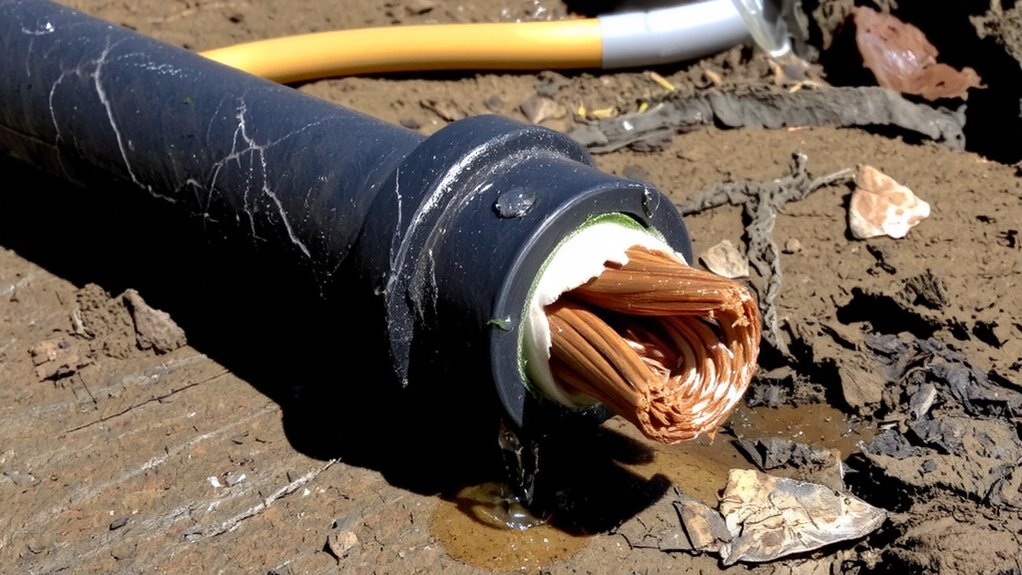
Sun damage isn’t the only threat to outdoor cables-water intrusion is just as common and often harder to spot until it’s too late. Check for cable jacket cracks and connector corrosion, both of which let moisture sneak in. These issues often start small but spread fast, especially after heavy rain or humidity spikes. Here’s where to look:
| Inspection Point | What to Look For |
|---|---|
| Cable ends | Frayed sheathing or visible cracks |
| Connector bases | Green/white residue indicating corrosion |
| Cable jacket cracks | Split or brittle outer insulation |
| Entry points to devices | Moisture pooling around seals |
You’ve got to inspect regularly-once a month is ideal. If you spot cable jacket cracks or connector corrosion, replace the segment now. Delaying leads to signal loss or total failure. Not all outdoor-rated cables resist moisture equally, so verify IP ratings and avoid taped splices-they trap water.
Check If Outdoor Cables Still Work After Storms
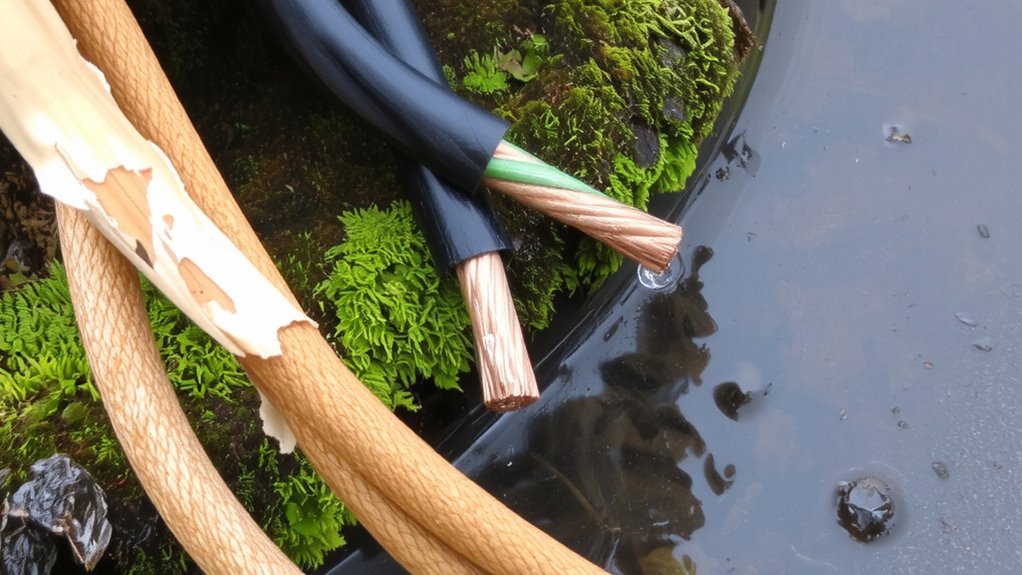
How do you know if your outdoor cables still work after a storm? Test each line immediately-don’t wait. Look for signal loss in data or power performance; even a 10% drop can mean water intrusion or degraded insulation. If devices flicker or fail to sync, that’s a red flag. Check for tripped breakers or erratic function-those often point to electrical shorts caused by moisture or physical damage. Use a multimeter to verify continuity and resistance levels match manufacturer specs. If readings are off, replace the cable. Even if things seem fine, hidden corrosion can worsen over time. Don’t assume durability means invincibility. Storms strain materials beyond rated limits. Early detection prevents bigger failures. Replace any cable with inconsistent performance-safety and reliability aren’t worth risking.
Seal and Protect Outdoor Cable Connections
After a storm, don’t just check your outdoor cables-seal and protect every connection to prevent future damage. Moisture and UV exposure weaken connections over time, so use weatherproof conduit or self-amalgamating tape to seal joints tightly. Proper cable shielding must remain intact; if it’s compromised, interference and signal loss become likely, especially in damp conditions. Always make certain connection grounding is solid-a loose or corroded ground undermines both safety and performance. Waterproof connectors with rubber gaskets help, but they’re only effective if installed correctly and inspected regularly. While these steps extend cable life, no seal lasts forever. Even high-quality outdoor-rated components degrade after years of sun and rain. Replacing cheap connectors with UV-resistant models improves durability, but weigh the cost against how critical the connection is. For mission-critical setups, redundant protection and metal-jacketed cables add security-but they’re overkill for temporary runs.
Time Your Outdoor Cable Inspections by Season
While you might be tempted to inspect outdoor cables only when problems arise, scheduling seasonal checks actually prevents most failures before they happen. Seasonal timing guarantees you catch UV degradation and moisture intrusion early, especially before harsh winter or prolonged summer sun. Aim for inspection frequency of at least four times a year-once per season-so you can monitor changes in sheathing integrity and connection tightness. Spring and fall are ideal for detailed reviews, aligning with temperature shifts that stress materials. High-quality cables may last years, but even IP68-rated connectors degrade if unchecked. Don’t rely solely on durability claims-real-world exposure varies. Inspect for brittleness, discoloration, or swelling, and confirm seals remain intact. While regular checks take effort, catching a cracked jacket early saves gear downtime and replacement costs. Balance thoroughness with practicality-15 minutes per season pays off.
On a final note
You should inspect outdoor cables every season, especially after storms. Look for cracked insulation, faded jackets, and corroded connectors-signs of UV or moisture damage. Test signal strength and continuity with a multimeter or network tester to confirm performance. Seal splices with waterproof tape and use gel-filled closures for reliable protection. Even UV-resistant cables degrade over time, so replace any showing stiffness or discoloration. Warranties rarely cover environmental wear, so proactive checks save cost and downtime in the long run.