How to Install and Configure DisplayLink Drivers on Ubuntu for USB Monitors
You’ll need to confirm your USB monitor uses DisplayLink tech by checking its model or running `lsusb` for vendor ID 17e9. Once verified, update your system and install kernel headers and build tools. Download the official DisplayLink Debian package and install it with `dpkg`. Start and enable the service using systemd. If you’re still having issues, clean old drivers and check module loading-knowing the full setup steps helps avoid common pitfalls.
Notable Insights
- Confirm your USB monitor uses DisplayLink technology by checking the model specs or running `lsusb` for vendor ID 17e9.
- Install Ubuntu dependencies like `linux-headers` and `build-essential` to support driver compilation and module loading.
- Download the official DisplayLink driver `.deb` package from DisplayLink.com and install it using `sudo dpkg -i displaylink-driver*.deb`.
- Start and enable the DisplayLink service with `systemctl start` and `systemctl enable` for persistent operation across reboots.
- Troubleshoot issues by verifying kernel module status, removing old drivers, and rebooting after installation or updates.
Verify Your USB Monitor Uses DisplayLink
You can save time and avoid frustration by confirming your USB monitor actually uses DisplayLink tech before installing anything. Check the product specs or model number online-brands like Dell, HP, and Lenovo often list DisplayLink reliance in technical documentation. Many USB-connected monitors depend on DisplayLink chips for video transmission, but not all do, and misidentifying your setup leads to failed device detection and wasted effort. Ensuring hardware compatibility early prevents driver conflicts. Plug in your monitor and run `lsusb` in the terminal; DisplayLink devices typically appear with identifiers like “DisplayLink” or vendor ID 17e9. If you don’t see those, your monitor likely uses alternative tech like Miracast or plug-and-display, meaning DisplayLink drivers won’t work. Confirming this step avoids unnecessary troubleshooting later and sets accurate expectations for performance and setup complexity.
Install Required Ubuntu Dependencies
Before diving into driver installation, make sure your Ubuntu system has the necessary dependencies-skipping this step could leave the DisplayLink software incomplete or nonfunctional. You’ll need build tools like gcc, make, and linux-headers to compile the driver correctly. Run `sudo apt update && sudo apt install linux-headers-$(uname -r) build-essential` to get started. These packages guarantee compatibility with your current kernel, especially after recent kernel updates that might otherwise break functionality. Skipping headers risks module build failures. Also, watch for package conflicts, particularly if you’ve added third-party repositories or have older graphics drivers installed. Conflicts can block installation or cause display issues. It’s smart to review installed packages with `dpkg -l | grep -i nvidia\|egl` if you use proprietary GPU drivers. A clean, updated system reduces risk. Dependencies aren’t optional-they’re the foundation.
Download and Install the DisplayLink Driver
Every reliable DisplayLink setup starts with grabbing the correct driver directly from the official source-anything else risks instability or failed detection. You’ll want to download the latest `.deb` package from DisplayLink’s website to guarantee driver compatibility with your Ubuntu version. Installing third-party or outdated drivers can hurt your user experience, leading to flickering, resolution issues, or no signal at all.
| Step | Action |
|---|---|
| 1 | Visit DisplayLink.com/drivers |
| 2 | Download the Ubuntu `.deb` file |
| 3 | Open terminal in download folder |
| 4 | Run `sudo dpkg -i displaylink-driver*.deb` |
Don’t skip verifying your kernel version, as mismatches can break functionality. This step is essential for plug-and-play performance and solid multi-monitor support. While installation usually goes smoothly, some USB docks need firmware updates post-install.
Start and Enable the DisplayLink Service
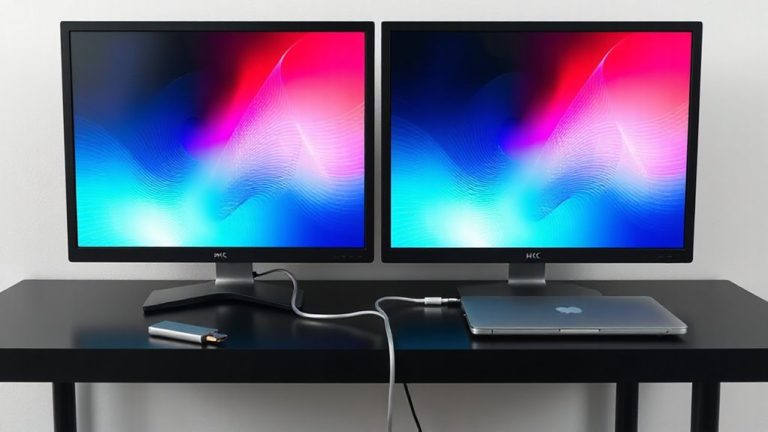
Once the driver is installed, the DisplayLink service needs to be started and enabled to guarantee your USB docking station communicates properly with Ubuntu’s display system. You’ll handle this through systemd, Ubuntu’s service management tool. Run `sudo systemctl start displaylink` to launch the service immediately. Then, use `sudo systemctl enable displaylink` to set up automatic startup configuration so it runs at every boot. This step is essential-without it, your dock won’t work after a reboot. Most users see immediate results, but keep in mind that kernel updates can sometimes interrupt service operation, requiring a manual restart. Make sure to verify the service status with `sudo systemctl status displaylink` to catch issues early. Reliable service management assures consistent multi-monitor output, but always check compatibility with your specific dock model and kernel version.
Fix DisplayLink Not Detected or Black Screen
If your external monitors aren’t lighting up after installing DisplayLink, it’s likely due to a driver mismatch, kernel incompatibility, or a firmware issue-but don’t worry, most cases are fixable with a few targeted steps. Start by checking for driver conflicts: uninstall any older DisplayLink versions and guarantee the kernel module loads correctly with `sudo dkms status`. Reinstall the latest official driver from DisplayLink’s site, as outdated packages often cause black screens. Firmware issues can also prevent detection, so confirm your dock or adapter uses a supported DisplayLink chipset-check the product manual or manufacturer’s site. Reboot after installation and avoid using beta kernel versions, which may break compatibility. While most setups work well, some USB monitors have limited resolution support or wake-from-sleep bugs. Test stability over 24 hours. Performance is solid, but success depends on your exact hardware and Linux version.
On a final note
You’ll get working dual monitors on Ubuntu with DisplayLink, but expect some setup effort. The drivers support common plug-and-play USB displays using DisplayLink chips, including popular brands like Plugable and Dell. Performance handles office work well, though refresh rates cap at 60Hz. Install the official driver, not random PPAs. Be ready to troubleshoot service starts or black screens. It’s reliable once running, but not plug-and-play-keep firmware updates and kernel changes in mind.