How to Reassess Cable Lengths After Adding New Peripherals
After adding new gear, update your desk map to spot cable conflicts and measure exact distances-add a few inches for slack, but avoid excess that causes clutter or signal issues. Replace shorts that strain connections and ditch overly long cables inviting tangles. Pick durable cables with proper connectors (USB-C, HDMI) and proven ratings. Use clips and sleeves to route cleanly. Even top cables fail if routed poorly-your setup’s next upgrade relies on how well this one’s tested under real conditions.
Notable Insights
- Update your workspace layout map to identify new cable conflicts after adding peripherals.
- Measure exact distances from devices to ports, adding a few inches for tension and flexibility.
- Check for short cables causing strain or long ones contributing to clutter and interference.
- Verify connector types and cable specifications match new devices’ power and data requirements.
- Use clips and sleeves to route and secure cables neatly, ensuring durability and ease of access.
Map Your Updated Setup Before Adjusting Cables
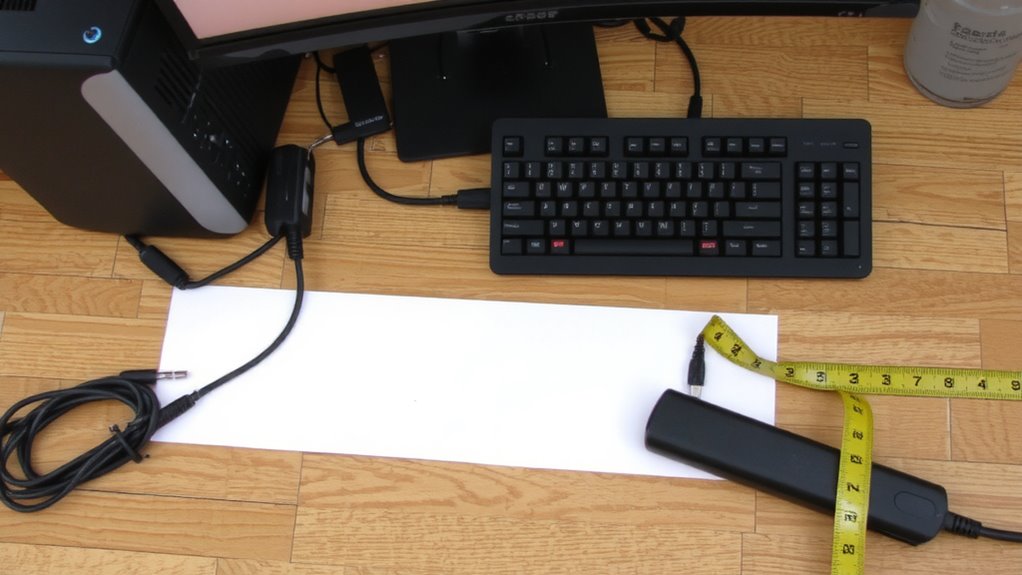
Start by sketching a rough layout of your desk and workspace-it’s the fastest way to spot cable conflicts before they happen. You’ll want to update your device positioning now that new peripherals are in play; shifting a monitor or keyboard can change everything. Proper cable labeling saves time later, especially when tracing connections during reconfiguration. Use consistent labels-like “Left Speaker” or “USB Hub”-on both ends of each cable so troubleshooting stays simple. Remember, even well-placed devices can create strain if cables aren’t routed cleanly. Avoid tight bends or pinching near desk edges, which may damage insulation over time. While good positioning improves access and ergonomics, it can expose messy runs if not planned. Labeling doesn’t fix poor length choices, and neat positioning won’t help if ports are overloaded. There’s no universal fix-each setup has trade-offs between reach, clutter, and flexibility. Plan your map honestly, not ideally. Incorporating Top Cable Management Solutions can significantly reduce visual clutter and improve overall workflow efficiency.
Measure Exact Cable Lengths for New Devices
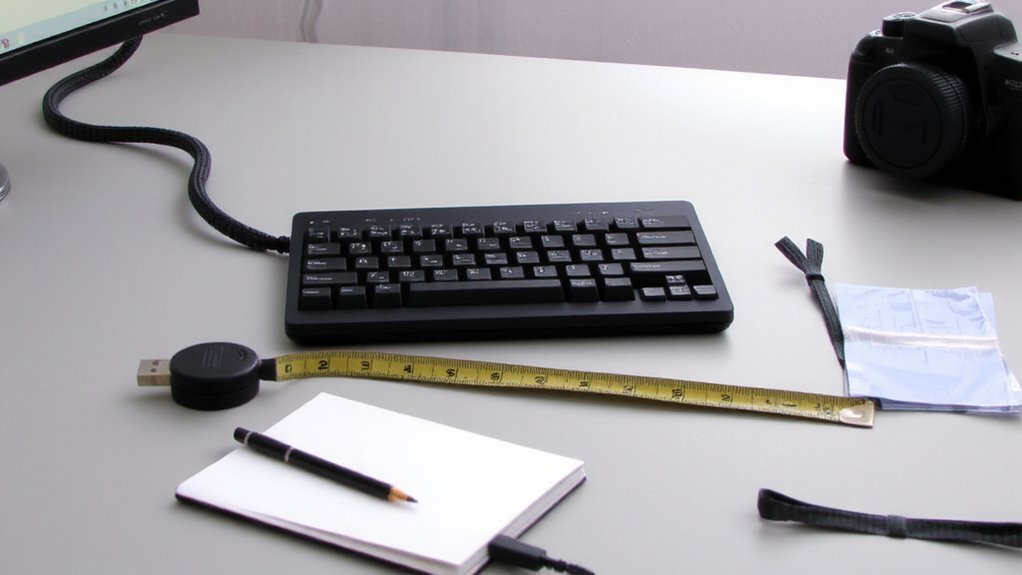
Now that you’ve mapped out where everything sits-including your new peripherals-it’s time to get exact with measurements. Use a tape measure to record the distance from each device to its port, adding a few inches to account for cable tension. Too tight, and you risk damaging connectors; too loose, and excess length can contribute to signal interference, especially with HDMI or USB 3.0 cables. Proper cable management solutions can significantly reduce clutter and improve both aesthetics and functionality. Here’s a quick reference:
| Device | Port Distance | Recommended Cable |
|---|---|---|
| Monitor | 48 in | 6 ft HDMI |
| Keyboard/Mouse | 24 in | 3 ft USB |
| External SSD | 36 in | 5 ft USB-C |
| Webcam | 18 in | 2 ft USB-A |
Always test connections before finalizing. Even quality cables can degrade over bends or long runs, so avoid sharp angles and shared power strips to reduce interference.
Spot Cables That Are Too Short or Cause Clutter
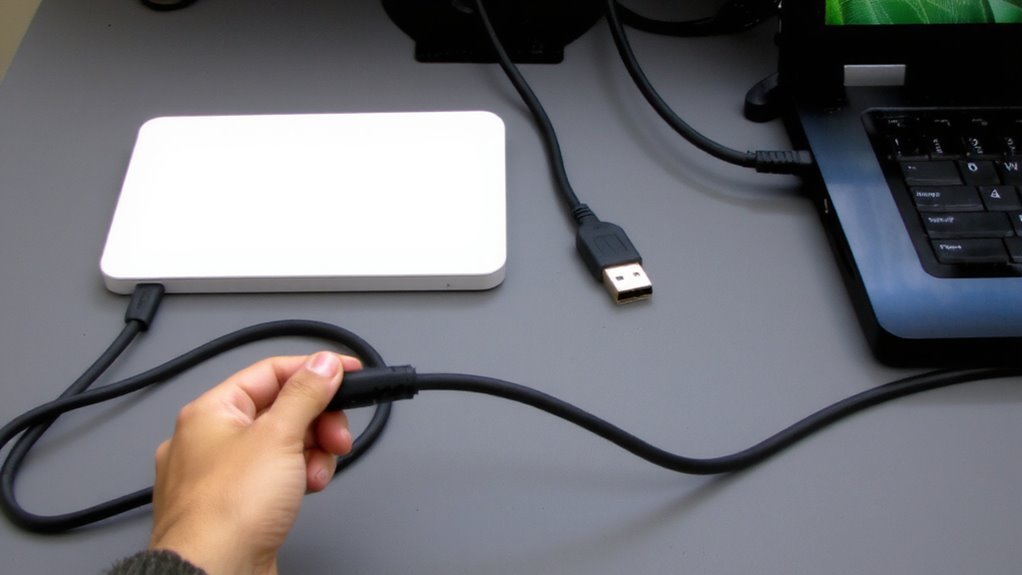
Why do some cables feel like they’re constantly fighting you? Because they’re too short or poorly routed, leading to cable strain and visual obstruction. If a cord stretches tight between devices, it’s likely straining-this weakens connections over time and risks damage. You’ll spot this when plugs pull loose or ports feel loose. Clutter’s another red flag: tangled cords behind your desk create visual obstruction, making it hard to move or troubleshoot gear. Look under and behind your setup-do wires bunch up or drape loosely across surfaces? That’s clutter slowing you down. While longer cables can reduce strain, they often increase mess if not managed. Use ties or clips to bundle them neatly. Not every short cable needs replacing, but if it forces awkward device placement or constant readjusting, it’s holding you back. The fix isn’t just length-it’s smart layout. Effective cable management starts with choosing the right tools, such as velcro cable ties that allow for easy adjustments and a clean appearance.
Pick the Right Cable Lengths and Connector Types
How do you balance reach and neatness when upgrading your setup? Choose cable lengths that eliminate strain without creating clutter. If cables are too short, you risk cable tension, which can damage ports or disconnect devices unexpectedly. Too long, and you’ll fight tangles and mess. Aim for 1 to 3 feet of slack beyond the minimum reach. Always verify connector compatibility-USB-C, USB-A, HDMI, or DisplayPort-since mismatched types cause setup failures. A cable may fit physically but not support the data speed or power delivery your device needs. Don’t assume all cables perform the same; test them under real use. A durable jacket and gold-plated connectors improve longevity. High-quality cables often come with 5-year warranties, reflecting better construction. Your goal: reliable connections, long-term safety, and a clean, functional workspace-all without overpaying for unnecessary specs.
Route and Secure Cables With Clips and Sleeves
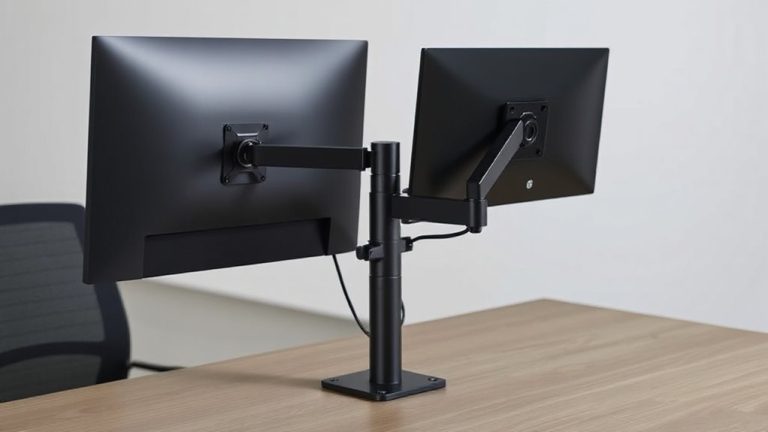
You’ve picked the right cable lengths and connector types, so now it’s time to make them work cleanly within your space. Use adhesive cable clips and braided sleeves to boost routing efficiency and reduce cable strain. Clips keep wires aligned along desk edges or monitor arms, minimizing tugs that weaken connectors over time. Sleeve bundles together power, USB, and display cables to prevent snags and make future changes easier. This setup improves both safety and aesthetics, especially in shared or high-traffic workspaces. Most quality clips handle up to 10 lbs of tension, but always check weight ratings-overloading can pull them off walls. Sleeves vary in diameter, so measure your cable bundle before buying; a 15mm sleeve fits most standard setups. While clips and sleeves save time long-term, cheap versions may yellow or lose stickiness in six months. Choose brands with at least a one-year warranty for reliable performance.
On a final note
You’ll save time and reduce frustration by reassessing cable lengths after adding new peripherals. Measure each connection to avoid strain or slack, especially for HDMI, USB-C, and power cables. Use 6-inch to 6-foot cords based on real spacing-too short risks disconnection, too long adds clutter. Secure lines with adhesive clips and braided sleeves for clean routing. Just remember: even premium cables won’t fix poor layout planning, so map device positions first.