How to Map Room Modes and Standing Waves in Your Home Office Using Free Software
Use Room EQ Wizard (REW) to map standing waves and room modes in your home office-it’s free and highly accurate. Connect a calibrated mic to your audio interface, then run test tones through your speakers. REW shows frequency dips and spikes caused by reflections and room dimensions. Measure at ear level in multiple spots to catch bass build-up near walls and corners. While REW lacks hand-holding, its detailed graphs let you pinpoint where bass traps and speaker adjustments will help most-results depend on proper setup, so double-check mic calibration and placement. You’ll see exactly how your room color sound, and where to act next.
Notable Insights
- Use Room EQ Wizard (REW) to generate test signals and measure your room’s frequency response accurately.
- Place a calibrated microphone at ear height in your listening position to capture reliable acoustic data.
- Take multiple measurements in a grid pattern to map standing waves and identify low-frequency problem areas.
- Analyze bass buildup near walls and corners where room modes create peaks and nulls in the response.
- Adjust speaker and listening positions based on REW’s data to minimize modal interference and improve sound clarity.
Understand Room Modes: Why Standing Waves Ruin Your Sound
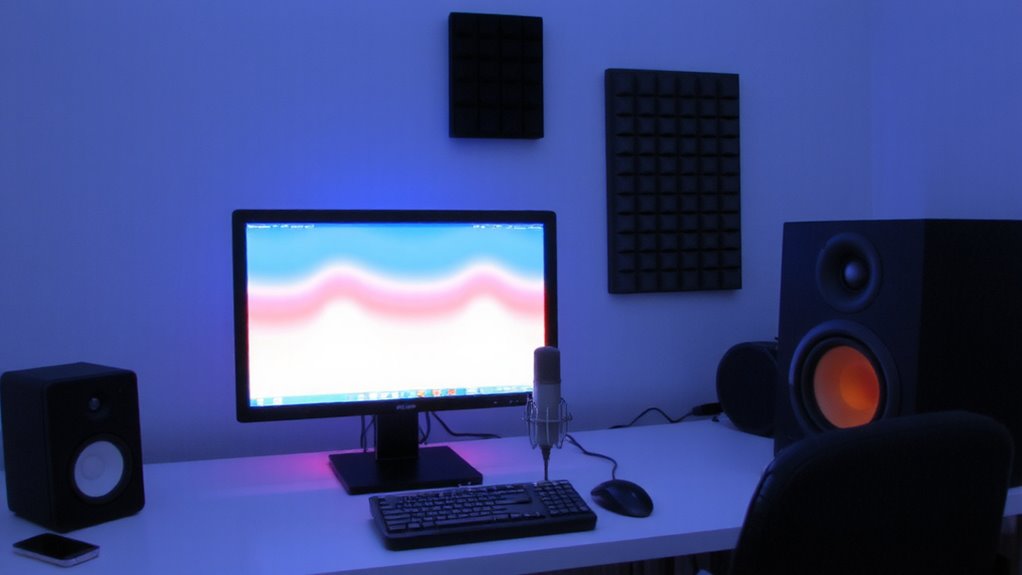
Ever wonder why your room sounds boomy in some spots and thin in others? That’s standing waves at work-resonant frequencies bouncing between parallel walls, creating uneven sound. These room modes amplify certain bass frequencies while causing others to disappear due to frequency cancellation. You’re not imagining it; your ears just can’t catch low-end distortions everywhere the same. Acoustic treatment like bass traps and absorptive panels helps, but placement matters just as much as quality. Poorly treated rooms lead to bad mixing decisions, especially in home offices where space is tight. While effective, acoustic treatment won’t fix everything if room dimensions inherently favor problem modes. You’ll still hear nulls and peaks no matter what. Real progress means understanding your room’s physical limits and working within them. There’s no magic fix-but smart, targeted treatment can get you surprisingly close.
Choose Free Software to Detect Standing Waves
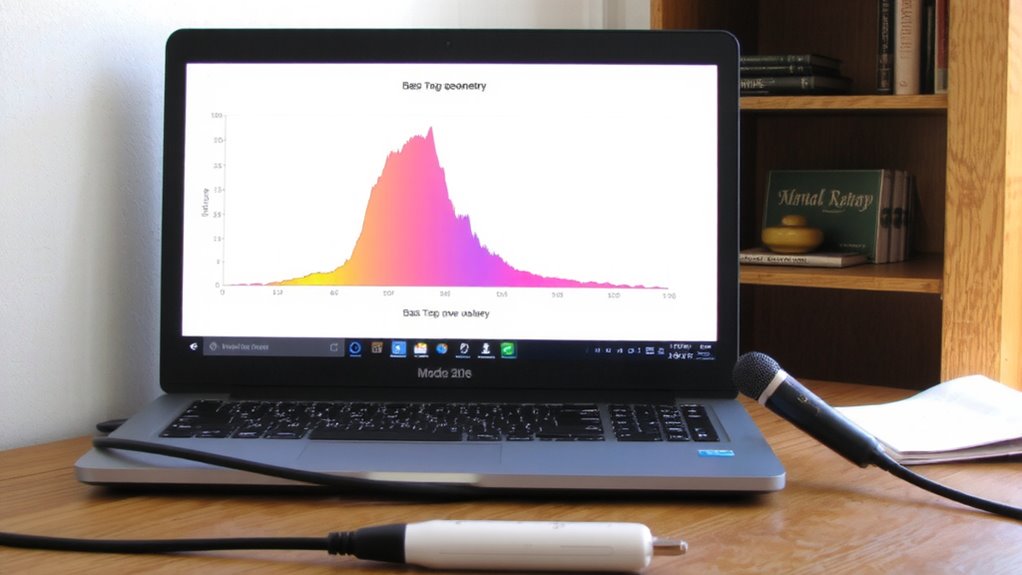
How do you pinpoint those pesky bass buildups and nulls without breaking the bank? Room EQ Wizard (REW) is your best bet for software selection-it’s free, widely trusted, and built for acoustical analysis. In any tool comparison, REW consistently outperforms alternatives in accuracy and feature depth, offering real-time spectrum analysis, impulse response measurement, and room mode prediction. It works seamlessly with most USB audio interfaces and measurement mics, which matters in home office setups where gear varies. While the interface feels technical at first, its detailed visualizations make diagnosing standing waves manageable. Just don’t expect polished graphics or hand-holding tutorials-REW assumes some technical willingness. Compatibility spans Windows, macOS, and Linux, and the developer provides regular updates and community support. For serious acoustic troubleshooting on a budget, REW delivers measurable results, but success hinges on proper setup and interpretation.
Measure Response With Room EQ Wizard
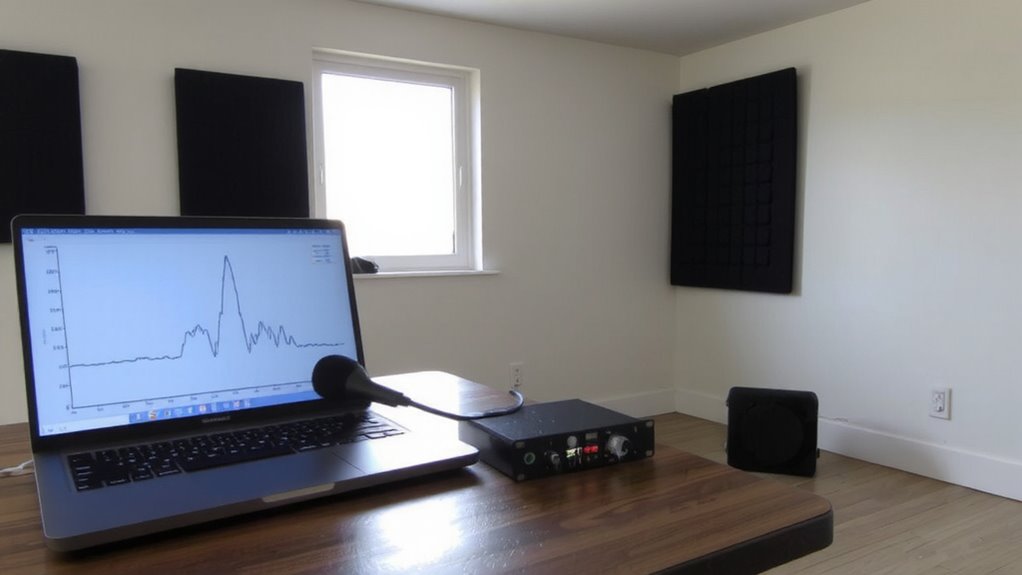
To measure your room’s acoustic response accurately with Room EQ Wizard, you’ll need to set up a proper measurement chain that includes a calibrated microphone and a capable audio interface-but don’t assume the software does all the work. You generate test signals, capture how sound behaves in your space, and REW plots the frequency response so you can spot dips and peaks caused by acoustic interference. Placement matters: keep the mic at ear level and away from walls to reduce early reflections skewing results. Take multiple measurements around your listening position for a representative average. While REW is powerful, it can’t fix flawed hardware-garbage in, garbage out. Calibration files for your mic are essential; without them, readings aren’t trustworthy. Yes, the free version handles most tasks well, but interpreting the data still requires care. Results show real issues, but they’re only as good as your setup and technique.
Find Where Standing Waves Happen in Your Room
Where exactly are those low-frequency trouble spots showing up in your space? Room EQ Wizard helps you pinpoint standing waves by revealing frequency dips and spikes at different listening positions. Move your microphone in a grid pattern-especially near walls, corners, and your desk-and record responses to map problem areas. You’ll likely find bass buildup in room corners and along boundary surfaces, where sound waves reflect and reinforce. These hotspots are prime spots for bass traps, which absorb low-end energy and reduce boominess. Mid and high frequencies tend to bounce between parallel walls, so placing acoustic panels at reflection points improves clarity. But don’t overdo it-adding too many panels or traps can deaden the room. Proper placement matters more than quantity. Use your measurements to target treatment only where needed, balancing absorption with natural room sound. For effective results, consider installing best acoustic panels designed specifically for home office environments.
Prepare Your Room for Accurate Testing
Before you fire up Room EQ Wizard or unbox that measurement mic, make sure your room’s in testing shape-otherwise your data could send you down the wrong tuning path. You need stable, repeatable conditions. Remove clutter, close doors and windows, and turn off HVAC or any noise sources. Room insulation matters-poorly insulated walls can leak sound or let in external noise, skewing results. While you don’t need full treatment yet, avoid moving acoustic panels during testing; their placement should stay consistent to guarantee measurements reflect real-world use.
| Task | Why It Matters |
|---|---|
| Clear surfaces | Reduces unwanted reflections |
| Disable fans/AC | Prevents background noise |
| Check insulation | Minimizes external interference |
| Keep panels in place | Guarantees measurement consistency |
Don’t tweak anything mid-test-wait until analysis. Accuracy now saves headaches later.
Fix Your Speaker Setup Using Measurement Data
What good is a pristine frequency response if your speakers are in the wrong spot? You’ve gathered measurement data-now use it. Move your speakers so first reflections and modal peaks line up with target curves, adjusting position until dips and spikes minimize. Check phase alignment with time-domain graphs; if your left and right speakers don’t reach you in sync, stereo imaging collapses. Small shifts-just inches-can fix timing issues. Use speaker isolation pads to decouple units from desks or stands; this reduces surface vibrations that muddy bass and distort clarity. But don’t expect miracles: isolation helps, but won’t fix poor room geometry. Fine-tune toe-in and distance from walls based on your data, not guesswork. Results? Cleaner mids, tighter imaging, and smoother bass. Still, every room has limits. Even perfect phase alignment can’t override a badly shaped space. Stay realistic-measure, adjust, re-measure.
On a final note
You can effectively map room modes in your home office using Room EQ Wizard-it’s free, accurate, and works with basic gear like a USB mic and calibrated measurement speaker. Results reveal real issues like bass buildup at walls, letting you adjust speaker placement or add absorption. But don’t expect magic: it takes patience, careful setup, and repeat tests. Small rooms have limits, and software alone won’t fix poor acoustics.