How to Reassess Cable Management After a Home Office Relocation
After relocating your home office, unplug all cables and sort them by type-USB-C, HDMI, power-so you can cut setup time by nearly 30% and avoid signal misrouting. Inspect each for fraying or bent connectors, and ditch damaged or duplicate cords to reduce clutter and e-waste. Label every cable clearly and group by device, using Velcro ties or fabric sleeves for neat, adjustable bundling. Route them safely along desk frames with adhesive clips, keeping power and data lines separated and slack in loops for sit-stand movement-there’s more to optimizing your layout efficiently.
Notable Insights
- Unplug all cables before sorting to prevent malfunctions and streamline post-move setup.
- Inspect each cable for damage like fraying or bent connectors to ensure safety and performance.
- Label and group cables by device type and purpose for faster, error-free reconnection.
- Replace twist-ties with Velcro ties and use fabric sleeves to bundle cables neatly and safely.
- Route cables along desk frames with adhesive clips, avoiding sharp bends and floor exposure.
Unplug and Sort Every Cable
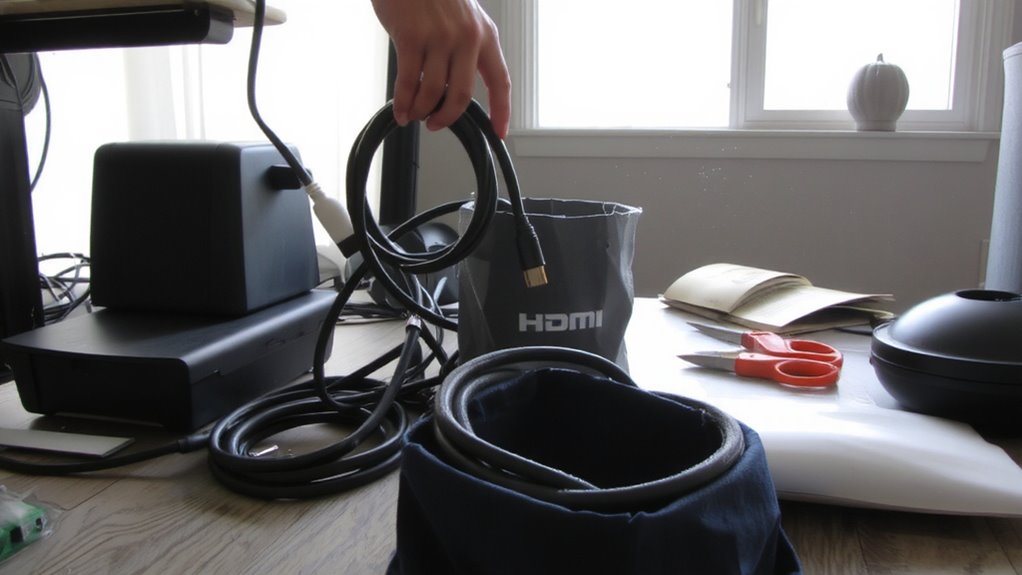
While it might seem faster to plug everything back in as you go, taking time to unplug and sort every cable before reconnecting pays off in fewer headaches later. You’ll spot frayed ends or bent connectors during cable inspection, preventing malfunctions before they disrupt your work. Cord decluttering starts here-grouping cables by device type (USB-C, HDMI, power) and labeling each makes reassembly predictable and clean. Use Velcro ties, not twist-ties, for adjustments without damage. This method cuts setup time by up to 30% compared to reconnecting at random. But it demands space: you’ll need a clear surface large enough to spread cords safely. Accuracy matters-mislabeled cords can misroute signals or overload ports. Some docks or monitors take specific voltages, so check each before reconnection. It’s tedious, yes, but the payoff is reliability. Skip this step, and you’ll likely wrestle with intermittent power or data loss later. For a sleeker setup, consider using a cable management box to conceal and organize excess cords.
Ditch Unused, Broken, or Duplicated Cords
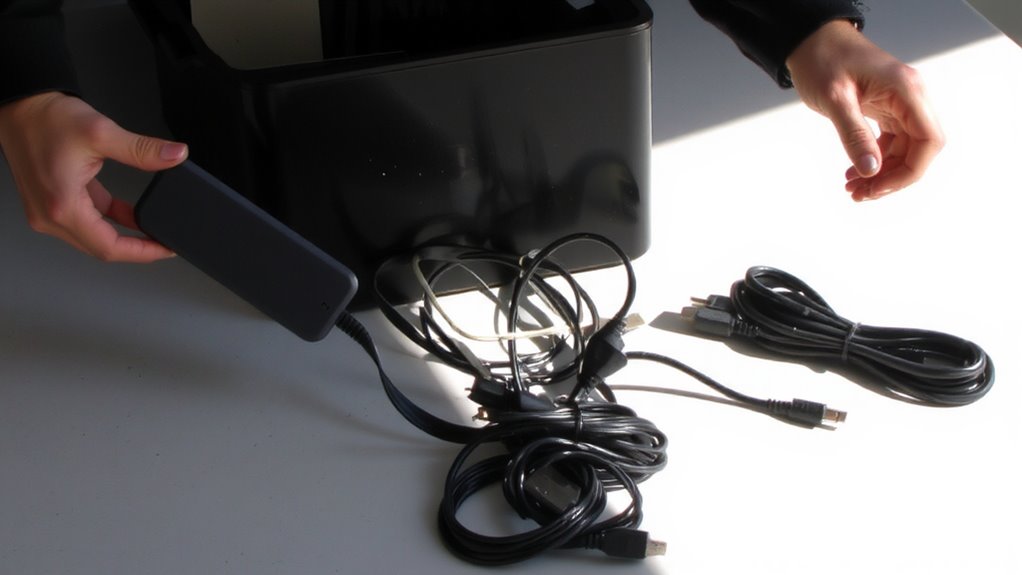
You’ve already sorted your cables by type and labeled each one, so now it’s time to cut the excess. Start with a thorough damage inspection-look for frayed insulation, bent connectors, or exposed wires; these pose risks and should be retired immediately. If a power adapter doesn’t deliver the correct voltage or a USB cable fails charging after multiple tests, ditch it. Duplicate cables? Keep one spare max unless you’re certain you’ll need backups daily. For old or broken ones, don’t toss them in the trash-seek out cable recycling programs to dispose of them responsibly. Many electronics retailers offer take-back bins, preventing e-waste and recovering valuable materials. Be realistic: holding onto cables “just in case” leads to clutter. However, keep cords for actively used devices-even if you think you’re done with a gadget, wait a full billing cycle before scrapping its charger. Consider investing in cable management solutions to maintain a tidy and efficient workspace moving forward.
Label and Group Cables by Device
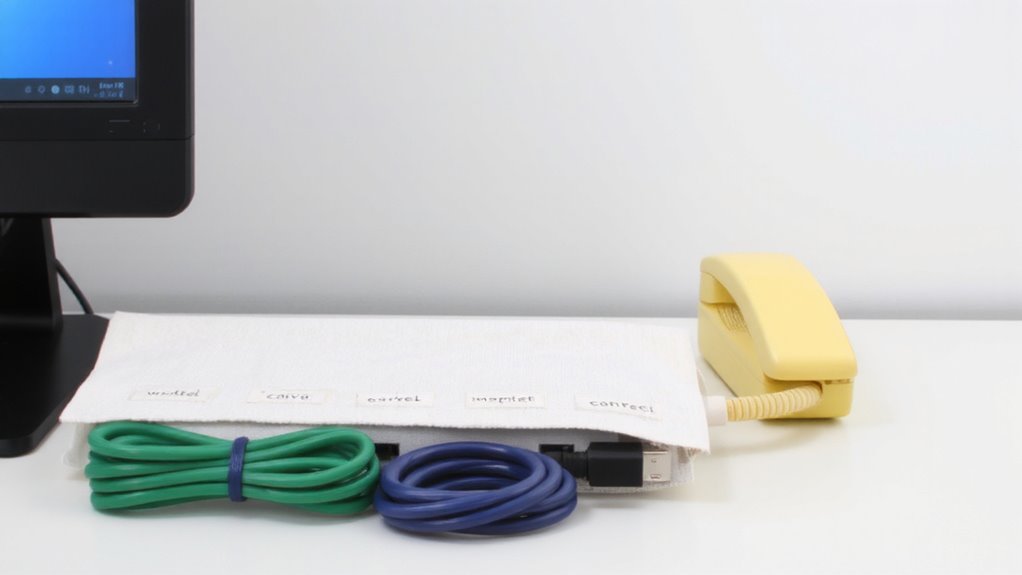
Since every device in your home office relies on specific power and data connections, labeling and grouping cables by their paired device streamlines setup and troubleshooting-start by matching each cord to its gadget, whether it’s a laptop, monitor, docking station, or external drive. Use removable labels or heat-shrink tags to mark each cable clearly; this makes reassembly faster and reduces errors. Color coding helps: assign one hue per device type, like blue for monitors and red for power. That visual cue cuts confusion during changes. Pair this with basic inventory tracking-list each cable type, length, and purpose in a spreadsheet or app. It’s useful when replacing lost cords or upgrading gear. Just avoid overcommitting to permanent labels early; you’ll likely rearrange things. Reliable results come from simple, flexible systems, not complex tools. A well-organized workspace starts with choosing the right Top Cable Management Solutions to maintain order long-term.
Use Sleeves, Clips, and Ties to Bundle Neatly
Cable management sleeves, clips, and ties are the backbone of a clean, functional home office-these tools keep cords grouped and in place, cutting clutter and making access easier. You’ll boost cable aesthetics markedly with fabric sleeves, which look better than exposed wires and resist dust buildup. Opt for high-quality braided nylon sleeves; they offer strong sleeve durability and stretch to accommodate varying cable loads. Velcro ties are reusable and adjust easily, while zip ties provide a tighter hold but can’t be repositioned. Use adhesive clips to anchor bundles along desk edges-3M tape-backed ones hold well on most surfaces but may lift on textured finishes. Avoid over-tightening ties to prevent damaging power or data cables. Though helpful, sleeves can trap heat if fully enclosed, so leave openings for ventilation. These tools aren’t permanent fixes but smart, low-cost upgrades that support better long-term organization.
Route Cables Safely Around Your Desk
While a tidy desk starts with proper bundling, routing cables safely around your workspace is what ensures both durability and daily convenience. Good cable routing keeps wires off the floor and away from high-traffic paths, reducing tripping hazards and wear over time. For desk safety, use adhesive cable clips or under-desk trays to guide cords along the frame, not dangling at the edges where they can snag. Avoid sharp bends-maintain gentle curves to prevent internal wire damage, especially with thicker power or HDMI cables. If you have a sit-stand desk, leave some slack in loops to avoid tension during movement. Metal desk grommets protect insulation better than plastic ones, but ensure edges are smoothed to prevent abrasion. Cable routing isn’t just about looks; it’s a functional habit that prevents accidents and extends gear life.
Test Connections and Tidy for Good
You’ve routed the cables cleanly and secured them out of harm’s way-now it’s time to make sure everything actually works as intended. Plug in each device and test connections one by one, checking for stable signal strength and reliable power efficiency. Wi-Fi extenders or Ethernet cables should deliver consistent speeds, ideally above 75 Mbps for smooth video calls. Inspect power strips for overload warnings-daisy-chaining can reduce efficiency and create fire risks. Trim excess cable with velcro ties, but leave slack for desk adjustments. Avoid over-tightening, which can damage internal wiring and degrade performance. Label each cord for quick troubleshooting. While modular power cables and braided sleeves look sharp, they don’t improve function-prioritize clean layout over aesthetics. Retest after a 24-hour run to catch intermittent drops. A tidy setup helps, but only if reliability stays high.
On a final note
You’ve streamlined your setup, but don’t assume it’s perfect-test every connection under real workloads to catch intermittent issues. Cable sleeves cut clutter, yet tight bundling can strain ports; leave slack near ends. Labels help, but only if you update them later. Desk grommets improve routing, but sharp edges still risk fraying. A tidy office boosts focus, though over-organizing can make swaps harder. Balance neatness with access-your future self will need to unplug things fast.