Installing a Wall-Mounted Monitor Arm to Free Up Desk Space in a Compact Office
Mounting a monitor arm frees up desk space and improves ergonomics, but only if done right. Pick an arm that matches your monitor’s size, weight, and VESA pattern-most fit 17–27″, 4–22 lbs. Secure it into wall studs using lag bolts or heavy-duty toggle anchors if studs aren’t available. Use a metal arm from brands like Ergotron for durability and smoother motion. Position the screen at eye level, route cables through the arm, and you’ll see exactly how much better your workspace can function.
Notable Insights
- Mounting a monitor arm on the wall frees up significant desk space in compact offices.
- Ensure wall studs or heavy-duty anchors support the arm to handle the monitor’s weight safely.
- Choose an arm compatible with your monitor’s size, weight, and VESA pattern for secure installation.
- Use cable management features on the arm to route cords neatly and reduce visual clutter.
- Position the monitor at eye level and 20–30 inches away to maintain ergonomic comfort.
Free Up Desk Space in Small Offices
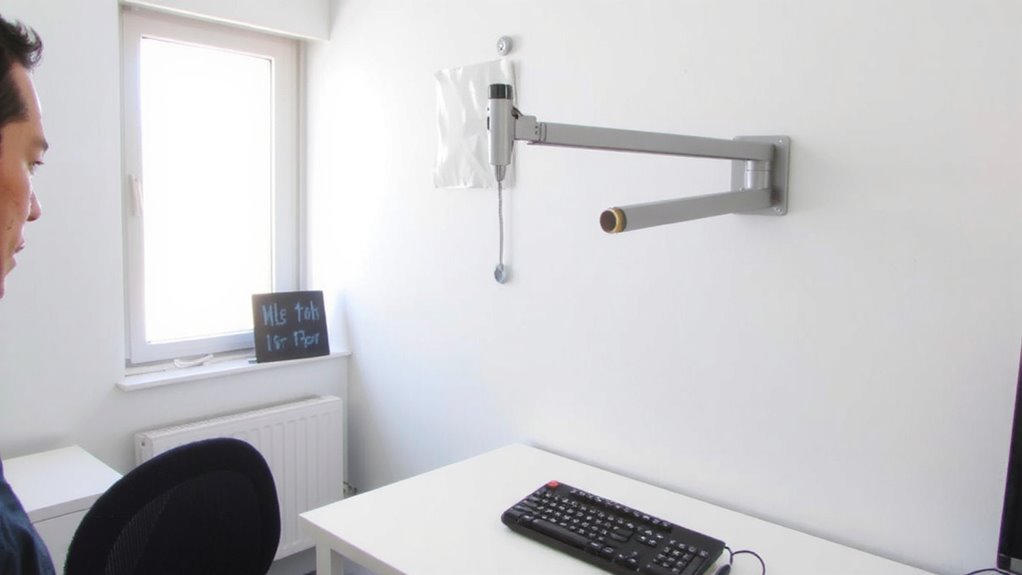
Maximizing a cramped workspace starts with rethinking where your gear lives-and mounting your monitor can instantly reclaim valuable desk real estate. You’ll gain space for peripherals, notes, or just breathing room, especially in compact setups. A wall-mounted monitor arm boosts cable management by routing cords along the arm or through wall plates, reducing clutter. It also supports ergonomic positioning: adjust height, tilt, and swivel to align your screen at eye level, reducing neck strain. Most arms hold 17–27-inch displays, supporting up to 17 lbs-check your monitor’s VESA pattern (usually 75×75 or 100×100 mm). Solid builds offer gas-spring or counterbalance mechanisms for smooth movement. But remember: mounting limits flexibility if you frequently reposition your desk. Also, poor installation risks wall damage. Choose sturdy hardware and follow torque specs. Real-world testing shows durability, but warranties vary-aim for at least 5 years.
Check Your Wall Type and Tools First
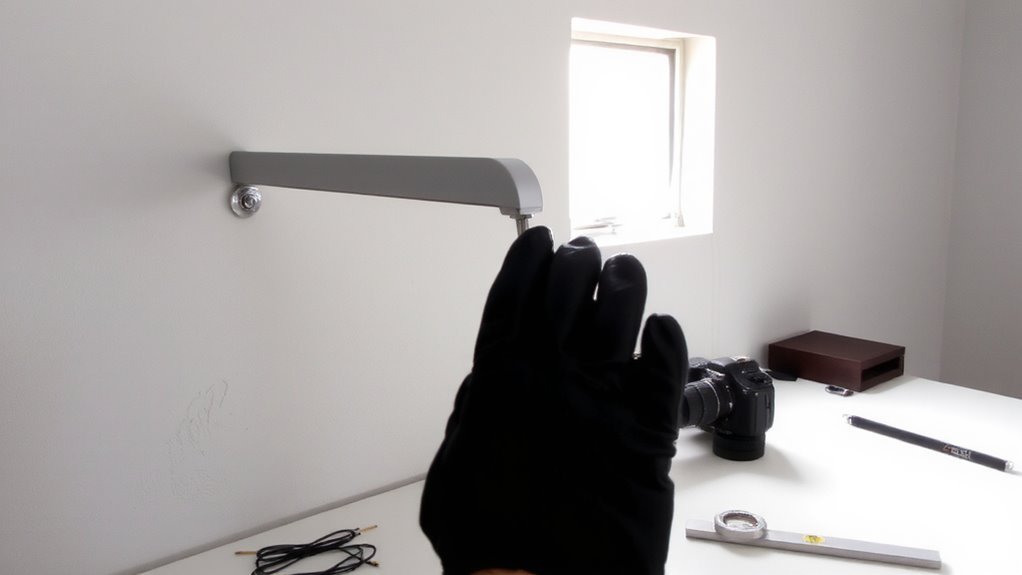
Before grabbing your drill, know your wall-most monitor arms need studs or solid backing, and drywall alone won’t cut it. If you’re mounting on drywall without a stud, you’ll need heavy-duty wall anchors rated for the monitor’s weight, typically 15–25 lbs. Check your wall type: solid brick, concrete, or wood studs can handle power drilling with the right bits, but hollow walls require extra care. For power drilling, use a corded drill for consistent torque and match the bit to your wall-masonry bits for brick, spade bits for wood. Never exceed the anchor’s weight limit, and test stability by gently tugging post-install. Some anchors fail under constant vibration, so stud mounting is always safer. You’ll trade ease for security: anchors save effort but weaken over time. Always verify stud placement with a stud finder first-skip this, and even top-tier hardware risks collapse.
Choose a Wall-Mounted Monitor Arm That Fits
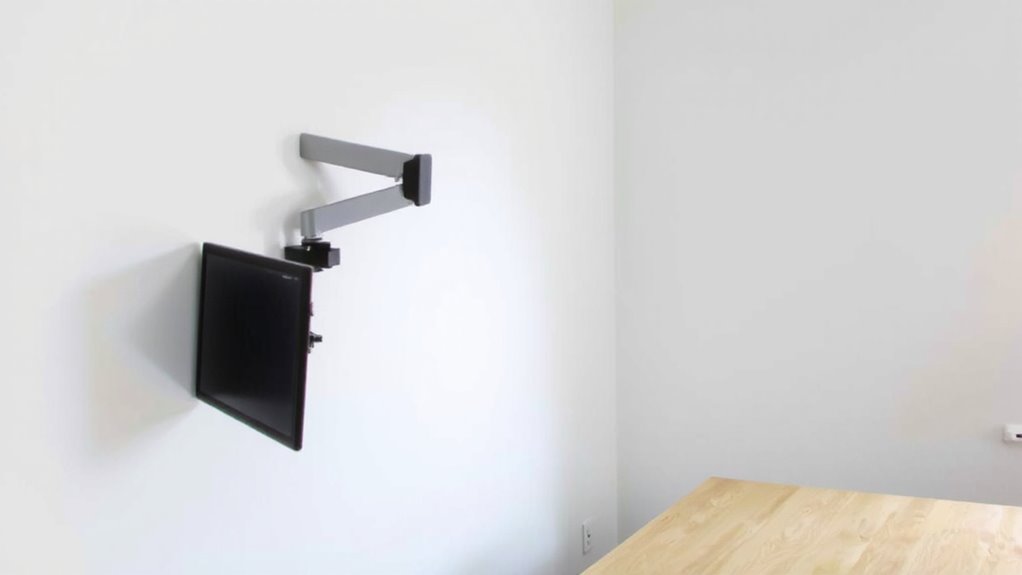
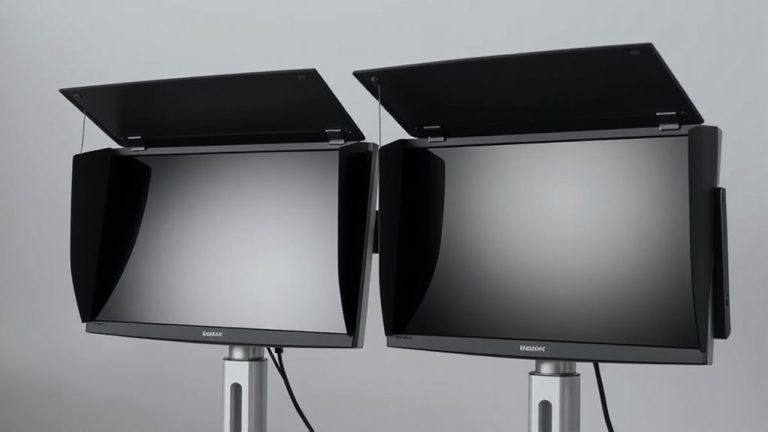
Your monitor arm isn’t just an accessory-it’s the backbone of your setup’s comfort and flexibility, so pick one that matches your screen size, weight, and wall structure. You’ll need a model rated for your monitor’s VESA pattern and weight-most arms support 17–32″, 4–22 lbs. Look for smooth movement and strong gas-spring mechanisms to maintain ergonomic positioning without drift. A dual-arm setup works well if you use two screens, offering balanced adjustability. Built-in cable management keeps wires hidden and reduces clutter, but don’t rely on it entirely-some systems only route cords partially. Metal arms last longer than plastic, and brands like Ergotron or AmazonBasics offer solid warranties (3–5 years). Wall anchors matter: wood studs provide the best hold; for drywall, use toggle bolts. Cheaper arms may sag over time, so invest wisely if you’ll use it daily. A high-quality product roundup can help you compare top-rated models based on real-world performance and user feedback.
Install Your Wall-Mounted Monitor Arm Step-by-Step
You’ll want to get the installation right the first time-doing it wrong can lead to an unstable monitor, wall damage, or even a safety hazard. Start by locating wall studs using a reliable stud finder; securing the mount to studs guarantees mounting stability and prevents pullout under daily use. Attach the mounting plate with the included lag bolts, guaranteeing it’s level. Misalignment stresses joints and worsens cable alignment over time. Most arms use a VESA pattern-confirm yours matches your monitor’s 75x75mm or 100x100mm grid. Tighten all screws firmly, but don’t overtighten plastic inserts. If your wall’s material lacks studs where you want the arm, use heavy-duty toggle anchors rated for the load, though this may reduce long-term stability. Always check manufacturer specs for weight limits and warranty conditions-exceeding them voids coverage. Test the mount’s hold before attaching the monitor.
Adjust and Tidy Your Wall-Mounted Setup
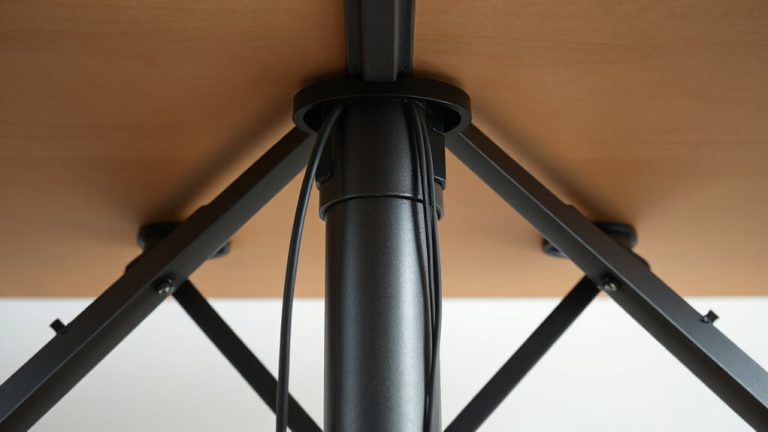
Now that the mount is secure and tested, it’s time to fine-tune positioning and manage cables for a clean, functional workspace. Adjust the monitor positioning so the top of the screen sits at or slightly below eye level, about 20–30 inches from your face-this reduces neck strain and improves posture. Use the arm’s range of motion to tilt, swivel, or pull the display forward when needed. For cable management, route power, video, and USB lines through the arm’s built-in channels or attach adhesive clips to reduce clutter. Keep slack minimal but allow enough movement to pull the monitor forward. A poorly routed cable can limit motion or damage ports. Mounts with internal cable covers look neater but may require extra patience during setup. Effective cable management and precise monitor positioning improve usability but demand a few careful minutes-skip it, and you’ll pay for it in frustration later. Consider using a cable management sleeve to bundle and conceal cords neatly along the arm and wall.
On a final note
You’ll free up valuable desk space and gain better ergonomics with a wall-mounted monitor arm. Rigid arms like the Ergotron LX offer smooth adjustability and hold monitors up to 25 lbs securely. Just make certain your wall is stud-framed-drywall anchors alone can fail. Installation takes under 30 minutes with a level and drill. Watch cable management; built-in clips help, but longer runs need sleeves. It’s a smart upgrade if your setup allows mounting at eye level and you’re okay with permanent wall changes.