How to Route Power and Data Cables Through a Sit-Stand Desk Frame Efficiently
Run power and data cables through the built-in channels in your desk’s crossbars to keep them secure and out of the way. Map all devices first-monitor, laptop, dock-to avoid overloading circuits or using incompatible cords. Use strain reliefs at bends and maintain a 1.5-inch radius to protect wires during adjustments. Test the full height range several times to catch snags before finalizing ties. Secure lines with adhesive clips or nylon sleeves for clean movement. Trim excess length, but confirm reach at max height. You’ll find ideal cable paths with a few test cycles.
Notable Insights
- Use built-in cable channels in desk frames to route power and data cables along crossbars safely.
- Map all devices and cables to identify necessary cords, lengths, and connection types before routing.
- Protect cables from pinching by avoiding sharp bends and using loom or strain reliefs at stress points.
- Test full desk height adjustments multiple times to check for snags, tension, or movement interference.
- Secure cables with clips or sleeves, ensuring slack for motion while maintaining a clean, organized setup.
Find Built-In Cable Channels in Your Desk Frame
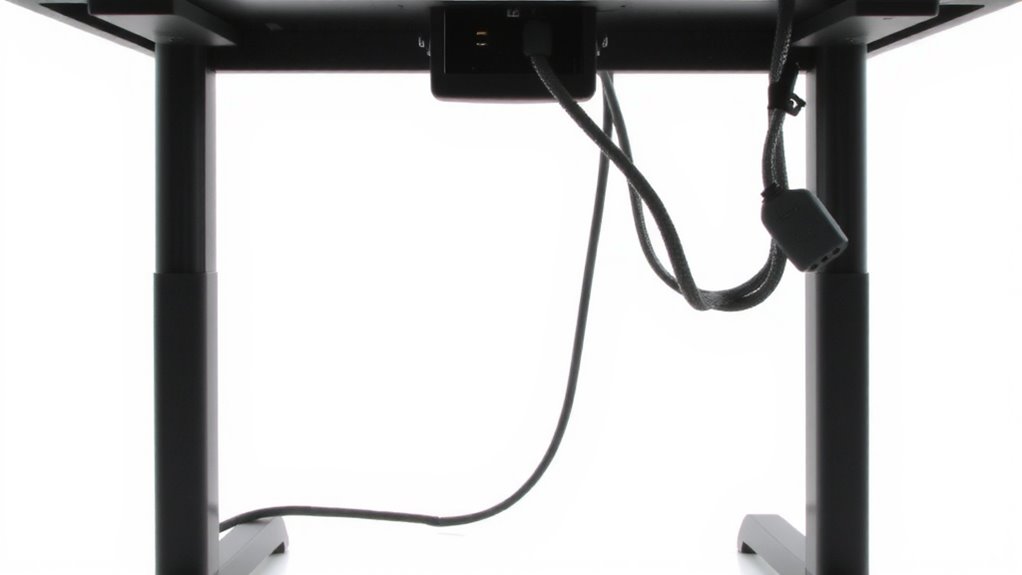
Most sit-stand desk frames come with built-in cable channels-typically recessed grooves or enclosed raceways along the crossbars-that make routing power and data cables straightforward and clean. You’ll find cable compartments tucked into the horizontal supports, designed to hide cords without limiting movement. These internal pathways keep wires organized and reduce tripping hazards, especially as the desk adjusts up and down. Look for models where the channels run the full length of the crossbars, giving you flexibility to route cords where you need them. Some frames even include clip-on covers to secure cables in place. However, not all compartments are wide enough for bulky power strips or thick USB hubs-measure your cables first. If your frame lacks full internal pathways, you might need adhesive clips or external sleeves. While integrated systems improve aesthetics, they can complicate reconfigurations later-plan your layout early to avoid frustration. For optimal results, consider pairing your desk’s built-in channels with a cable management solution designed for professional office environments.
Map Your Devices and Cables Before Installation
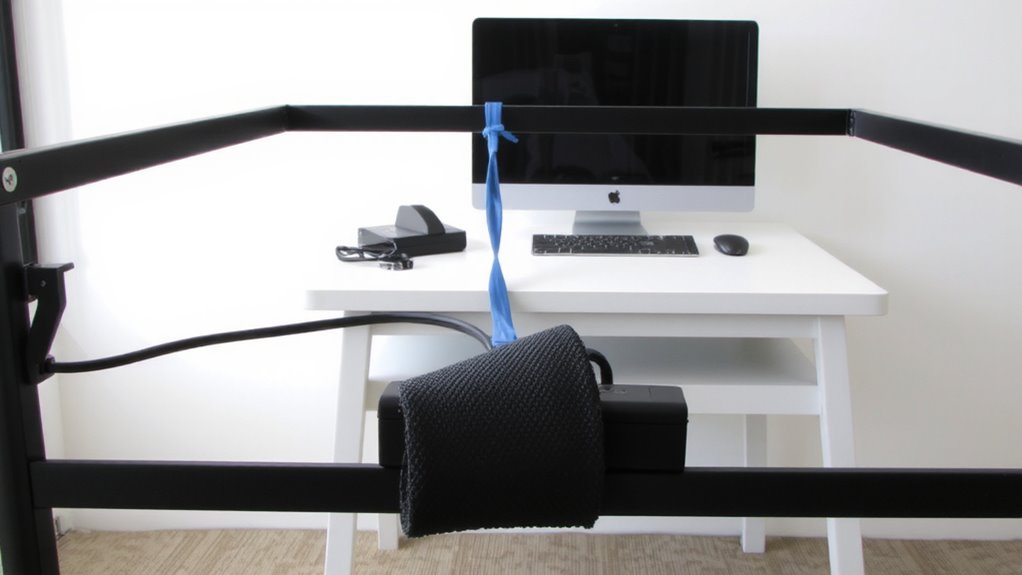
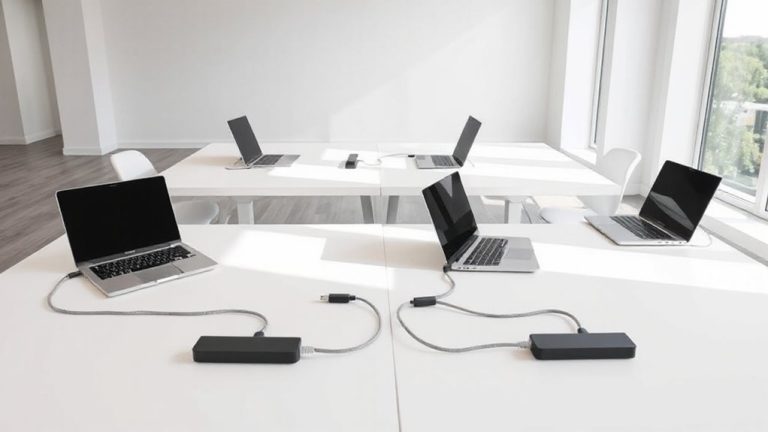
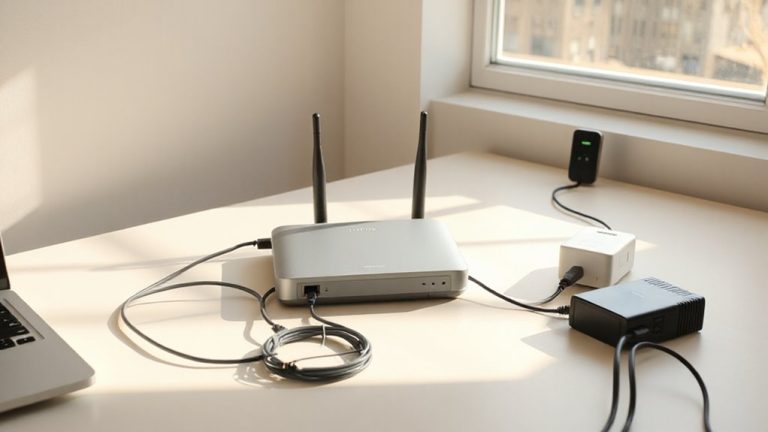
You’ve checked the frame for built-in cable channels, but before you start threading any wires, take time to map out every device and its power or data requirements. Effective device mapping helps you identify exactly what you’re connecting-monitor, laptop, docking station, lamp, or USB peripherals-so you can plan access and avoid clutter. Create a cable inventory to list each cable’s type, length, and connection standard, like USB-C, HDMI, or IEC C13. This step reveals redundancies, such as outdated chargers, and flags needs like extension cords or adapters. It also prevents overloading power strips, which could trip breakers or void warranties. Being thorough now saves time later, but don’t assume all solutions are permanent-your setup may change. Be realistic about cable slack and strain; tight bends near motors can lead to damage during height adjustments. A well-organized workspace starts with selecting the right cable management solutions for your desk’s design and usage needs.
Route Cables Through the Frame Safely
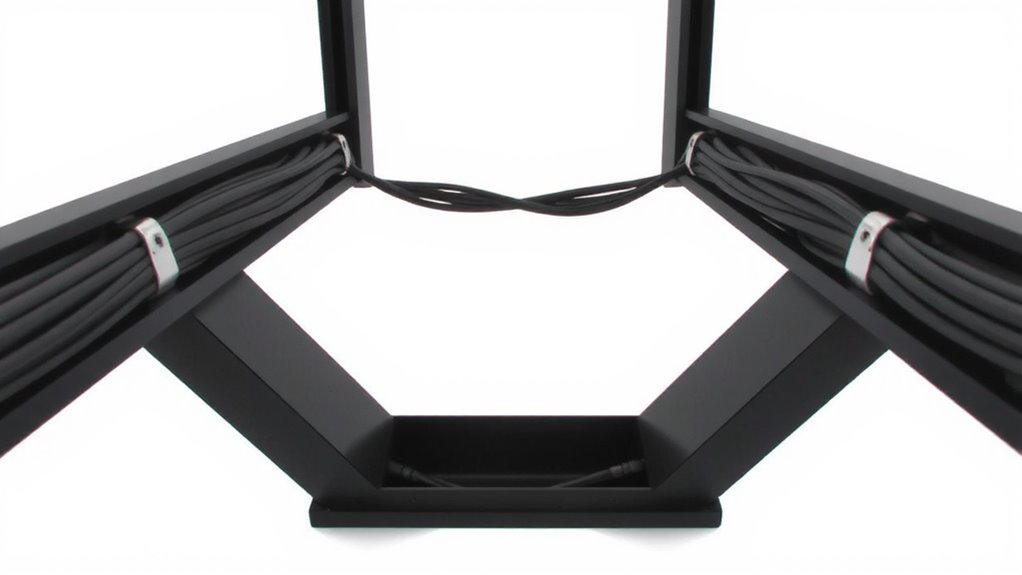
Think about how often you’ll adjust your desk height-each movement puts stress on cables, so routing them through the frame properly isn’t just neat, it’s essential for safety and longevity. You need to protect cable insulation from pinching or abrasion where wires pass through metal frame openings; even minor damage can expose conductors over time. Use included strain reliefs or nylon loom to cushion bends. Match wire gauge to load: undersized cables overheat, especially with high-draw devices like desktop monitors or heaters. For most setups, 16–18 AWG power cords are safe, but verify device requirements. Avoid sharp angles-maintain a minimum bend radius of 1.5 inches. Don’t let cables dangle into moving joints; secure them just outside articulating zones. Even durable sheathing won’t survive constant friction. Regular inspection helps catch wear early, but proper routing from the start prevents 90% of issues. A clutter-free setup is easier to maintain and reduces tripping hazards, especially with the help of effective cable hiding options.
Test the Desk’s Movement Before Securing Wires
How well do your cables handle movement? Before finalizing your setup, test the desk’s full range of motion. Raise and lower it slowly, watching how the cables stretch, bend, or snag. Poor cable management can compromise desk stability, causing jerky motion or motor strain. More importantly, repeated stress might damage insulation, creating an electrical safety hazard. Use this test to identify tight spots or friction points where wires rub against the frame. Adjust routes as needed-ensure power and data cables have slack but not so much that they tangle. Don’t secure any wires permanently until you’ve cycled the desk at least five times. Real-world movement often reveals issues static checks miss. This step isn’t about perfection; it’s about safety and longevity. Skip it, and you risk performance problems or dangerous faults down the line.
Hide Wires Neatly With Clips or Sleeve Bundles
Now that you’ve confirmed the cables move freely without strain or interference, it’s time to clean up the setup by securing them neatly. Proper cable management isn’t just about looks-it improves safety and function. Use adhesive-backed clips to anchor power and data cables along the desk frame, keeping them aligned during升降 (raise/lower cycles). For a sleeker look, group wires with nylon sleeve bundles; they’re flexible and handle repetitive movement better than rigid conduits. Wire organization with sleeves also allows easy access if you need to replace a cable later. Most clips and sleeves cost under $15, with reputable brands offering 1–3-year warranties. Avoid over-tightening, which can compress delicate USB or Ethernet lines. While clips are simpler, sleeves offer better durability over time-but both require rechecking every few months. Done right, your solution should last years without snagging or fraying.
Trim Excess Cable to Avoid Strain
A few inches of extra cable can save you from unexpected reach issues when adjusting your sit-stand desk, but too much slack increases strain and clutter. Trimming excess length helps with cable length optimization and supports effective strain prevention. You reduce stress on connectors and ports, especially during repeated height changes. However, cut too short and you’ll limit flexibility or risk disconnections. Always test cable reach at both the highest and lowest desk positions before trimming. Use precision wire cutters for clean cuts, and consider keeping a spare cable on hand in case measurements were off. Avoid shortening manufacturer-proprietary cables unless replacements are easily available. Some premium desks include modular power solutions that eliminate excess entirely. Trimming works best with standard USB-C, Ethernet, or power cords you can replace cheaply. Done right, it reduces fatigue on components and keeps your setup clean without compromising function.
On a final note
You should route cables through your sit-stand desk frame-it keeps things clean and protects wires from pinching. Use built-in channels and clips to guide power and data lines securely from floor to desktop. Always leave a little slack so cables aren’t strained when the desk moves. Avoid over-tightening ties, and double-check movement across the full height range. Some frames have tight turns, so test bends with thicker power bricks first. Cut excess only after confirming fit.