Measuring Ideal Desk Height Relative to Elbow Flexion for Typing Tasks
Set your desk height so your elbows bend at 90 degrees when typing, with forearms level to the floor and shoulders relaxed. Measure from the floor to your elbows while seated, arms at your sides, then adjust your desk to match. If your desk isn’t adjustable, consider risers or an upgrade-but guarantee stability. Pair this with a chair that supports proper hip and thigh alignment. You’ll reduce strain considerably, though fine-tuning may take a few days based on your body and setup. Small changes can reveal even greater comfort.
Notable Insights
- Measure elbow height from the floor while seated with arms at your sides to determine ideal desk height.
- Adjust desk height so elbows form a 90-degree angle when resting on the desk surface.
- Maintain level forearms and relaxed shoulders to reduce muscle strain during typing.
- Position keyboard close enough to prevent overreaching and maintain neutral wrist alignment.
- Use an adjustable desk or add risers to achieve proper height if standard desks are too low.
Measure Your Elbow Height for Proper Desk Setup
While getting your desk height right might seem minor, measuring your elbow height is actually the most reliable starting point for an ergonomic setup. Sit in your chair with arms relaxed at your sides, then measure from the floor to your elbows-they should be at roughly 90 degrees when resting on the desk. This guarantees proper shoulder positioning, reducing tension in your upper back and neck. Your wrists should stay neutral during typing, supporting healthy wrist alignment. If your elbows sit too high or low, you’ll likely develop strain, even with an expensive chair or keyboard tray. Adjustable desks make this easier, but fixed-height models require careful matching to your body. Results vary by frame size, so test adjustments over a full workday. There’s no universal ideal height-yours depends on your build, chair, and posture habits. For optimal flexibility and long-term comfort, consider investing in best standing desks that allow smooth transitions between sitting and standing positions.
Why a 90-Degree Elbow Bend Prevents Strain
Because maintaining a 90-degree elbow bend keeps your shoulders relaxed and your forearms level with the floor, it helps prevent muscle fatigue and joint strain during long typing sessions. This angle supports natural joint stability, reducing stress on tendons and ligaments around the elbow. With your arms at 90 degrees, muscle relaxation improves, minimizing tension buildup in the upper arms and shoulders. You’ll type more efficiently, with less risk of overuse injuries like tendinitis or carpal tunnel over time. However, exact positioning depends on your chair height, desk thickness, and keyboard placement-small deviations matter. If your elbows bend too sharply or open too wide, you lose ideal alignment. While sit-stand desks can help fine-tune this setup, not all models offer smooth adjustability. Stick to tested height ranges and reassess when switching chairs or keyboards. The benefit is clear, but small mismatches can still lead to discomfort. A key factor in achieving proper elbow alignment is selecting a chair that supports optimal seated posture, such as one of the top backless chairs for comfort and style.
See the Ideal Typing Posture in Real Life
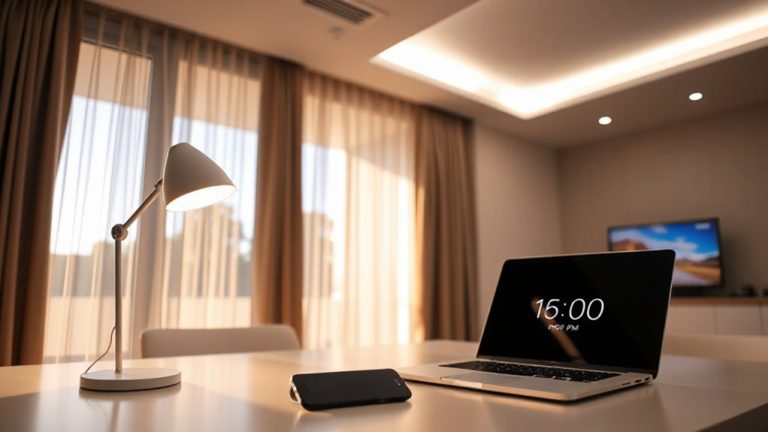
You get the best results when you combine proper elbow angle with full-body posture-so picture yourself seated with feet flat, thighs horizontal, and your keyboard at a height where your elbows stay close to 90 degrees. Your forearms should slope slightly downward to the keyboard, wrists straight, and shoulders relaxed. Set your monitor distance at about an arm’s length, top line at or just below eye level, reducing neck strain. Use ergonomic lighting that minimizes glare and shadows without washing out the screen-adjustable LED task lights work well but avoid overly bright settings. A fixed desk may limit adjustments, so measure carefully before setup. Real-world testing shows even minor height mismatches increase fatigue over time. While sit-stand desks offer flexibility, they’re not essential. The key is consistency: small, correctable misalignments matter more than gear quality.
Fix Desk Height When It’s Too High or Low
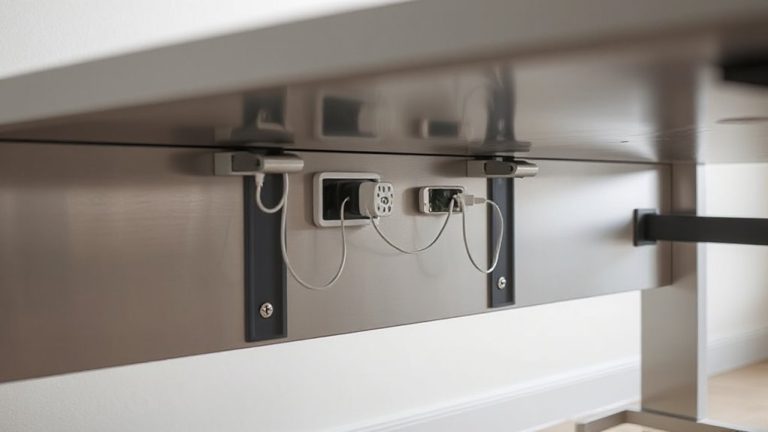
If your desk’s too high or too low, fixing it becomes essential to maintain proper typing posture and avoid long-term strain. Start by adjusting the desk height so your elbows rest at 90 degrees when typing. If adjustments aren’t possible, consider upgrading to an adjustable-height desk-many modern frames offer smooth electric motors and reliable warranties, though sturdiness can vary by desk materials. Solid desktops like MDF or solid wood resist flexing better than particleboard. For permanent setups, retrofitting legs or risers can help, but make certain they don’t compromise stability. Good cable management systems-such as grommet holes or under-desk trays-keep wires organized and maintain a clean workspace. Be careful with DIY fixes; they might improve height but disrupt ergonomics or aesthetics. Test changes over a full workday to assess comfort and functionality. Balance cost, durability, and space when deciding. Top models often feature stand-sit desk lifts with precision height adjustment for seamless transitions.
Adjust Chair and Keyboard to Support Elbow Flexion
While achieving the ideal desk height sets the foundation, fine-tuning your chair and keyboard position is just as critical to maintain a 90-degree elbow flexion during typing. Adjust your chair height so your elbows bend at 90 degrees when wrists hover over the keyboard-this guarantees proper forearm alignment and reduces shoulder strain. Position the keyboard close enough to prevent reaching, which can disrupt alignment and compromise wrist support. If your chair doesn’t allow precise height control, consider one with at least 3 inches of adjustment range and a breathable mesh back for long-term use. Avoid thick wrist rests that encourage resting while typing; they may feel comfortable short-term but often lead to overextension over hours. Instead, keep wrists neutral and supported by proper forearm alignment. Keyboard tilt matters too-use adjustable legs to set a slight negative tilt, promoting a straight wrist line and reducing carpal tunnel pressure.
Stop These Posture Mistakes That Break 90-Degree Alignment
How often do slouched shoulders or a cricked neck sneak into your workday without you noticing? These posture mistakes disrupt the 90-degree alignment your body needs and increase shoulder elevation, leading to fatigue and strain. When your desk is too high, you’re forced to raise your shoulders, which compromises comfort and long-term joint health. If it’s too low, your wrist angle bends unnaturally, raising the risk of repetitive strain. Keeping elbows at 90 degrees only works if your chair, desk, and keyboard tray are adjusted together. A wrist rest can help maintain a neutral wrist angle, but it shouldn’t bear weight during typing. Monitor height matters too-top line at or slightly below eye level reduces neck strain. These fixes aren’t foolproof; improper setup can worsen alignment. Test adjustments over full workdays and tweak as needed for sustained, realistic comfort.
On a final note
You’ll type more comfortably when your desk keeps elbows at 90 degrees, forearms level with the floor. This alignment reduces shoulder and wrist strain over long sessions. Use an adjustable chair or desk riser to fine-tune height-solid steel frames last longer than plastic. But if your space is tight, even a sturdy footrest can help balance posture. No setup fits all, so test small changes weekly. Results vary based on keyboard thickness and monitor position.