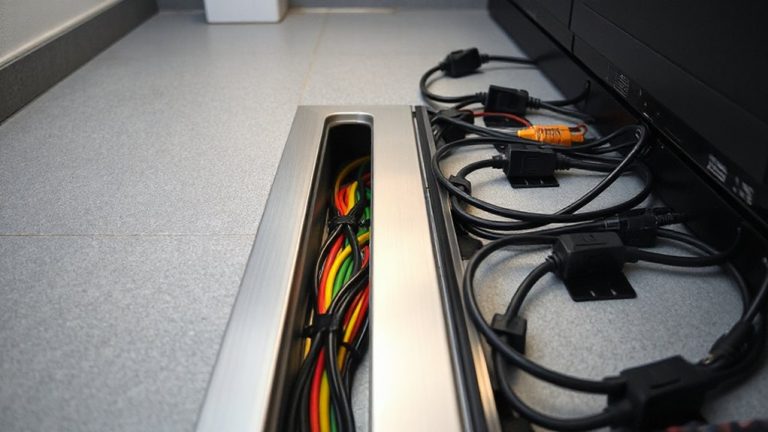
Mounting a Cable Management Arm to Support Heavy Monitor Connections
Choose a steel-reinforced, dual-stage cable management arm with gas springs-rated for at least 30 lbs-to reliably support heavy monitor connections. Mount it centered on a wall stud or through-bolted desk setup to prevent failure, avoiding drywall anchors. Route power, HDMI, and USB-C through internal channels using flexible nylon wraps to prevent kinking. Test full motion with cables loaded, checking for drift or strain; improper alignment or overfilling can limit movement. Look for models with 5-year warranties and verified long-term stability-results vary by build quality.
Notable Insights
- Choose a steel-reinforced cable management arm rated for 17–30 lb loads to support heavy monitor setups securely.
- Mount the arm to a wall stud or use through-bolts for stable desk attachment to prevent failure under heavy loads.
- Ensure VESA compatibility and use all included hardware to securely attach the arm to the monitor mount.
- Route cables straight from the monitor to the arm, avoiding sharp bends that strain connections and impair function.
- Test full arm movement after installation, checking for smooth motion, stability, and proper balance with all cables connected.
Choose the Best Cable Management Arm for Your Monitor
A good cable management arm keeps your monitor setup clean and functional, but not all arms deliver the same results. You need one that balances cable flexibility and arm durability, especially if you’re supporting heavy monitors. Look for arms with internal channels that let you route power, HDMI, and USB-C cables smoothly-flexible nylon braiding or spiral wraps help prevent kinks during adjustments. Steel-reinforced arms handle 17–30 lb well and often come with 5-year warranties, while aluminum ones save weight but may flex slightly under max load. Real-world tests show dual-stage arms with gas springs hold position better over time. Avoid plastic joints-they wear down after six months of frequent use. Mounting plate thickness matters too; 3mm steel resists wobble. Always check VESA compatibility and cable exit points to avoid pinching. Even the best arm fails with poor cable choices, so pair it with low-friction cabling. For optimal workspace ergonomics, consider pairing your setup with one of the best standing desks for your workspace.
Find the Right Mounting Spot for Your Cable Management Arm
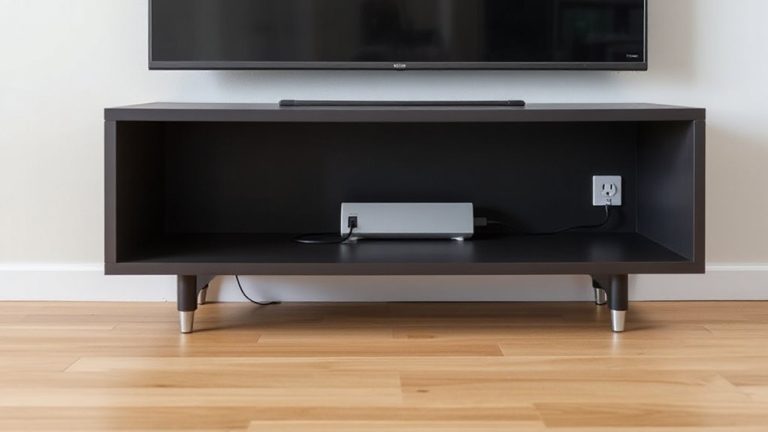
Choosing the right spot to mount your cable management arm isn’t just about looks-it directly affects function and long-term stability. Proper wall placement guarantees secure support for heavy monitor setups, while good cable alignment reduces strain and improves movement. You’ll want firm structural contact, like a stud or solid panel, especially with heavier displays. Avoid weak drywall-only fixes-they won’t last. A well-organized setup starts with effective cable management solutions that keep cords secure and out of sight.
| Factor | Ideal | Not Recommended |
|---|---|---|
| Wall placement | Centered on stud | Between studs, no anchor |
| Cable alignment | Straight to monitor port | Sharp bends near arm joint |
| Access | Open behind-wall routing | Tight space with no reach |
Misaligning cables or choosing a weak spot risks wear, wobbling, or failure. Always test fit before final tightening. Mount too high or low, and you’ll fight ergonomics later.
Attach the Cable Management Arm to Your Mount or Desk
Now that you’ve picked a solid mounting location aligned with your monitor’s position and structural support, it’s time to secure the cable management arm to your mount or desk. Use all provided screws and brackets-skipping any risks wobbling or failure under cable tension. If attaching to a monitor arm, confirm compatibility with VESA standards and double-check arm alignment before tightening. Misalignment strains joints and limits range of motion. For desk mounts, clamp models work well on edges 1.5 to 3 inches thick; through-bolt versions offer more stability but require drilling. Tighten gradually, checking alignment as you go. Overtightening can strip threads or dent surfaces. Test stability with light pressure before routing cables. Remember, even durable arms fail if poorly mounted. Most brands offer 1- to 5-year warranties, but misuse voids coverage. A secure base guarantees long-term function and reduces stress on connected devices.
Route Cables Without Tangling or Strain
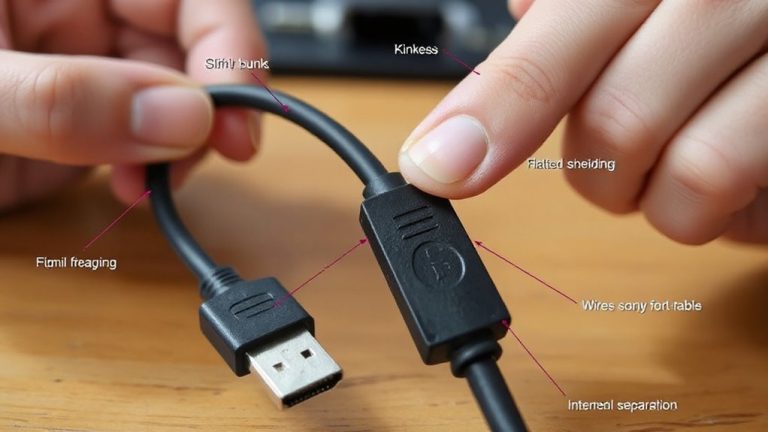
Smooth, tangle-free cable routing starts with a clear plan-you’ll want to group cables by type and length before clipping them into the management arm’s channels. Use cable labeling to identify each line quickly, especially when troubleshooting HDMI, USB, or power connections later. Proper strain relief is essential; secure cables at both ends so movement doesn’t stress connectors or ports. Don’t overfill the arm’s channels-this can restrict motion and pinch wires. Leave a little slack, but not so much that loops form and snag. Routing too tightly may damage insulation over time, while loose runs defeat the purpose of clean management. Keep high-frequency cables separated from power lines where possible to reduce interference. While most arms handle standard loads, bulky or stiff cables may limit flexibility. Real-world use shows labeled, well-relieved setups last longer and perform better, especially with frequent adjustments. For optimal results, consider integrating one of the top cable management solutions designed specifically for clean office organization.
Test the Arm for Smooth, Stable Movement
You’ve routed the cables neatly and secured them with proper strain relief, so the next step is checking how well the arm moves. Gently lift and lower the arm through its full range-you should feel smooth motion without jerking or dropping. Pay attention to pivot resistance; too little and the monitor won’t stay in place, too much and it’s hard to adjust. The added cable weight from power, video, and USB lines can drag on the arm, especially with longer runs or thicker jackets, so verify movement under real load. Test tilt, swivel, and extension repeatedly to check for wobble or uneven balance. If the arm stiffens over time, inspect pivot points for over-tightened joints or debris. Most quality arms allow resistance tuning, but over-adjusting may void the warranty. Always refer to the manufacturer’s torque specs and weight limits-exceeding them risks instability or mount failure.
On a final note
You’ll get solid cable control with the right management arm, especially one rated for at least 5 lbs to handle thick power and data cables. Secure it to a VESA-compatible mount or desk using the included hardware-steel brackets beat plastic for long-term stability. Route cables through each segment to prevent snagging, and test full monitor movement. Some arms bind after repeated adjustments, so check pivot smoothness monthly. Warranties vary, but 1-year coverage is standard.