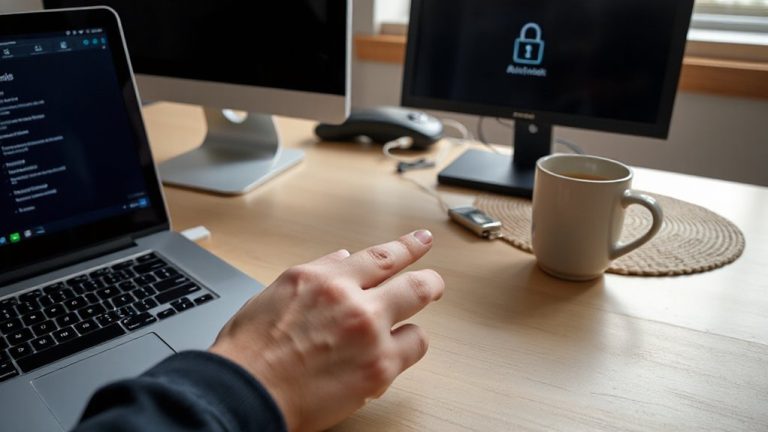
How to Inspect HDMI Cables for Internal Damage Without Special Tools
Check your HDMI cable ends for bent pins or frayed insulation-common culprits for signal drops, especially with 4K or HDR. Test it across different devices and ports; if problems follow the cable, internal damage is likely. Run your fingers along its length to find kinks or soft spots that suggest broken wires. Rule out display or source issues first by swapping ports and rebooting devices. A cable may look fine but still fail internally-reliable performance across setups is the real test.
Notable Insights
- Check both ends of the cable for bent or damaged pins and frayed insulation near the connectors.
- Gently run fingers along the cable to detect kinks, soft spots, or uneven texture indicating internal damage.
- Test the cable across multiple devices and ports to identify inconsistent performance like flickering or dropouts.
- Look for wobbling connectors or loose ends, which may signal cracked solder joints or internal separation.
- Eliminate source and display issues first by swapping ports and devices before concluding cable damage.
Check Your HDMI Cable Connectors for Damage
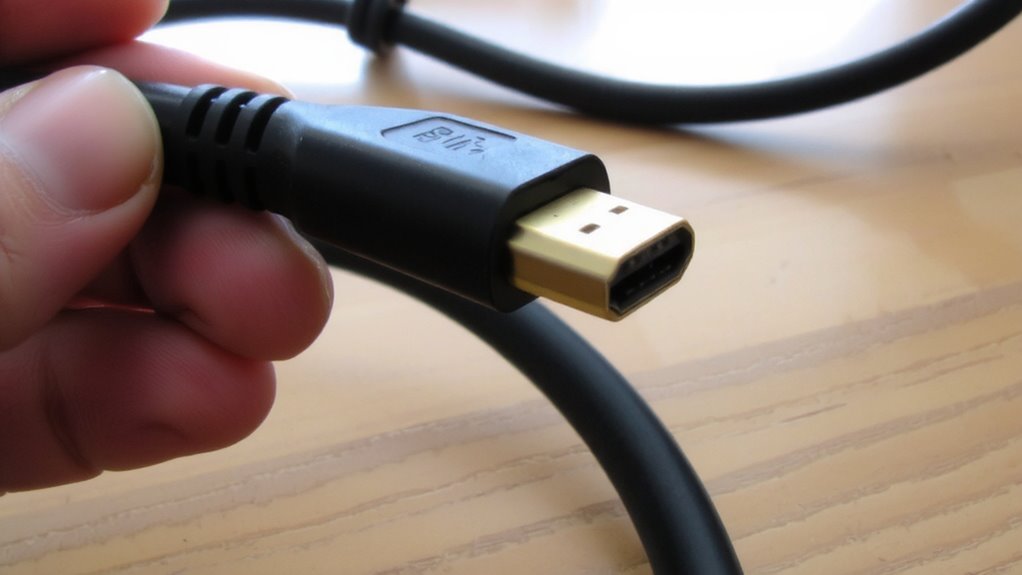
A bent pin or frayed connector can kill your HDMI signal fast-so start by closely inspecting both ends of the cable. You’re looking for misaligned or damaged pins inside the male connectors; even a slight bend can lead to signal degradation or no output at all. Gently straighten visible bends with tweezers, but if the metal feels weak or damaged, replacement is safer. Frayed insulation near the plug suggests internal stress and risks continuity testing failure over time. Use a magnifying glass if needed-detail matters. While many cables lack warranties, higher-end models often include strain relief and shielding that resist such damage. If the connector wobbles when inserted, internal solder joints may be cracked, increasing failure risk. This visual check won’t catch all faults, but it’s a reliable first step. Don’t rely on appearance alone-physical damage doesn’t always mean dead cable, but it does lower long-term reliability. For 4K setups, consider cables with premium high-speed certification to ensure reliable performance under high bandwidth demands.
Test the HDMI Cable on Different Devices and Ports
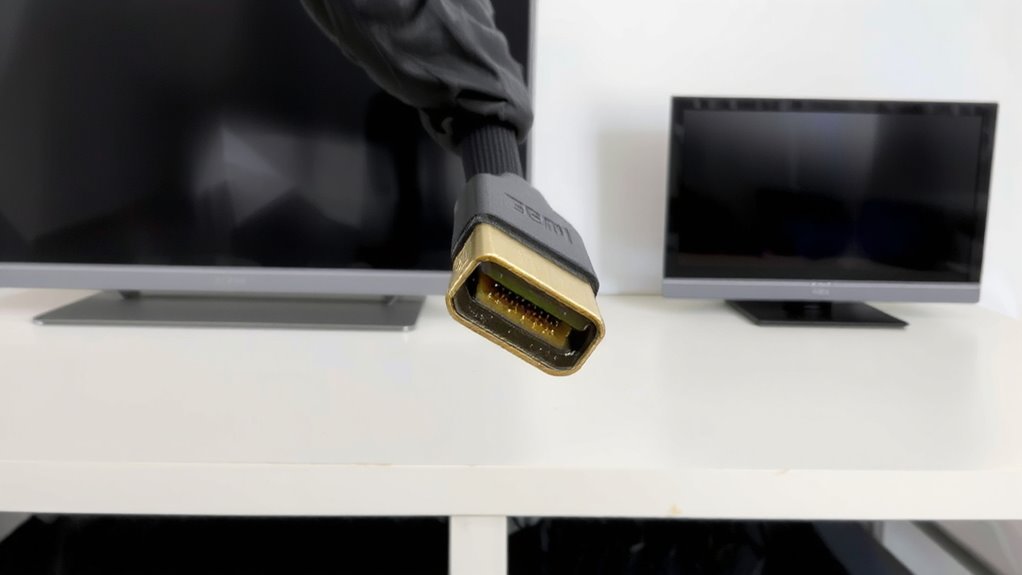
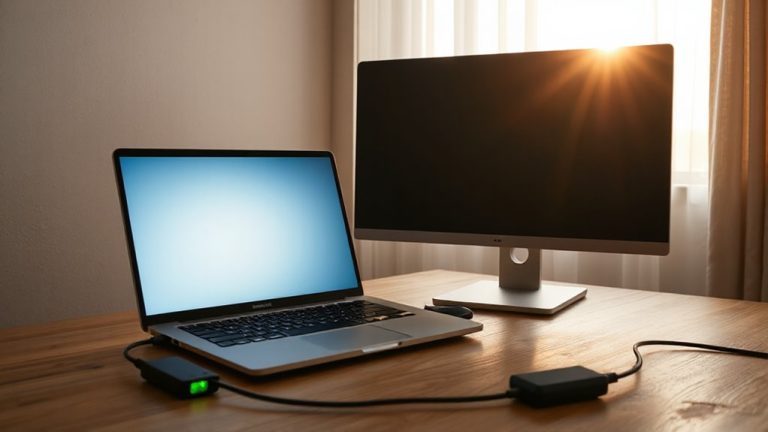
How can you tell if the problem’s really the cable? Test it across different devices and ports. If your HDMI kB26V2 cable delivers inconsistent signal consistency-like flickering, dropouts, or no audio-on multiple setups, the cable’s likely at fault. Try connecting it between a laptop and monitor, then a game console and TV. This helps verify connection stability. A good cable should work reliably across compatible devices. If issues persist everywhere, internal damage is probable. But if it works fine on one device and not another, the problem may lie with the port or device settings, not the cable. Always use known-working ports for testing. Avoid relying on a single test setup-it can mislead. This method isn’t foolproof, but it’s practical. It saves time and money before considering replacements, helping you make confident, informed decisions. For reliable performance with 4K content, consider using one of the top-rated 4K HDMI cables.
Feel Along the Cable for Kinks or Soft Spots
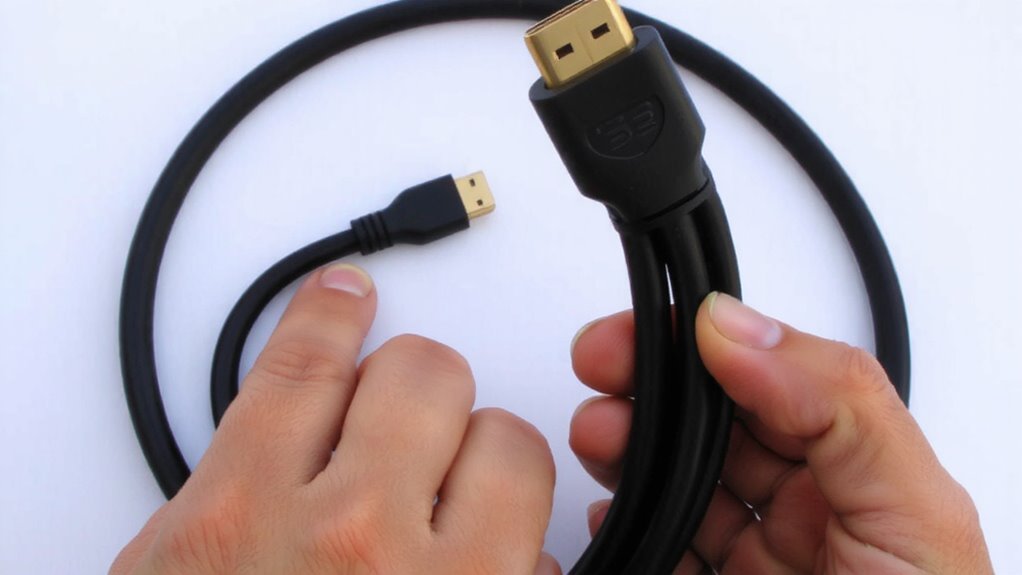
Skip the guesswork after testing your HDMI cable on multiple devices-if the problem keeps showing up across screens and ports, it’s time to get physical with the cable itself. Run your fingers along its length, checking for kinks or unusually soft spots that suggest compromised internal insulation. A healthy cable should have consistent cable flexibility, without loose, mushy, or dented sections. Damage here often means broken conductors or shield degradation, even if the outer jacket looks fine.
| Feeling | Likely Issue |
|---|---|
| Stiff kink | Bent conductors |
| Soft spot | Damaged insulation |
| Uneven texture | Internal separation |
| Loose section | Jacket detachment |
| Flex noise | Wire fatigue |
Don’t rely on visuals alone-subtle flaws in internal insulation can kill signal integrity. Test thoroughly, but replace if tactile signs hint at damage. Some wear is normal, but sharp bends or softness mean it’s time to swap.
Look for Fraying, Bends, or Discoloration at Both Ends
Frayed edges, sharp bends, or discolored housing at the ends of your HDMI cable aren’t just cosmetic issues-they’re red flags for internal damage that can degrade signal quality or kill the connection entirely. You should check the cable insulation closely where it meets the connector; compromised insulation often leads to signal degradation, especially in longer runs or high-bandwidth setups. Repeated plugging and unplugging weaken these stress points, making them prone to fraying. Sharp bends can break internal wires even if the outer sheath looks intact. Discoloration may signal overheating or material fatigue. Though HDMI cables don’t wear out under normal use, physical damage at the ends is a common failure point. Replacing a damaged cable is usually smarter than risking unreliable performance, since even minor flaws can disrupt 4K or HDR transmission.
Rule Out Source or Display Problems First
Before you assume the HDMI cable is at fault, check whether the issue lies with the source device or display instead-you might save yourself an unnecessary replacement. Try swapping HDMI ports or using a different device to see if the problem persists. A flickering image or no signal could stem from signal interference caused by nearby electronics or poor electrical grounding in your setup. Confirm the display isn’t misconfigured-sometimes input settings or resolution mismatches mimic cable failure. Unplug all devices, wait 30 seconds, then power them back on to reset connections. If other cables work fine on the same display, the issue likely isn’t the screen. The same goes for testing your device on another monitor. Eliminate these variables first. A methodical approach saves time and avoids discarding a functional cable.
On a final note
You can usually spot HDMI cable issues without tools by checking connectors for bent pins and inspecting both ends for fraying or discoloration. Test it across different devices and ports to rule out source or display faults. Run your fingers along the length for kinks or soft spots that suggest internal breaks. While this helps identify obvious damage, it won’t reveal intermittent electrical faults-so a working test setup remains your best diagnostic tool.