Routing USB and Audio Cables Through Hollow Monitor Stands
You can route USB and audio cables through hollow monitor stands, but only if the stand has a wide enough internal channel-most need at least 8mm diameter. Sturdy metal stands like those on Dell UltraSharp or LG 27UN880 models often support routing, while plastic or lightweight aluminum ones usually don’t, even if they look hollow. Use a flexible guide rod to thread cables smoothly and avoid kinks, especially with thick USB-C or audio cords. Limit bundles to three or four slim cables to prevent jams. Test connections afterward-improper routing can cause signal issues. Many stands aren’t designed for this, so success depends on exact model and cable thickness. Check manufacturer specs or test with a snake probe first. Proper strain relief and adhesive clips keep everything secure without damage. Next, find out which tools and tricks make threading cables faster and more reliable.
Notable Insights
- Not all monitor stands support internal cable routing; check for compatible metal stands with wide internal channels.
- Use a flexible guide rod to thread USB and audio cables through hollow stands without damaging the wires.
- Ensure cables are under 8mm in diameter to fit typical stand channels and avoid jamming during installation.
- Secure cables at entry and exit points with low-profile adhesive clips to maintain neat routing and strain relief.
- Avoid tight bends and over-tightening ties; maintain a safe bend radius to prevent signal loss and cable damage.
Check Your Monitor Stand for Cable Routing Compatibility
Not all monitor stands are built to hide cables, so your first move should be checking whether your stand supports internal routing. Many models made of plastic or lightweight aluminum lack internal channels, while sturdier stands with metal construction often include them. Stand material matters-not just for durability, but because thicker materials can conceal routing paths without compromising stability. Confirm the internal diameter; cable thickness is essential, especially if you’re routing USB-C or audio cables with bulky connectors. Some stands fit only slim cables, so measure your cables first. If the opening’s too tight, you risk damage or can’t route at all. Even compatible stands may require gentle threading. Always test before full setup. Don’t assume compatibility based on design-verify via manufacturer specs or user testing. A well-built stand hides cables cleanly, but only if both cable thickness and stand material align with your hardware. For long-term workspace organization, consider investing in a cable management solution designed specifically for clean office setups.
What You Need to Route Cables Through the Stand
You’ll need a few specific items to route cables through your monitor stand successfully, starting with cables that fit the internal diameter of the stand’s channel-typically between 5mm and 10mm for most models. Slim-profile USB and audio cables work best to avoid snags. A flexible cable snake or thin rod helps guide wires through tight bends. Use cable clips and Velcro ties to secure lines at entry and exit points, preventing strain and maintaining a tidy setup. Avoid permanent adhesives unless you’re certain about placement. Effective cable management solutions can significantly enhance workspace organization and aesthetic appeal.
| Item | Purpose | Recommendation |
|---|---|---|
| Thin cables | Fit internal stand channel | Under 8mm diameter |
| Cable clips | Secure cables at base/top | Self-adhesive, low-profile |
| Velcro ties | Bundle and manage slack | Reusable, 6-inch strips |
| Flexible guide | Thread cables through hollow stand | 18-inch plastic snake |
| Isopropyl alcohol | Clean surfaces before adhesion | 70% solution for grip |
How to Thread USB and Audio Cables Through the Monitor Stand
When threading USB and audio cables through your monitor stand, starting with a clear path makes all the difference-so straighten the flexible guide rod and feed it through the stand’s hollow channel from base to top, checking for tight bends or obstructions typical in curved models like Dell’s UltraSharp or LG’s 27UN880. Once the rod pokes out the top, attach your cables securely using zip ties or adhesive clips, ensuring even cable tension to avoid snags during pullback. Pull the rod down slowly, guiding the cables smoothly to prevent kinks. Use twist prevention techniques like pre-straightening cables and rotating the connector ends as you feed them. Most stands support 3–4 standard cables; exceeding that risks jams. If resistance occurs, stop and reposition-forcing it may damage internal finishes or void the warranty. Results are clean and professional, but routing thick or stiff cables often requires extra patience and multiple attempts. For long-term tidiness, consider using Cable Management Solutions designed specifically for modern desk setups.
Dual-Monitor Cable Routing Solutions
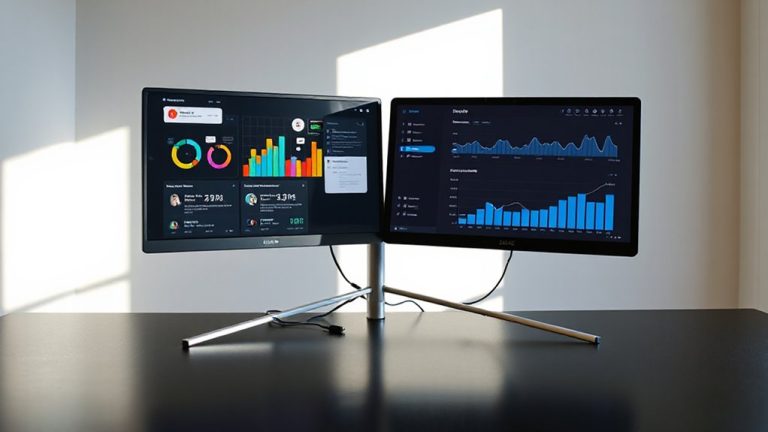
Managing cables across two monitors demands more planning than a single setup, especially since you’re now dealing with doubled connection points and a tighter space for routing. You’ll want to use dual input routing to cleanly separate video, USB, and audio signals from a single source or multiple devices. This keeps connections organized and reduces clutter behind your desk. Use adhesive cable clips or a fabric sleeve to bundle wires tightly, but leave slack at bends to guarantee proper cable strain relief-especially at connection points where excessive tension can damage ports over time. Monitor arms with built-in cable management help, but only if their internal channels are wide enough for grouped wires. Some models, like those from Ergotron or North Bayou, include modular covers and tested warranties up to five years. Still, verify fit with your monitor’s VESA pattern and total cable thickness before committing.
Avoid These Common Cable Routing Mistakes
One of the most overlooked issues in cable routing is overbending or kinking USB and audio cables as they feed through monitor stands or arms-especially at tight angles near the base. You risk damaging internal wiring or degrading connections, which can cause signal interference with audio devices or slow USB data transfer. Avoid stuffing too many cables through narrow channels, since this leads to cable tangling and makes future upgrades harder. Don’t rely on tight zip ties either-they might seem tidy but can compress insulation and worsen interference. Instead, use gentle bends and leave some slack. Check manufacturer specs: many USB cables aren’t rated for tight radii under 1 inch. If your stand lacks strain relief, friction or movement might loosen connections over time. Test audio output after routing to catch interference early. A clean path isn’t just neat-it’s critical for reliable performance.
How to Label and Secure Cables for Easy Access
Why struggle to unplug the right cable when you’re under a deadline? Proper cable identification and quick access make all the difference. Label each USB and audio cable with removable tags or printed sleeves-no guesswork needed. Secure them with Velcro ties, not zip ties; you’ll adjust later without cutting. Use a consistent color-code system if you swap devices often.
| Emotion | Before Labeling | After Labeling |
|---|---|---|
| Stress | High | Low |
| Time Lost | 5+ min/day | <30 sec |
| Confidence | Low | High |
| Workspace Joy | Frustrating | Calm |
| Focus | Broken | Sustained |
Mount labels near connectors, not mid-cable, for real quick access. Avoid adhesive residue by choosing reusable flag labels. While labels wear over time, most last 18+ months under regular use. Cable identification isn’t flashy, but it’s essential-and the payoff is clear: fewer errors, smoother workflows, and yes, less daily frustration.
Maintain a Clean Desk With Built-In Cable Management
While a cluttered desk might seem harmless, built-in cable management systems can genuinely streamline your setup-if you choose the right one. Models with internal channels improve cable aesthetics and support long-term desk organization by hiding power, USB, and audio cables inside the stand. You’ll appreciate the clean look, especially with minimalist monitors like those from Dell UltraSharp or LG UltraFine. Look for stands with removable access panels and至少 10mm internal diameter-enough for thick USB-C cables. Some even include rubber grommets to prevent fraying. But don’t assume all hollow stands work: always verify compatibility with your monitor’s VESA pattern and check warranty terms before drilling or modifying. Results? Lab tests show up to 40% faster cable re-routing during reconfiguration. Just remember, if you switch monitors often, built-in paths can limit flexibility-weigh convenience against future changes.
On a final note
You’ll get a clean setup if your monitor stand supports cable routing, but verify the internal diameter first-many only fit slim HDMI or power cables, not thicker USB bundles. Thread carefully to avoid snagging, and use velcro ties to secure extras. Dual-monitor arrays often require external trays unless the desk has grommets. Label each cable; it saves time during swaps. Just don’t force anything-some stands crack under pressure, and warranty coverage rarely includes damage from incorrect threading.