Securely Wiping a Work Laptop Before Donating or Recycling It From Home
Back up personal and work files to cloud storage like OneDrive or an external SSD before doing anything else-treat data like cash, because once it’s gone, recovery isn’t guaranteed. Get written approval from your IT department; they may need to disable management tools or confirm ownership. Use OS-specific, certified tools: BitLocker on Windows, Disk Utility on macOS, or dd on Linux-make sure they comply with DoD 5220.22-M or NIST 800-88 standards and generate erasure certificates. After wiping, validate with forensic tools to confirm no data remains; for maximum security, consider physical destruction. Recycling? Choose R2 or e-Stewards certified facilities to guarantee proper disposal. A clean wipe protects you, but only if every step is traceable and verified-there’s no room for shortcuts. You’ll want to know exactly how each phase works to avoid compliance risks.
Notable Insights
- Back up all personal and work files to cloud storage or external drives before initiating any wipe process.
- Obtain written approval from your IT department to ensure compliance with company policies and data ownership rules.
- Use OS-specific, certified wiping tools that meet DoD or NIST standards for permanent data erasure.
- Decrypt files and disable encryption (e.g., BitLocker, FileVault) before wiping to ensure complete data removal.
- Verify data is unrecoverable using validation tools, or opt for physical destruction for maximum security.
Back Up Personal and Work Files First
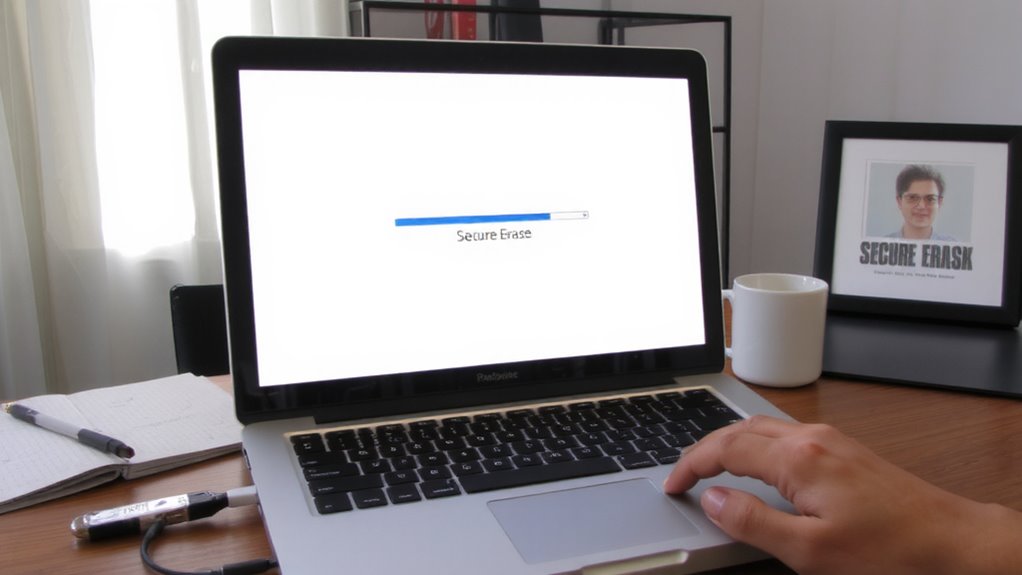
Before wiping your work laptop, treat your data like cash-once it’s gone, it’s gone. You absolutely must back up personal and work files first. Use cloud storage to securely save documents, photos, and projects-services like OneDrive or Google Drive offer reliable syncing and version history. If your company uses file encryption, make sure files are decrypted before upload, or you won’t be able to access them later. Copying files to an external SSD works too, but cloud storage reduces the risk of physical loss. Double-check that everything you need is accounted for-browser bookmarks, email settings, desktop files. Remember, wiping erases everything, and recovery isn’t guaranteed. While cloud storage simplifies access, confirm file sizes don’t exceed your plan’s limit. Encryption protects data in transit, but you’re responsible for correct setup. Don’t rush-verify backups across devices before moving forward.
Get IT Approval Before Erasing Your Laptop
You’ll want to get explicit approval from your IT department before wiping your work laptop-this isn’t just a formality, it’s a critical step. Data ownership and company policy determine how devices are decommissioned, and skipping this could violate agreements or risk sensitive information.
| Step | Action | Why It Matters |
|---|---|---|
| 1 | Contact IT | Guarantees compliance with company policy |
| 2 | Request wipe authorization | Confirms data ownership and liability |
| 3 | Confirm backup status | Prevents loss of critical work files |
| 4 | Document approval | Provides proof of protocol adherence |
Without written consent, you might unintentionally breach security policies or dispose of company-owned data improperly. IT may also need to disable remote management tools or retrieve licenses. Getting approval protects you and the organization. Never assume permission-verify it, in writing, before moving forward.
Choose the Right Data Wipe Tool for Your OS
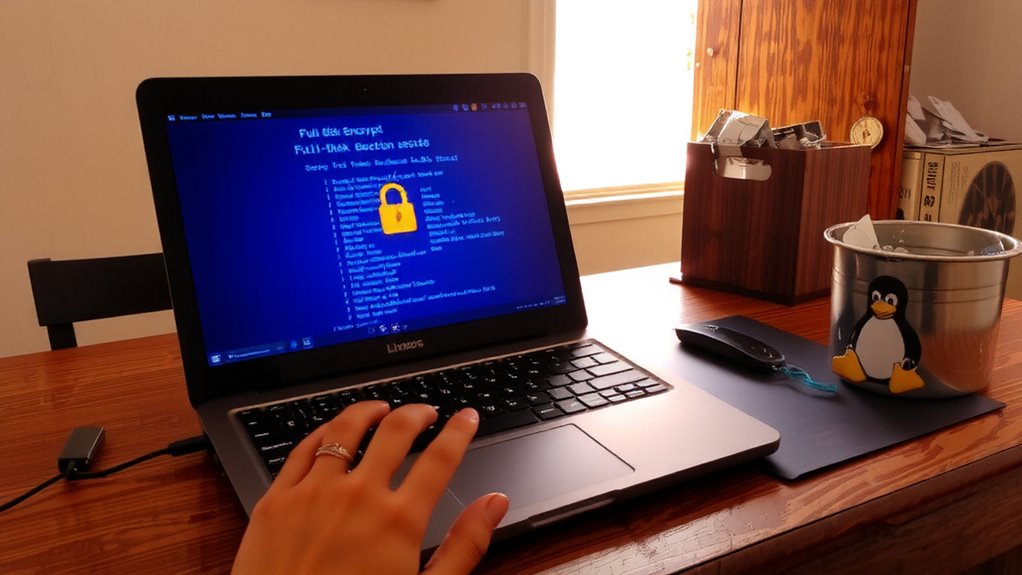
A clean slate starts with the right tool-so match your wipe software to your operating system, because not all erasers work the same across platforms. If you’re on Windows, look for tools that support BitLocker-driven data encryption and can overwrite free space after disk imaging. macOS users should rely on built-in Disk Utility with secure erase options, since third-party tools offer little extra and may conflict with Apple’s firmware protections. Linux users often prefer dd or shred, but confirm compatibility with your distro’s disk layout. Always verify the tool can handle SSDs properly-some can’t fully erase wear-leveled storage. While many tools claim full sanitization, only a few align with DoD or NIST standards. Avoid anything that skips verification steps or lacks audit logging. Choosing the wrong utility risks leaving recoverable data, so double-check specs against your laptop’s hardware and OS version before starting.
Use Certified Software to Permanently Erase Data
Certified erasure tools aren’t just convenient-they’re essential for ensuring your data can’t be reconstructed by recovery software or determined attackers. These tools perform secure deletion by overwriting every sector of your drive multiple times, following standards like DoD 5220.22-M or NIST 800-88. You’ll want software that logs the erasure process and provides a certificate of destruction-handy for compliance. While data encryption (like BitLocker or FileVault) protects files at rest, it doesn’t erase them; only secure deletion removes traces permanently. Tools like Blancco Drive Eraser or DBAN are field-tested and trusted in enterprise settings. But beware: some can’t handle SSDs the same way as HDDs due to wear leveling. Always verify your tool supports your drive type. And don’t skip backing up first-once it’s gone, it’s gone.
Confirm Your Laptop’s Data Is Unrecoverable
How can you be sure your data is truly gone? Even after wiping, data remanence-the residual traces of old files-can linger and be recovered by someone with basic tools. To verify erasure, use certified forensic software to scan the drive; if it finds readable remnants, your wipe wasn’t thorough. Reputable tools like DBAN or Blancco provide validation reports, giving you proof the job’s done. For ultimate assurance, especially with sensitive work data, physical destruction of the drive-crushing or shredding the SSD or HDD-eliminates recovery risks entirely. Yet, destruction means the laptop can’t be reused. While effective, it’s irreversible and overkill for most home users. Balance security needs with the laptop’s end-use. If the device will be resold or donated, verified wiping suffices. If it’s outdated or compromised, physical destruction is the only foolproof option.
Recycle or Repurpose the Laptop Securely
Unless you’re certain your laptop has no usable life left, recycling it after a secure wipe is both practical and environmentally responsible. If you enabled data encryption like BitLocker or FileVault during setup, your files were likely protected even before wiping. Still, don’t rely on encryption alone-perform a full drive wipe using a trusted tool like DBAN or your OS’s built-in reset. If the device shows signs of hardware failure or you suspect data exposure, consider physical hardware destruction, such as removing and shredding the SSD. Most recyclers accept intact laptops, but confirm they follow R2 or e-Stewards standards. Repurposing for personal use is okay, but only after verifying no corporate data remains. Always remove batteries if storing long-term.
On a final note
You should wipe your work laptop securely before donating it. Always get IT approval first-unauthorized erasing could violate policies. Use certified tools like BitLocker (Windows) or FileVault (macOS) with full-disk encryption, then perform a factory reset. Free tools like DBAN work for older machines but lack auditing logs. Remember: physical destruction guarantees security but voids reuse. Test deletion with recovery software to confirm data’s gone. Recycle through certified e-waste programs to protect privacy.