Spring Cleaning Guide for Reorganizing and Decluttering Desk Cables
Unplug everything first-safety and device protection depend on it. Sort cables by type (USB-A, USB-C, HDMI, etc.) and test each for signal, power delivery, and physical wear. Toss dead or flimsy ones, and recycle responsibly. Label both ends clearly so you know what’s what later. Use Velcro ties and adhesive clips to group and route cords neatly, reducing tangles and strain. Choose organizers based on your desk layout-sleeves for visibility, raceways for walls. Keep one spare of critical types in case. You’ll learn exactly which tools and labels work best for lasting order.
Notable Insights
- Unplug all cables before starting to ensure safety and prevent damage to devices during organization.
- Sort cables by type and test each one for functionality, removing any that are damaged or underperforming.
- Eliminate dead or duplicate cables, keeping only essential and high-use spares for redundancy.
- Label both ends of every cable with device and port details for quick identification and easier troubleshooting.
- Use Velcro ties, clips, and organizers to secure cables, reduce clutter, and maintain a clean, accessible setup.
Unplug All Cables Before You Begin
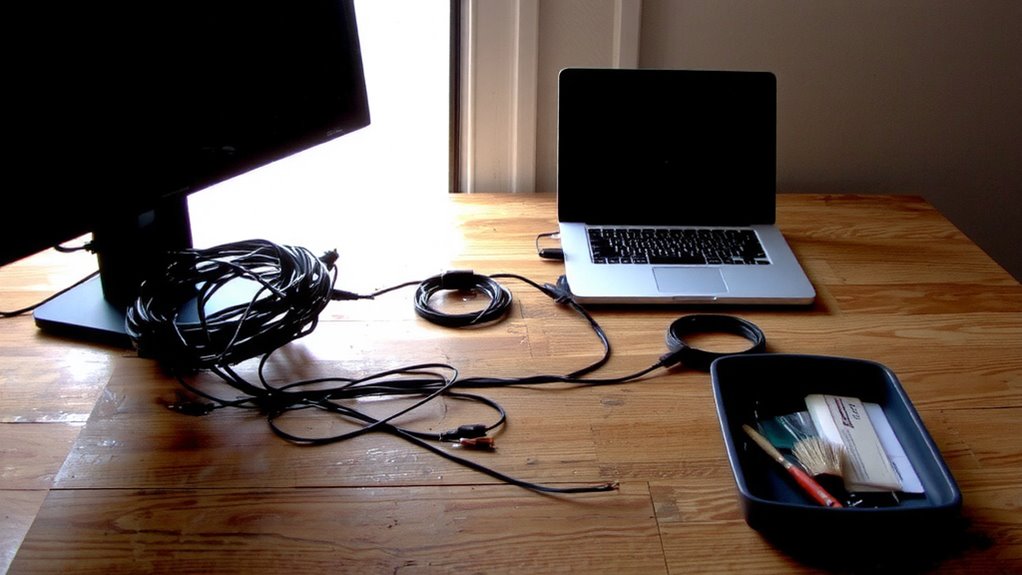
While it might be tempting to tidy up your cables while they’re still plugged in, you should always unplug everything before starting-this isn’t just best practice, it’s critical for both your safety and the protection of your devices. Cable safety is a real concern, especially with mixed-voltage setups common in modern workspaces. Leaving power running increases risks like short circuits or accidental electrocution, particularly with frayed or exposed wiring. Proper power management means cutting supply first, especially for peripherals that draw standby power even when off. Unplugging also lets you inspect each cable without interference from active currents. You’ll avoid damaging ports during removal and prevent wear from repeated hot-plugging. Sure, it takes a few extra minutes, but it’s time well spent-especially if you’re handling sensitive electronics like docking stations, monitors, or desktop PCs with multiple rails. Turn off, unplug, and work safely. Using the right cable management solutions can greatly enhance both safety and desk aesthetics during reorganization.
Sort: And Test: Your Cables by Type
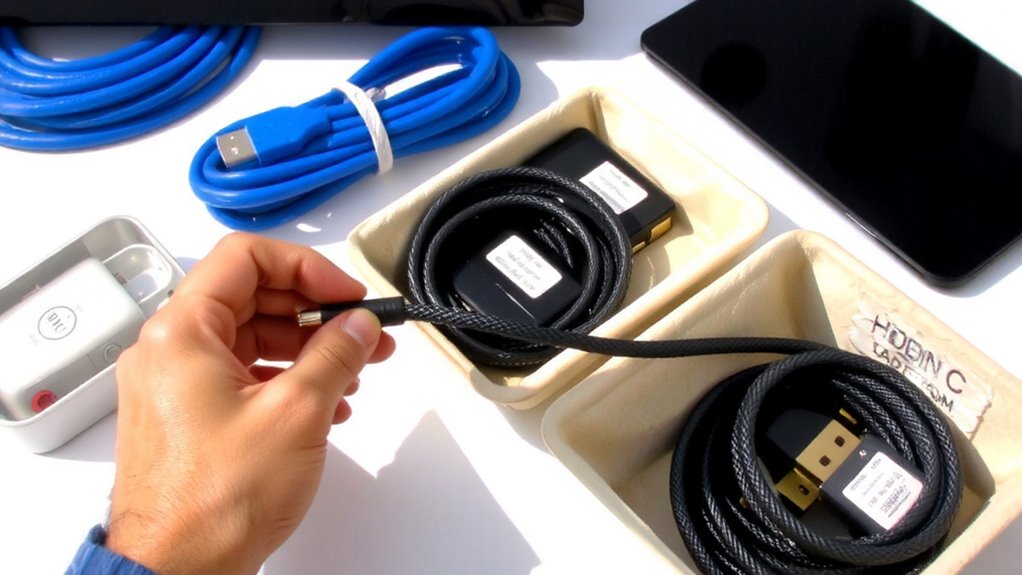
Start by pulling all your cables together and sorting them into clear categories-USB-A, USB-C, HDMI, Ethernet, power adapters, and so on-because knowing exactly what you have makes it easier to spot duplicates, gaps, or potential failures. Testing each cable for signal quality and cable durability now saves troubleshooting headaches later. Use a simple voltage tester for power cables and plug data cables into working ports to verify performance. Poor signal quality often stems from frayed shielding or substandard conductors, especially in older or heavily bent cables.
| Cable Type | Key Test Indicator |
|---|---|
| USB-A | Steady data transfer speed |
| HDMI | No flickering or color loss |
| Ethernet | Full 1 Gbps handshake |
| USB-C | Supports intended wattage |
Relying on tested performance guarantees long-term reliability without assuming all cords are equal. A well-organized workspace begins with effective cable management solutions, which can prevent clutter and improve both safety and efficiency.
Ditch Dead or Duplicate Cables
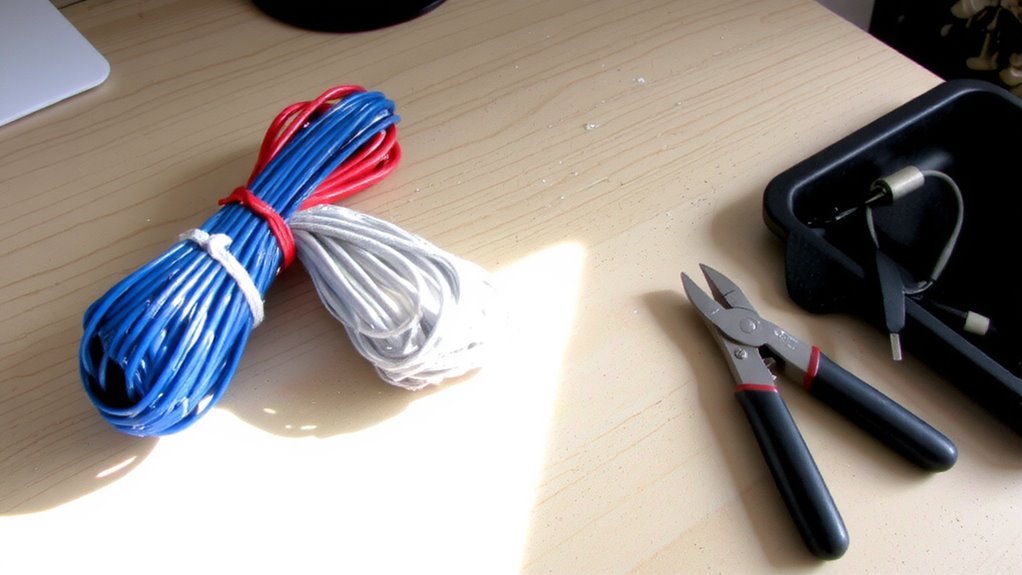
Since you’ve tested each cable and confirmed its performance, it’s time to eliminate the ones that either don’t work or serve no unique purpose-keeping dead or duplicate cables just clutters your workspace and increases the chances of grabbing the wrong one in a rush. Start with duplicate identification: compare lengths, connector types (like USB-A vs. USB-C), and power ratings-many look alike but deliver different performance. Keep only what’s functionally distinct. For dead cables, don’t just trash them. Use certified e-waste programs offering cable recycling to avoid environmental harm and data risks. While recycling takes minor effort, it’s a responsible trade-off. Be cautious, though-over-pruning can leave you stranded if a cable fails later and no backup exists. Aim for minimalism without sacrificing practical redundancy. Store one spare of high-use types, like 3-foot USB-C or standard Ethernet, but ditch the rest. Clarity beats convenience in the long run. Invest in a cable management solution to keep your newly pruned setup organized and tangle-free.
Label Every Cable So You Can Find It Fast
If you’ve ever wasted time tracing a cable from device to power strip, you’ll save hours by labeling each one-clear, consistent tags make troubleshooting and reconfiguration instant. Cable labeling isn’t just neat; it enables quick identification when you’re swapping monitors, diagnosing connection issues, or moving workspaces. Use a label maker or printable tags with bold, legible text-avoid handwritten sticky notes, which fade or peel. Label both ends of each cable for full visibility. Print each tag with the device name and port type (e.g., “Monitor – HDMI” or “Laptop – USB-C”). Test the labels under your desk lighting to guarantee readability. While some label tapes may yellow over time, models with laminated backing last longer. This step won’t reduce clutter on its own, but paired with smart routing, it drastically cuts future frustration. Done right, cable labeling pays off every time you unplug.
Use Cable Ties and Clips to Tame Tangles
While managing a nest of cables might seem like a minor task, using cable ties and clips effectively can transform chaos into order-just don’t mistake neatness for permanence. You should group cords neatly with reusable cable ties, making sure not to overtighten and damage insulation. A solid clip placement strategy means mounting adhesive clips along desk edges or legs to guide cables downward, reducing strain and visibility. Use Cable color coding-like blue for monitors, black for power, white for peripherals-to stay oriented at a glance. Velcro ties offer flexibility if you change setups often, while plastic ties last longer but lock in place. Clips with rubber-lined grips protect cables better over time. Most work well under real-world tension tests, but adhesive strength varies on surface type and humidity. Replace worn clips promptly to avoid sagging.
Pick the Right Cable Organizers for Your Desk
You’ve got your cables grouped and routed neatly with ties and clips, but keeping them that way depends on choosing the right organizers for your desk setup. Prioritize material durability and color coordination to guarantee long-term function and a clean look.
| Organizer Type | Best For |
|---|---|
| Braided sleeves | High-flex areas, visible desks |
| Plastic raceways | Wall-to-desk cable runs |
| Fabric-covered clips | Minimalist setups |
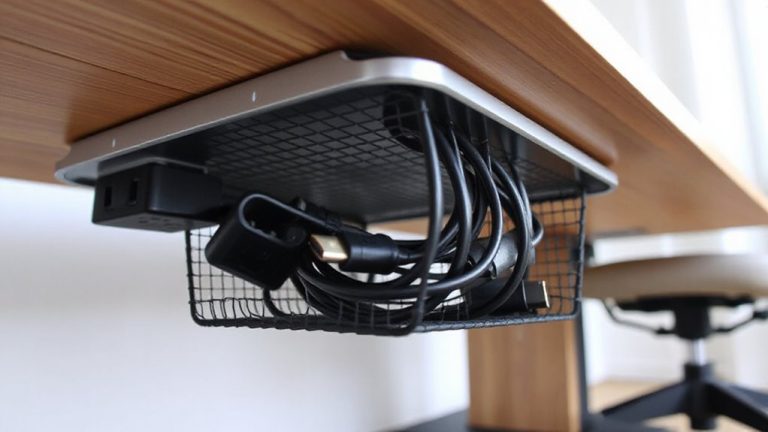
| Metal cable trays | Heavy-duty, shared workspaces |
Braided sleeves resist fraying over time, while plastic raceways snap easily if dropped-check material durability claims. Color coordination helps identify cable types at a glance, especially in multi-device setups. Most brands offer 1–2 year warranties, but real-world use shows fabric parts fade in direct sunlight. Choose based on your desk’s layout and how often you reconfigure gear.
On a final note
Tidy desk cables are worth the effort-expect cleaner surfaces and easier troubleshooting. Use durable cable ties and adhesive clips to secure power, USB, and HDMI lines without damaging your desk. Label each cord with a removable tag for quick ID. Avoid cheap organizers; they fray cables over time. Test setups weekly. Most quality tools last years and often come with 1–5-year warranties. Real clutter control means cutting extras, not just hiding them.