Using a Secondary Camera Angle for Demonstrations During Remote Presentations
Use a second camera to sharpen your demos during remote presentations, especially for showing physical objects or handwritten notes. Position it at eye level with soft front lighting to avoid shadows, and pick a 1080p USB-C model with wide dynamic range for clear, stable video. Sync audio via a single external mic to prevent echo, and switch feeds live using OBS or Zoom with wired HDMI to minimize lag. Test both angles together-mismatched lighting or unbalanced framing hurts credibility. Reliable setup means fewer distractions and more engagement overall-key details on placement and gear choices follow.
Notable Insights
- Use a secondary camera for clearer views of physical objects, handwritten content, and detailed setups during remote presentations.
- Choose a 1080p USB-C camera with wide dynamic range and mount compatibility for reliable, high-quality video.
- Position the secondary camera at eye level or slightly above with a level gaze to maintain audience engagement.
- Illuminate the scene with soft, diffused front lighting placed slightly above eye level to minimize harsh shadows.
- Switch smoothly between cameras using wired HDMI capture cards and pre-configured scenes in OBS or Zoom to avoid lag.
Use a Second Camera for Better Demos
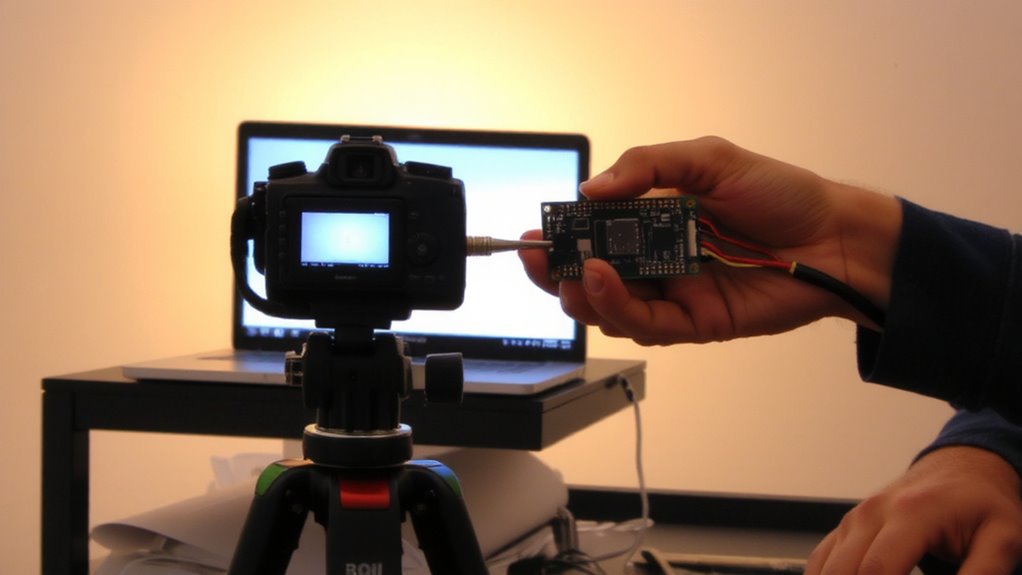
A second camera can substantially improve the quality of your on-screen demonstrations during remote presentations, especially when you’re showing physical objects, handwritten notes, or detailed setups. You’ll gain clearer visuals and more dynamic angles, but only if you manage lighting control and audio sync carefully. Poor lighting creates harsh shadows or washed-out details, so position soft, diffused lights evenly across your workspace. Built-in mic latency often causes audio sync issues, so use an external microphone with manual delay adjustments in your software. Apps like OBS Studio let you align audio and video tracks precisely. You’ll need extra setup time and patience-don’t expect flawless results immediately. While dual-camera streams look professional, they demand technical attention. Test your configuration in advance, ideally recording a short run-through to check timing and exposure. The payoff is worth it: stronger engagement and clarity, as long as you respect the learning curve.
Pick the Right Secondary Camera
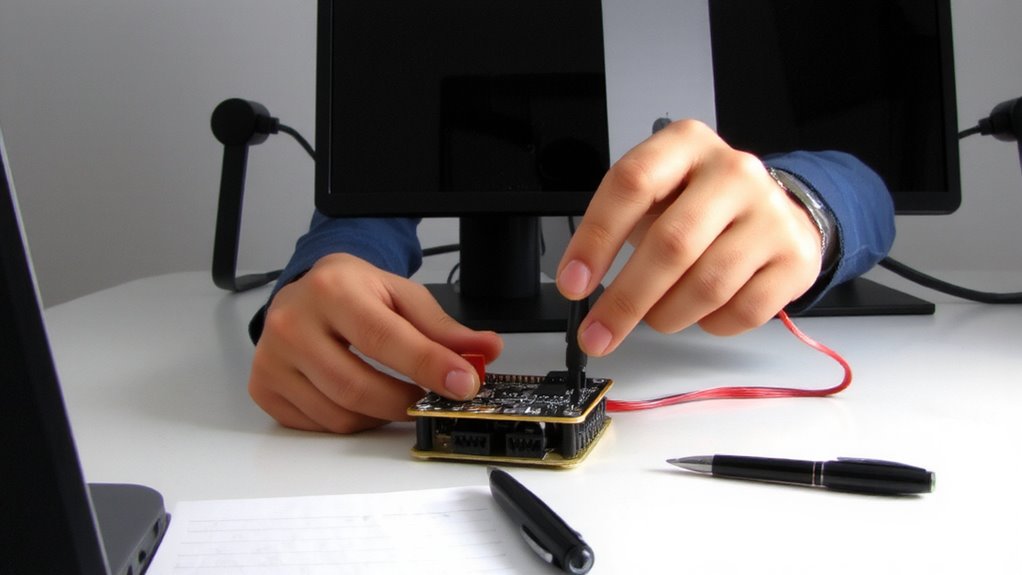
While you might be tempted to repurpose an old webcam or smartphone, investing in a dedicated secondary camera delivers noticeably sharper video and more consistent performance for remote presentations. Look for models with at least 1080p resolution and a wide dynamic range-they handle changing light better and improve your lighting setup. Fixed focus lenses are reliable, but autofocus helps if you move around. USB-C connectivity guarantees faster data transfer and easier cable management. Mount compatibility matters too; you’ll need flexibility for ideal camera placement. Avoid cheap plastic builds-durable housings last longer under daily use. Most reputable brands offer two-year warranties, which speaks to longevity. Keep in mind, though, even the best camera won’t fix poor lighting or awkward angles. Test different positions to see how the image looks in real calls, and remember: high specs don’t replace thoughtful setup. For self-taping actors and presenters alike, best cameras for self-tapes offer reliable options that balance image quality and ease of use.
Set Up the Best Camera Angle
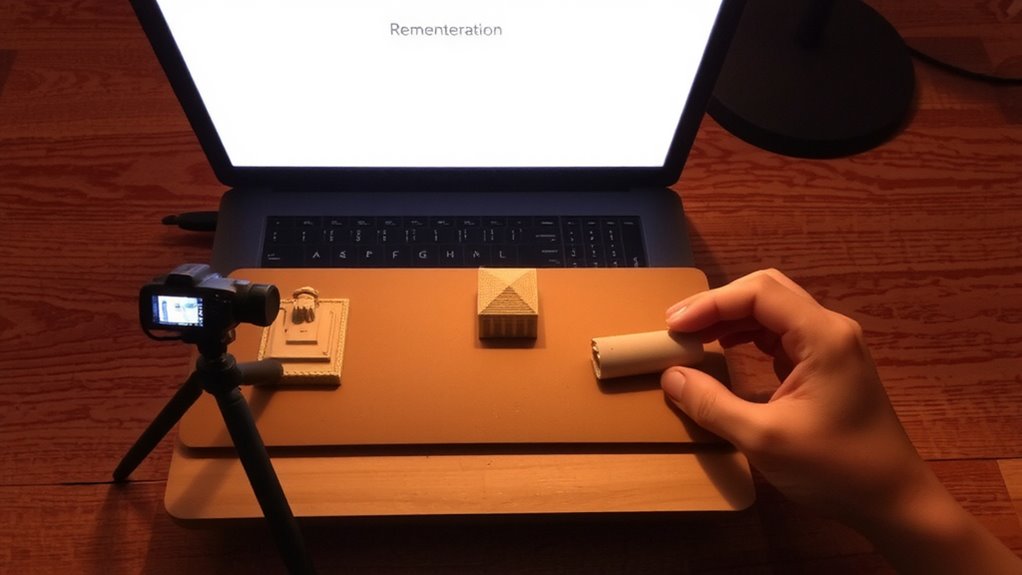
Camera angle makes or breaks how you come across in remote presentations-position your secondary camera at eye level or slightly above for the most flattering and authoritative view. This angle avoids unflattering neck lines and keeps your gaze level, enhancing engagement. For solid camera stability, use a tripod or clamp mount with adjustable arms; avoid unstable surfaces. Pair this with proper lighting placement: position your key light in front and slightly above eye level, avoiding backlights or overheads that cast harsh shadows.
| Feature | Ideal Setup | Trade-off |
|---|---|---|
| Camera Height | Eye level or slightly above | Too high causes foreshortening |
| Lighting Placement | Front, 45° above face | Side lighting creates uneven tones |
| Surface Stability | Sturdy desk with tripod | Wobbly tables ruin camera stability |
| Background | Neutral, clutter-free | Busy scenes distract viewers |
| Camera Focus | Fixed focal length (35–50mm eq.) | Auto-focus can drift during motion |
Test setups in real meeting conditions to verify clarity.
Switch Cameras Smoothly Live
When you’re live, switching cameras without a hitch keeps your audience focused on your message, not the tech. Smooth changes rely on real time switching, so your viewers never lose context during demos. Use software like OBS or Zoom’s built-in camera toggle, both tested for responsive real time switching with minimal lag. A wired HDMI connection to a capture card often delivers cleaner feeds than USB webcams, especially with 1080p60 inputs. For smooth changes, pre-select your scenes and test switch timing-delays over 0.5 seconds break flow. A dedicated streaming laptop helps offload processing, reducing glitches. But even pro gear can stutter if bandwidth dips below 6 Mbps upload. Rehearse with your gear stack, including lights and mic levels, since audio desync undermines smooth changes. Firmware updates matter-cameras like the Logitech Brio or Sony ZV-E10 need them for stable live output. Real time switching works best when you minimize variables.
Avoid These Dual-Camera Mistakes
If you’re using two cameras for remote presentations, mismatched angles or lighting can distract more than engage, so aligning setup with intent is key. Avoid placing cameras at conflicting heights or distances-this creates visual whiplash. Watch for camera glare, especially if one faces a window; use sheer curtains or reposition to maintain even exposure. Don’t overlook audio sync: if either camera records sound independently, delays can cause echo or confusion. Use a single audio source-like a USB mic-to stay in sync. Test both feeds simultaneously before going live, checking for lag or framing errors. While dual cameras boost clarity in demos, poor execution undercuts credibility. Wireless HDMI systems can help, but budget options often sacrifice reliability. Wired setups offer consistency, though they limit mobility. Balance quality with practicality-most built-in camera apps don’t support instant switching, so practice swaps. For seamless video transmission without cables, consider a best wireless HDMI solution designed for low-latency performance.
On a final note
Using a second camera sharpens your demos, but only if set up right. A decent webcam or mirrorless on a tripod beats shaky phone clips. Position it low and wide for clear hand movements, syncing angle with your main shot. Switch cleanly via OBS or camera software-no fumbling. But extra gear means more clutter and setup time, so test lighting and mic distance first. It’s effective, not magic.